
Integrating three-dimensional photocard stands into a traditional, flat gallery wall requires a thoughtful approach to scale, depth, and mounting. Unlike standard picture frames that sit flush against your wall, photocard stands introduce physical depth and varying heights. By utilizing floating shelves, picture ledges, or specialized wall-safe adhesives, you can seamlessly blend these smaller collectibles with larger framed art. In tropical climates like the Philippines, where high humidity can affect both paper preservation and adhesive strength, choosing the right display methods is essential to keep your collection secure and pristine.
Planning the Layout and Visual Balance
Before driving a single nail or sticking an adhesive strip to your wall, a comprehensive planning phase is essential to ensure your gallery wall looks intentional rather than chaotic. Start by gathering all the items you plan to display, including your framed prints, canvas art, floating shelves, and the photocard stands themselves. Use a metal tape measure to record the exact height, width, and depth of each piece, as even a few millimeters of discrepancy can disrupt the alignment of a tight layout.
Once you have your measurements, select a layout style that accommodates both flat and three-dimensional objects. A structured grid layout is highly organized but can be difficult to execute when mixing frames with protruding shelves. Instead, consider an organic salon style or an anchored asymmetrical layout. An organic layout allows you to grow the display over time, making it easy to nestle small shelves and photocard stands into the natural gaps between larger frames. An asymmetrical layout uses a large anchor piece on one side balanced by a cluster of smaller items, including your stands, on the other.
Products mentioned in this guide
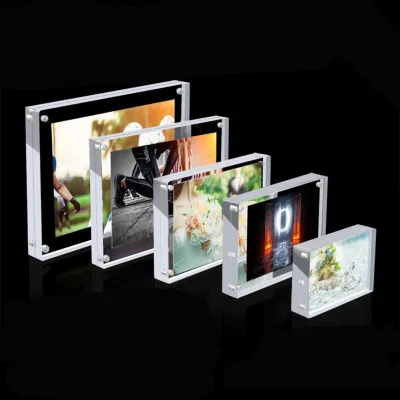
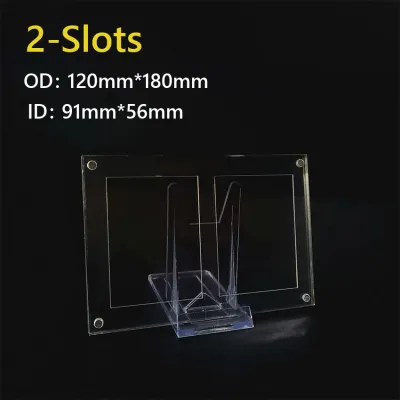
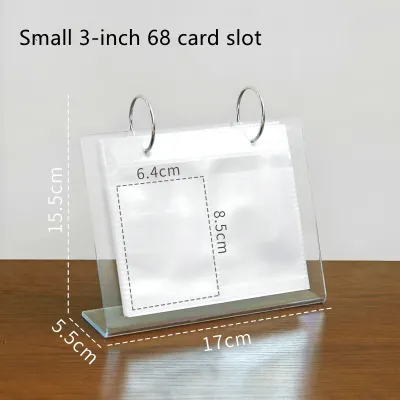
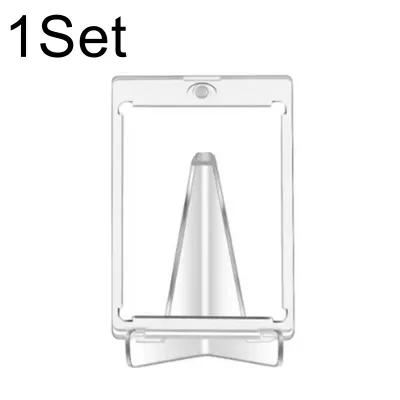
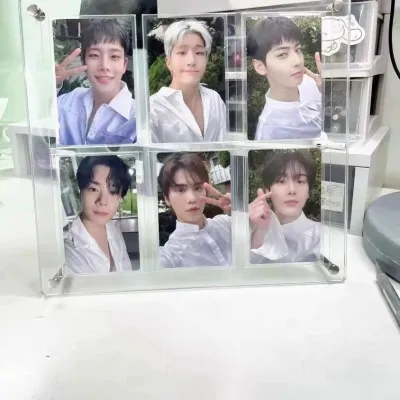
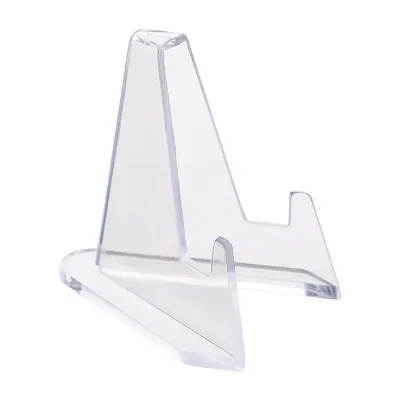
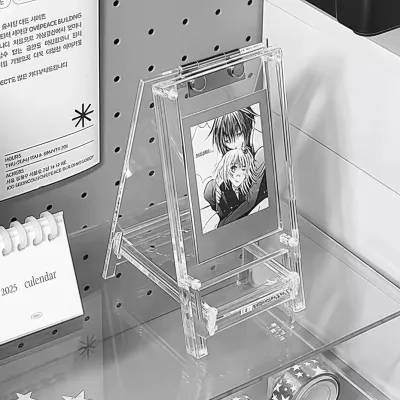
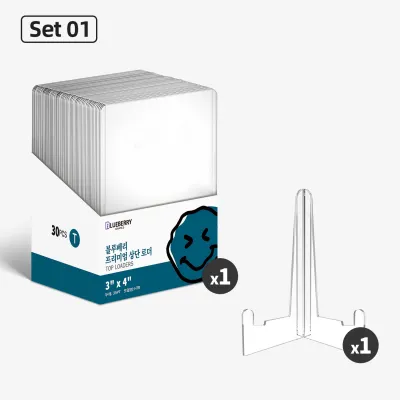
Prices are valid at publication and may change. Please refer to the product page for the latest price.
To visualize the final look without damaging your walls, create paper templates of every item. Trace your frames and shelves onto newspaper or brown wrapping paper, cut them out, and label them. Use low-tack painter’s tape to arrange these templates on your wall, experimenting with different heights and configurations. Alternatively, clear a space on your floor that matches the dimensions of your wall area and arrange the actual physical items there. This floor method is particularly useful for photocard stands, as it allows you to see how their physical depth and shadows will interact with the flat frames under your room’s lighting.
Choosing Photocard Stands for Wall Displays
Selecting the right photocard stands is about balancing aesthetics with structural practicality. The materials you choose should complement the existing frames in your gallery wall to create a unified design language. For instance, if your main frames are crafted from warm, natural wood, incorporating wooden photocard stands can tie the elements together beautifully. If your style leans more modern or industrial, sleek metal stands or minimalist clear acrylic stands will blend seamlessly into the background, allowing the vibrant colors of your photocards to remain the focal point.

Scale and visual weight are equally important when mixing small collectibles with larger art pieces. A single, tiny photocard stand placed next to a massive poster frame can look isolated and out of proportion. To prevent your stands from getting lost in the arrangement, evaluate their visual weight relative to the surrounding frames. You can group multiple stands together on a single shelf to create a larger visual block, or choose stands with slightly wider profiles or decorative borders that command more presence on the wall.
Additionally, you must evaluate the physical base design of your stands. Some photocard stands feature wide, heavy bases designed to sit securely on flat surfaces, making them ideal candidates for floating shelves or picture ledges. Other stands are incredibly lightweight with flat backs, which might allow you to mount them directly to the wall using specialized adhesives. Understanding the physical limitations of your stands beforehand will dictate whether you need to invest in additional shelving or if you can mount them directly.
Step-by-Step Installation and Arrangement
With your layout planned and your materials selected, you can begin the physical installation of your gallery wall. Always start by establishing your focal point or anchor piece, which is typically the largest frame in your collection. Position this anchor piece first, ensuring it is hung at eye level—generally around 57 to 60 inches from the floor to the center of the image. Building your arrangement outward from this central anchor ensures that the overall composition remains balanced and grounded, even as you add smaller, asymmetrical elements.
Next, install your floating shelves or picture ledges, which will serve as the primary platforms for your photocard stands. Use a high-quality spirit level to ensure every shelf is perfectly horizontal, as even a slight tilt will cause your stands to slide or look crooked. When mounting shelving, it is crucial to verify your wall type. In many Philippine homes, walls are constructed from solid concrete or hollow blocks rather than drywall. For concrete walls, you will need a masonry drill bit, plastic wall plugs, and sturdy screws to ensure the shelves are anchored securely and can support the weight of your stands without sagging over time.
Environmental factors like tropical humidity must also be taken into account during installation. High humidity can weaken standard adhesive strips and cause double-sided tape to fail, potentially sending your valuable photocard stands crashing to the floor. If you are using adhesive-based mounting solutions, ensure the wall surface is completely clean, dry, and free of dust or oil. Wipe the area with rubbing alcohol and allow it to dry fully before applying any adhesives. For maximum security in humid climates, mechanical fasteners like screws and wall anchors are always the most reliable choice for shelving.
As you hang your frames and place your shelves, maintain a consistent spacing of 2 to 3 inches between all elements. This uniform gap, known as negative space, is the secret to making a diverse gallery wall look cohesive rather than cluttered. Ensure this spacing is maintained not just between adjacent frames, but also between the top of a photocard stand sitting on a shelf and the bottom of the frame hanging directly above it. This consistent spacing guides the viewer’s eye smoothly across the entire display, allowing them to appreciate both the individual photocards and the collective artwork.
Styling Tips for a Cohesive Gallery Look
Achieving a professional-looking gallery wall goes beyond simple alignment; it requires thoughtful styling to integrate your photocard stands into the broader aesthetic. One of the most effective ways to do this is through color harmony. Look at the dominant colors within your photocards—whether they are vibrant pop music concepts, soft pastel portraits, or monochrome aesthetics—and echo those colors in the matting or artwork of your larger frames. This repetition of color creates a subtle visual thread that connects your small collectibles to the larger pieces of art.
To maintain balance across the entire wall, distribute the visual weight of your photocard stands evenly. Avoid clustering all your stands on a single shelf in one corner of the layout, which can make that side of the wall feel heavy and cluttered. Instead, scatter your stands diagonally across the arrangement. If you have a shelf with two photocard stands on the bottom left, balance it with a single, slightly larger framed piece on the top right. This diagonal balance keeps the viewer’s eye moving dynamically across the entire wall.
Finally, embrace the art of layering to add depth and dimension to your display. On your floating shelves or picture ledges, do not simply line up your photocard stands in a straight, sterile row. Instead, place a larger, lightweight framed print or postcard slightly in the background, leaning against the wall. Then, position your photocard stand slightly in front of it, allowing the stand to partially overlap the frame. This layering technique breaks up flat planes, creates interesting shadows, and gives your gallery wall a curated, lived-in feel that showcases your personal style.
Frequently Asked Questions (FAQ)
Can I hang acrylic photocard stands directly on the wall?
Yes, you can mount lightweight acrylic photocard stands directly to the wall, but you must use the correct mounting materials to prevent damage to both your wall and your stands. Damage-free adhesive strips or high-quality, double-sided mounting tape designed for lightweight plastics are the best options for this task. Before applying any adhesive, clean the wall surface thoroughly with rubbing alcohol to remove any dust or oils, which is especially important in humid tropical climates where moisture can interfere with adhesive bonding. Avoid using standard liquid glues, superglues, or heavy-duty construction adhesives; these products can chemically react with the acrylic, causing it to become permanently cloudy or cracked, and they will likely tear the paint and drywall when you attempt to remove them.
How do I prevent photocard stands from falling off floating shelves?
To secure your photocard stands on floating shelves or picture ledges, use a small amount of reusable museum wax or clear adhesive putty on the bottom of each stand’s base. This non-damaging material creates a strong, temporary bond that prevents the stands from sliding, tipping, or falling due to household vibrations, drafts, or accidental bumps, while still allowing you to easily remove or reposition them whenever you want to update your display. Additionally, when shopping for shelving, look for picture ledges that feature a built-in front lip or safety rail. This physical barrier provides an extra layer of protection, ensuring that even if a stand is nudged, it cannot slide off the edge of the shelf.

Community discussion
Share your experience or ask a question. Comments are reviewed before publication.