
Crafting a personalized lampshade is an excellent way to refresh your home decor, allowing you to match your lighting fixtures perfectly with your curtains, upholstery, or accent walls. Using a diy lampshade kit simplifies this process by providing the structural skeleton and specialized adhesive backing needed for a professional-grade finish. By wrapping your chosen fabric around pre-made metal rings and securing it with a heat-resistant styrene backing, you can create a durable, custom lighting accessory that rivals store-bought alternatives.
Assembling a custom lampshade does not require advanced crafting skills, but it does demand patience, precise measurement, and a methodical approach. The process involves preparing your fabric, bonding it to an adhesive-backed plastic sheet, and carefully rolling it onto metal frame rings. In this guide, you will learn the exact steps to assemble your kit, select safe and beautiful fabrics, and securely install your finished shade on your lamp base.
What You Need Before Starting: Tools and Kit Components
Before beginning your project, gather all the necessary materials to ensure a smooth, uninterrupted workflow. A standard diy lampshade kit typically contains the core structural elements you need. This includes a pair of metal frame rings—one plain utility ring and one fitter ring (such as a spider, uno, or clip-on style) that connects to your lamp base. The kit also includes a sheet of pressure-sensitive styrene, which is a heat-resistant plastic backing that gives the lampshade its rigid shape, and a roll of specialized, high-tack double-sided adhesive tape.
Products mentioned in this guide
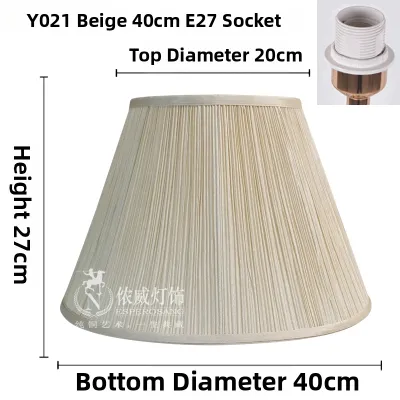
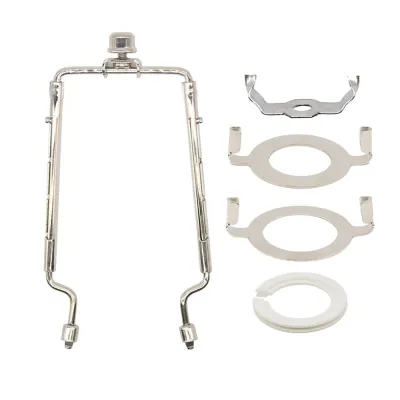
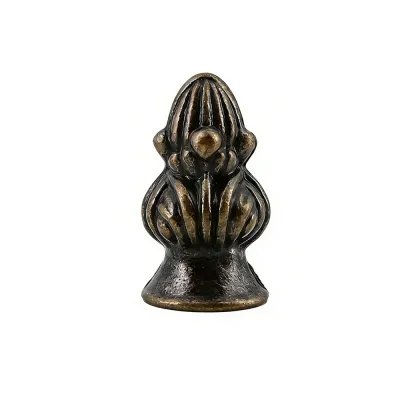
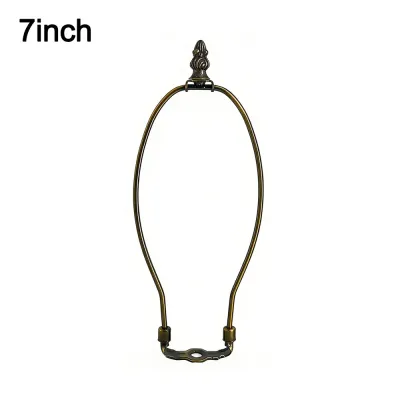
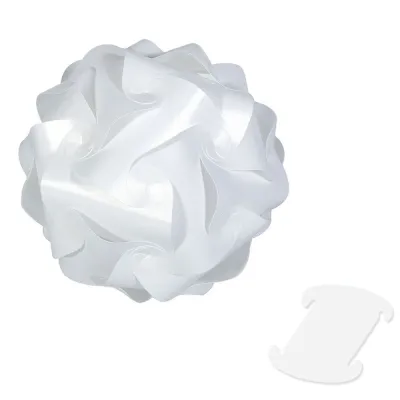
Prices are valid at publication and may change. Please refer to the product page for the latest price.
While the kit provides the specialty components, you will need several household tools to complete the assembly. Prepare a pair of highly precise fabric scissors to prevent frayed edges, along with a reliable metal ruler and a pencil for marking measurements on the backing material. A plastic smoothing tool or spatula—often included in premium kits, though a clean putty knife or old credit card works well—is essential for tucking fabric edges neatly under the metal rings. Additionally, keep several binder clips or wooden clothespins nearby to hold the fabric in place while the adhesive sets.
Before peeling any adhesive backing or cutting your fabric, read the manufacturer’s instruction manual from start to finish. Different kits may have unique seam allowances, specific rolling directions, or environmental requirements. For instance, some adhesives perform differently depending on local temperature and humidity levels. Reviewing these details beforehand prevents alignment errors and ensures you do not accidentally waste your materials.
How to Choose the Right Fabric for Your DIY Lampshade
Selecting the right fabric is critical for both the visual appeal of your lamp and the ease of construction. Lightweight to medium-weight natural fabrics, such as 100% cotton, linen, or cotton-linen blends, are the best choices for beginners. These materials are highly pliable, fold cleanly over metal rings, and adhere smoothly to the styrene backing without bubbling. They also allow light to diffuse evenly, creating a warm, inviting glow in your living space.

Avoid heavy, stiff, or highly textured fabrics like thick upholstery canvas, velvet, or heavy denim. These materials are difficult to fold over the delicate metal frame and often create bulky, uneven seams that peel away over time. Conversely, extremely sheer or delicate fabrics like silk or thin synthetics can be challenging because the adhesive backing may show through the weave, or the fabric may stretch unevenly during the rolling process.
Safety is a paramount consideration when choosing materials that will sit near a light source. Ensure your fabric is clean and free of flammable chemical finishes. Avoid highly synthetic fabrics like cheap polyester, nylon, or acrylic, which have low melting points and can scorch, warp, or emit toxic fumes if they are exposed to heat from a light bulb. Natural fibers generally handle the mild warmth of modern lighting fixtures much more safely.
If you choose a fabric with a pattern, pay close attention to the print direction and scale. Geometric patterns, stripes, and directional florals must be aligned perfectly parallel to the styrene sheet edges so they do not appear crooked once the shade is rolled into a cylinder. If you are using a tapered frame, keep in mind that the fabric will curve, which will naturally distort straight horizontal patterns. For tapered shades, small-scale, non-directional prints or solid colors are much easier to manage.
Proper fabric preparation is essential for a flawless finish. Always iron your fabric thoroughly using a steam iron to remove every crease, wrinkle, or fold line before laying it out. Even minor wrinkles will become permanently trapped once bonded to the adhesive styrene, resulting in unsightly bubbles on your finished shade. If your fabric is prone to shrinking, consider washing and drying it beforehand to prevent any future warping.
Step-by-Step Guide to Assembling Your Lampshade Kit
Once your workspace is clean, flat, and free of dust, you can begin the physical assembly of your custom lampshade. Take your time during each stage, as precision in the early steps ensures a clean and balanced final product.
Step 1: Preparing the Fabric and Frame
Start by preparing the metal frame rings. Wipe both rings down thoroughly with a dry microfiber cloth or a cloth lightly dampened with rubbing alcohol. This step removes manufacturing oils, dust, or light rust-preventative coatings that could otherwise prevent the double-sided tape from adhering securely to the metal.
Next, unroll your styrene backing sheet on a flat work surface. Place your ironed fabric face down on the table, and position the styrene sheet on top of the fabric’s reverse side. Align the pattern of your fabric carefully beneath the styrene. Use your pencil and metal ruler to mark the cutting lines on the fabric, leaving a consistent 1.5 to 2-centimeter border of excess fabric beyond the top and bottom edges of the styrene sheet. This excess fabric, known as the fold allowance, will eventually wrap around the metal rings.
Carefully peel away a few centimeters of the protective paper backing from the styrene sheet. Press the exposed adhesive backing firmly onto the reverse side of your fabric. Slowly peel the remaining paper backing away with one hand while using your other hand—or a plastic smoothing tool—to press and smooth the fabric onto the adhesive. Work in one direction to prevent air bubbles. Once bonded, use your sharp fabric scissors to cut along your marked lines, ensuring clean, straight edges with no loose threads.
Step 2: Attaching the Fabric to the Frame
Apply the high-tack double-sided tape provided in your kit to the outer circumference of both metal rings. Press the tape down firmly around the entire perimeter of each ring, ensuring complete coverage. Once the tape is secure, carefully peel off the protective paper backing to expose the sticky adhesive on both rings.
Place your fabric-covered styrene panel flat on your work table with the fabric side facing down. Position your top and bottom metal rings at one end of the panel, aligning them precisely with the edges of the styrene sheet. The styrene should sit flush against the outer edges of the rings, while the excess fabric border should hang over the sides. It is helpful to align the utility ring’s spokes or the fitter ring’s center struts so they point inward correctly.
Begin rolling the rings slowly and evenly along the adhesive-backed panel. Keep the rings perfectly parallel to each other and flush with the styrene edges. Apply consistent, downward pressure as you roll to ensure the adhesive tape on the rings grips the styrene backing firmly. If the rings begin to drift or align crookedly, gently pull them back and adjust immediately before the high-tack adhesive cures. Once you reach the end of the panel, press the vertical seam overlap firmly to seal the cylinder.
Step 3: Securing the Edges and Finishing Touches
With the main cylinder formed, you must now secure the overhanging fabric borders to create clean, professional rims. Apply a thin strip of double-sided tape or a bead of specialized lampshade glue along the inside rim of the styrene backing. Carefully fold the excess fabric border over the metal rings and press it down onto the inner adhesive.
Use your plastic smoothing tool or spatula to tuck the fabric tightly under the metal wire of the rings. Work your way around the entire circle, smoothing out any puckers or gathers as you go. For areas where the utility ring’s spokes meet the rim, use your scissors to make a small, precise vertical snip in the fabric border. This allows the fabric to fold neatly around the spoke without bunching up.
Next, secure the vertical seam where the two ends of the styrene panel overlap. Apply a thin, even layer of high-tack glue or double-sided tape to the overlap area. Press the seam firmly from the inside and outside simultaneously to ensure a permanent bond. Use your binder clips or clothespins to clamp the seam and the top and bottom rims tightly.
Allow the adhesive to cure completely. In humid tropical environments, such as the Philippines, curing can take longer than the standard time specified in the manual. Leave the clamped lampshade in a dry, well-ventilated room for at least 3 to 4 hours, or ideally overnight, before removing the clips. Finally, use small embroidery scissors to trim any tiny stray threads along the seams for a pristine finish.
Safety Checks and Installation: Fitting Your New Lampshade
Before mounting your newly crafted lampshade onto your lamp base, you must perform several electrical and physical safety checks. First, verify that the fitter style on your new shade matches your lamp base. A spider fitter requires a lamp harp and a top finial, an uno fitter screws directly onto the socket, and a clip-on fitter snaps directly onto a standard bulb. Ensure the fitter size is compatible and sits securely without wobbling.
Always check the electrical specifications of your lamp fixture. Locate the safety label on the lamp socket to identify the maximum wattage limit (for example, 40W or 60W). Never exceed this rated limit, as doing so can cause the socket to overheat, melting the styrene backing or creating a severe fire hazard. Additionally, ensure your lamp base is rated for the standard Philippine household voltage of 220V and features safety certification marks on the plug or socket.
To maximize safety and protect your custom fabric, use energy-efficient LED bulbs rather than traditional incandescent or halogen bulbs. LED bulbs emit significantly less heat, run cool to the touch, and consume less electricity, which minimizes the risk of scorching your custom fabric or degrading the adhesive over time. When selecting an LED bulb, choose a color temperature (such as warm white or cool daylight) that complements your fabric color and room ambiance.
Once the bulb is installed, visually inspect the clearance inside the shade. The light bulb must not physically touch the fabric, styrene backing, or metal frame. There should be a clearance of at least 5 to 7 centimeters between the bulb and the inner surface of the shade to allow heat to dissipate safely. If the bulb sits too close, adjust the harp size or choose a smaller bulb shape.
Before installing or adjusting your new lampshade, always turn off the light switch and unplug the lamp from the wall outlet to eliminate any risk of electrical shock. Carefully mount the shade, tighten the finial or collar, and plug the lamp back in. If you notice any signs of damaged wiring, a loose socket, or flickering on your lamp base, do not use the fixture; instead, consult a qualified professional electrician to repair or replace the electrical components.
Frequently Asked Questions (FAQ)
Can I use any type of light bulb with a DIY fabric lampshade?
No, you cannot safely use any bulb type. High-heat bulbs, such as traditional incandescent or halogen bulbs, emit intense heat that can scorch natural fabrics, melt synthetic fibers, and degrade the adhesive backing of your diy lampshade kit over time, presenting a serious fire hazard. It is highly recommended to use LED bulbs. LEDs run exceptionally cool, are energy-efficient, and are much safer for custom fabric shades. Always ensure the bulb’s equivalent light output meets your needs while staying well within the maximum wattage rating printed on your lamp’s socket.
What should I do if the fabric doesn't stick properly to the frame?
If the fabric is peeling or failing to stick, first check if the metal rings were thoroughly cleaned of manufacturing oils and dust before assembly. High humidity can also interfere with the initial tack of pressure-sensitive adhesives. To fix this, use binder clips to clamp the lifting fabric firmly against the metal ring while the adhesive cures. If the adhesive has failed completely, gently peel back the loose section, clean the metal wire with isopropyl alcohol, and apply a fresh layer of high-tack, heat-resistant double-sided tape or specialized fabric glue to re-secure the edge.

Community discussion
Share your experience or ask a question. Comments are reviewed before publication.