
Matching a delicate, geometric origami lampshade with an existing lamp base requires balancing physical hardware compatibility, structural scale, and aesthetic harmony. To achieve a secure fit, you must identify your base’s fitting mechanism—whether it uses a spider, Uno, or clip-on system—and select a shade with matching hardware. Beyond the physical connection, the visual success of the pairing depends on maintaining proper proportions, such as keeping the shade width roughly twice the width of the base. Because origami shades are typically constructed from paper or lightweight synthetic materials, ensuring heat safety with low-emission LED bulbs is paramount to prevent damage or fire hazards.
Assess Your Current Lamp Base Before Shopping
Before browsing for a new origami shade, you must thoroughly evaluate your existing lamp base to establish a baseline of physical specifications. Start by placing the base on a flat surface and using a tape measure to record its maximum width and total height. You should also measure the exact distance from the bottom of the base to the top of the electrical socket, as this determines where the shade will sit relative to the light source.
Next, examine the electrical components to ensure compliance with local household standards. In the Philippines, residential electrical systems operate on a 220V standard at 60Hz. Locate the manufacturer’s safety label, which is typically found on the underside of the base or stamped directly onto the plastic or metal socket housing. This label specifies the maximum allowable wattage for the fixture. Even though you will be pairing the paper shade with a low-heat bulb, knowing this structural limit prevents overloading the internal wiring.
Products mentioned in this guide
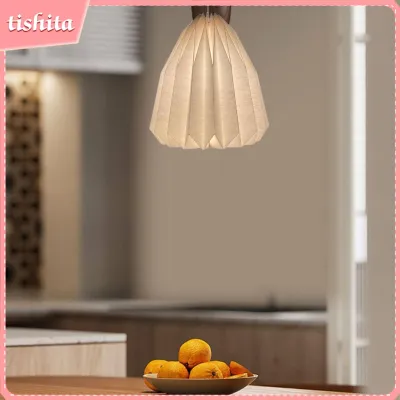
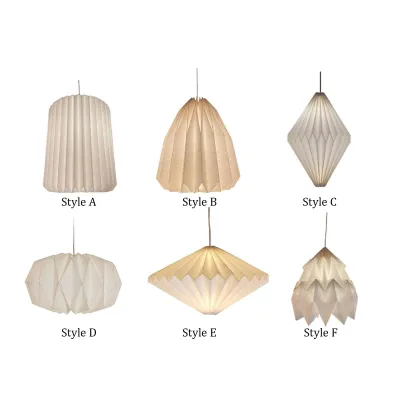
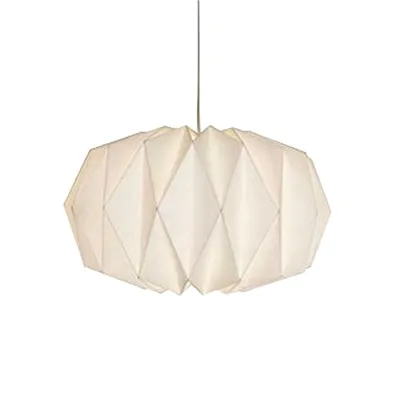
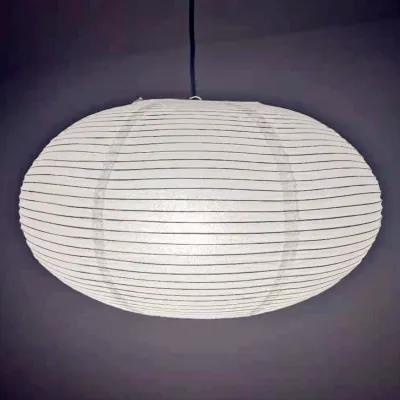
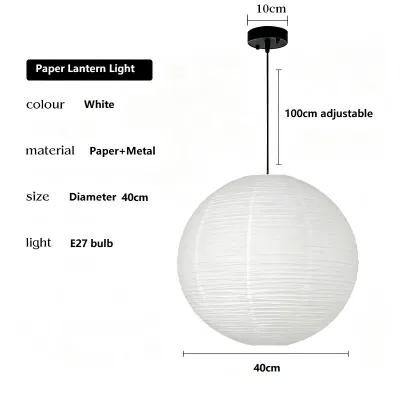
Prices are valid at publication and may change. Please refer to the product page for the latest price.
Note the current mechanical hardware configuration of your lamp. Look closely at how a shade would attach: does the base feature a vertical metal wire frame known as a harp, or does it have a bare socket with external threads? Documenting these physical attributes prevents the common mistake of purchasing a beautiful shade that cannot physically mount to your lamp.
Finally, take a moment to analyze the design language of your base. Consider its material composition—such as matte ceramic, brushed brass, industrial concrete, or polished wood—and its overall silhouette. Identifying whether your base leans toward mid-century modern, rustic, minimalist, or traditional design helps you select an origami pattern that complements rather than clashes with the existing structure.
Match the Fitting Type and Hardware
The mechanical connection between a lamp base and its shade is determined by the “fitter,” which is the structural metal inner frame integrated into the lampshade. To ensure a secure installation, you must match the fitter type of your new origami shade to the existing hardware on your base. Measuring the inner diameter of the fitter ring and determining the “drop”—the vertical distance from the top ring of the shade to the level where the fitter sits—is essential to prevent the bulb from peeking out beneath the bottom edge.

Spider Fitters and Harps
Spider fitters are the most common hardware configuration for medium to large table lamps. This system relies on a U-shaped metal wire support called a harp, which attaches to the lamp base below the socket and rises up around the lightbulb. The spider fitter consists of several metal spokes radiating inward from the top edge of the lampshade to a small central ring. This central ring rests directly on top of the harp’s threaded post and is secured in place by screwing a decorative cap, or finial, onto the threads.
When pairing an origami shade with a spider setup, measure the height of your existing harp to ensure the shade’s drop covers the socket assembly. If the paper folds sit too high or too low, you can easily purchase a replacement harp of a different height (typically costing between ₱150 and ₱400 in local hardware stores). Harps are highly adjustable and can be slipped out of their mounting slots at the base of the socket, allowing you to fine-tune the vertical position of your new origami shade.
Uno Fitters
Uno fitters are commonly found on smaller bedside lamps, accent lights, and swing-arm wall lamps. Unlike spider systems, an Uno fitter does not use a harp; instead, it features a large inner ring that screws directly onto the threaded exterior of the lamp socket. This ring is usually positioned at the top of the shade (for downward-pointing lamps) or recessed within the shade’s interior (for upward-pointing table lamps).
To ensure compatibility, you must measure the outer diameter of your lamp’s socket and compare it to the inner diameter of the origami shade’s Uno ring. Standard Uno rings generally measure around 31mm to 35mm, but variations exist. Installing an Uno shade requires you to unscrew and remove the lightbulb, slide the fitter ring over the socket threads, tighten it securely, and then reinsert the bulb. Ensure the paper folds of the origami shade do not obstruct your hand when rotating the bulb.
Clip-On Fitters
Clip-on fitters represent the simplest mounting method, designed primarily for small accent lamps, candelabras, and delicate wall sconces. This fitter style features a lightweight wire frame built into the shade that is shaped to grip the glass body of the lightbulb directly. Because the entire weight of the shade rests on the bulb itself, this system is only suitable for exceptionally lightweight origami shades, typically those made of single-ply paper or thin synthetic sheets.
Before choosing a clip-on origami shade, verify the shape of the bulb you intend to use. Clip-on fitters are engineered for specific bulb silhouettes, such as standard rounded A-shape bulbs or pointed torpedo/flame-shaped candelabra bulbs. Forcing a standard clip onto a flame-shaped bulb can cause the shade to sit crookedly or slip, potentially bringing the delicate paper folds into direct contact with the hot glass surface.
Determine the Right Size and Proportions
Achieving visual harmony between your lamp base and an origami lampshade requires adhering to established scaling guidelines. If the shade is too small, the lamp will look bottom-heavy and awkward; if it is too large, the fixture will appear unstable and visually overwhelming.
Width Rule: The maximum width or diameter of your lampshade should be approximately twice the width of the widest part of the lamp base. For example, if you have a cylindrical ceramic base that measures 15 centimeters at its widest point, your origami lampshade should have a diameter of roughly 30 centimeters. This ratio creates a balanced silhouette that anchors the entire fixture.
Height Rule: The height of the lampshade should represent approximately one-third of the total height of the complete lamp (the combined height of the base and the shade). To calculate this, measure your base from its bottom to the top of the socket. Divide this measurement by two to find the ideal height range for your origami shade. A base that stands 30 centimeters tall pairs beautifully with a shade that is 15 centimeters high, resulting in a total fixture height of 45 centimeters.
Origami Geometry Considerations: Unlike traditional smooth fabric drums, origami shades feature sharp angles, polyhedral structures, and deep pleated folds. These geometric facets catch light and shadow, which increases their perceived volume. A highly faceted, spherical origami shade will appear visually heavier and larger than a standard cylindrical shade of identical physical dimensions. If your lamp base is very slender or delicate, you may want to scale down the shade’s diameter slightly to prevent the complex geometry from swallowing the base.
Clearance Check: Measure the distance from the center of the lightbulb socket to the nearest inner fold of the origami shade. There should be a minimum clearance of 5 to 7 centimeters between the bulb surface and the paper or synthetic material. This physical separation is vital for facilitating heat dissipation and preventing localized hot spots on the shade.
Coordinate Visual Style and Light Diffusion
An origami lampshade is a sculptural statement piece. To integrate it successfully into your living space, you must coordinate its visual style with your base and understand how its physical construction influences light output.
Style Pairing: Because origami shades feature intricate, hand-crafted geometric patterns, they pair best with simple, solid-colored lamp bases. A minimalist ceramic cylinder, a sleek metal rod, or a smooth wooden base allows the complex paper craftsmanship of the shade to serve as the focal point. Conversely, pairing an intricate origami shade with a heavily textured, ornate, or highly patterned base can create visual chaos, where the two design elements compete for attention.
Light Quality and Shadows: The density of the origami folds and the thickness of the material directly influence light output. Tight, multi-layered folds made of heavy cardstock restrict direct light transmission, casting dramatic, sharp-edged geometric shadows onto adjacent walls and ceilings. This makes them ideal for creating atmospheric accent lighting in hallways or dining areas. If you require functional ambient light for reading or general illumination, opt for looser, single-layer pleated designs made of translucent paper or thin synthetic polymers, which diffuse light more evenly throughout the room.
Color and Material: Choices dictate the warmth and utility of the light. Pure white or natural off-white papers allow the maximum amount of light to pass through, yielding a clean, bright illumination that preserves the natural color temperature of your bulb. Dyed, pastel, or darker papers absorb more light, creating a subdued, moody ambiance.
In the tropical climate of the Philippines, where relative humidity levels can be consistently high, material selection carries practical consequences. Traditional untreated paper shades can absorb moisture over time, leading to sagging folds or structural warping. To ensure longevity, consider choosing origami shades made from specialized moisture-resistant treated papers, or durable synthetic polymers that mimic the appearance of paper while resisting humidity-induced distortion.
Installation and Heat Safety Checks
Ensuring electrical and thermal safety is the most critical step when matching and installing a paper-based or synthetic origami lampshade. Because paper is flammable and susceptible to heat degradation, you must establish strict safety boundaries.
Bulb Selection: You must use low-heat LED (Light Emitting Diode) bulbs. Traditional incandescent and halogen bulbs convert only a small fraction of their energy into light, releasing the rest as intense heat. This heat can quickly dry out, discolor, or ignite paper folds situated nearby. LEDs run exceptionally cool, making them the only safe option for origami fixtures.
Wattage Limits: You must strictly adhere to the wattage limits printed on your lamp base’s socket or safety label. Even though LEDs draw significantly less power than incandescent bulbs, never exceed the maximum rated wattage of the fixture. For example, if your lamp base is rated for a maximum of 40 watts, ensure your LED bulb’s actual power draw (not its “incandescent equivalent” brightness rating) is well below this limit. Most residential LEDs draw between 5 and 12 actual watts, which is perfectly safe.
Physical Inspection: Perform a thorough physical inspection immediately after mounting the shade. Before plugging the lamp into your 220V wall outlet, look down through the top of the shade and up from the bottom. Verify that no paper edges, loose threads, or structural folds are resting against the bulb, socket, or electrical cord. The shade must sit completely level and rigid; if it wobbles, re-tighten the finial or Uno ring.
When to Stop: If during the installation process you discover that your lamp base has frayed wires, a loose socket, or a damaged switch, do not attempt to mount the shade. Similarly, if the origami shade you purchased lacks clear manufacturer safety labels regarding fire-retardant treatments, or if the mounting hardware does not align securely with your base, halt the installation. Under these circumstances, you should consult a qualified electrician or lighting professional to repair the base or adapt the fixture safely.
Frequently Asked Questions (FAQ)
Can I use an origami lampshade on a pendant light?
Yes, you can use an origami lampshade on a pendant light, provided the shade’s fitter matches your pendant fixture’s hardware. Most pendant lights utilize a threaded collar system similar to an Uno fitter, where the shade is sandwiched between the socket and a screw-on ring. Before hanging, verify the weight capacity of your pendant cord or suspension chain. While single-layer paper shades are extremely light, complex or multi-layered origami structures can be heavier and may require a reinforced cable or a professional installation to ensure they hang safely without straining the electrical connections.
How do I clean a paper origami lampshade?
To clean a paper origami lampshade, you must avoid water, liquid sprays, and damp cloths, as moisture will warp the paper fibers, ruin the precise geometric folds, and leave permanent water stains. Instead, remove dust by gently wiping the surfaces with a soft, dry microfiber cloth. For the deep, hard-to-reach crevices of the origami folds, use a clean, soft-bristled makeup brush or a delicate paintbrush to sweep away dust. Alternatively, you can use a vacuum cleaner equipped with a brush attachment, provided you set the machine to its lowest suction level and maintain a safe distance to prevent tearing the paper.
Community discussion
Share your experience or ask a question. Comments are reviewed before publication.