
Finding the perfect chandelier bulb cover requires precision, a basic understanding of lighting components, and strict attention to safety. A poorly fitted cover not only looks unbalanced but can also trap excessive heat or expose delicate electrical connections. By measuring the outer diameter of your sockets, verifying the bulb base type, and selecting a heat-resistant material suitable for your environment, you can easily restore your fixture’s classic elegance.
Understanding Bulb Cover Types and Electrical Compatibility
Chandelier bulb covers, also known as candle covers or socket sleeves, are decorative tubes designed to slip over bare metal sockets. They protect internal electrical components while mimicking the appearance of traditional wax candles or providing a clean, modern aesthetic.
Before you begin measuring, you must identify the specific type of cover your fixture requires. Standard socket sleeves slide directly over the metal socket casing, while decorative candle covers feature simulated wax drips on the sides. Mini-shades, by contrast, usually clip directly onto the light bulb itself or rest on a small wire frame, altering the light distribution rather than covering the socket.
Products mentioned in this guide
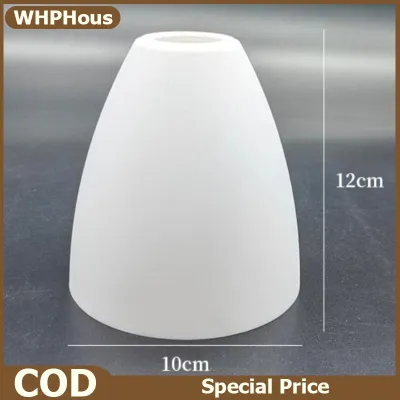
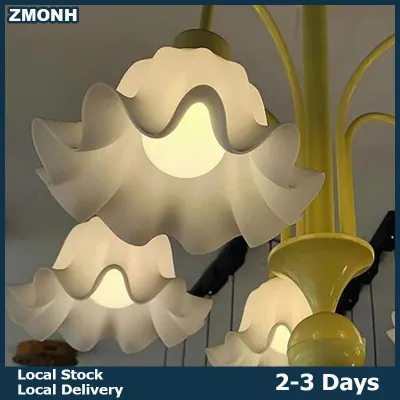
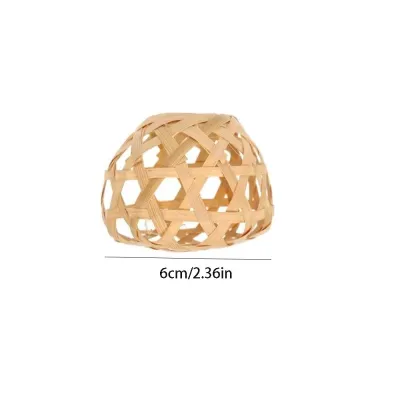

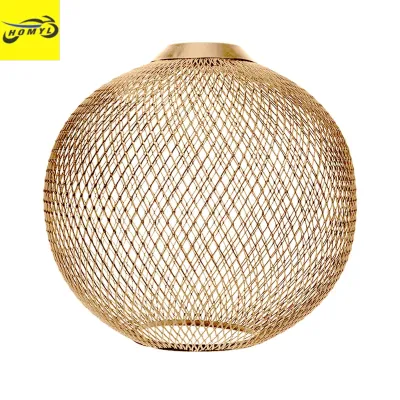
Prices are valid at publication and may change. Please refer to the product page for the latest price.
Electrical compatibility is your primary safety boundary. Every light fixture has a maximum wattage rating that you must never exceed. You must verify the specific bulb base type of your chandelier—most commonly E12 (candelabra base) or E14 (European candelabra) in smaller fixtures, or E26 and E27 (medium bases) in larger designs. The new cover must accommodate the outer physical dimensions of these sockets without compressing any electrical components.
Always check the applied product’s label and the treated item’s manufacturer instructions before making any modifications. If instructions conflict or are missing, consult the manufacturer or a qualified professional.
Safety Warning: Before inspecting, touching, or measuring any part of your chandelier, always turn off the power at the main circuit breaker. Relying solely on a wall switch is insufficient, as wiring faults can still leave sockets energized.
Essential Tools for Measuring and Safe Replacement
Gathering the correct tools beforehand prevents unnecessary trips up and down the ladder and ensures highly accurate measurements. Precision is vital because even a millimeter of difference can prevent a socket sleeve from sliding on smoothly.

Prepare the following essential tools:
- Sturdy step ladder: Ensure it is placed on a flat, stable surface directly beneath the fixture.
- Digital calipers or a flexible measuring tape: Calipers are highly recommended for capturing precise outer diameters.
- Non-contact voltage tester: Use this to verify that no electrical current is flowing to the sockets before you touch them.
- Soft microfiber cloth: This protects the chandelier's delicate metal, glass, or crystal finishes from scratches and oils on your hands.
Before you disassemble anything, use your smartphone to take clear, well-lit reference photos of the existing setup. Capture the socket base, the overall chandelier style, and how the current covers sit relative to the decorative arms. These photos will serve as an invaluable reference when browsing online marketplaces or consulting lighting specialists.
How to Accurately Measure Your Chandelier Sockets
Measuring Socket Diameter and Base Type
To ensure your new chandelier bulb cover slides over the electrical socket securely, you must measure both the outer diameter of the socket and its total vertical height.
Use your digital calipers or measuring tape to measure the widest external point of the metal or plastic socket sleeve. Do not measure the inside of the socket where the bulb screws in; you need the external measurement so the cover can slide over the outside. Write down this measurement in both millimeters and inches, as manufacturers use both systems.
Next, identify the exact base type of your fixture. You can find this information printed directly on the socket casing, on the fixture’s original safety certification label, or in the manufacturer’s manual. Visual guessing is highly unreliable and frequently leads to ordering the wrong size, as E12 and E14 bases look remarkably similar but have different thread pitches and diameters.
Pay close attention to whether your socket has a threaded or smooth exterior. Some modern chandeliers use threaded socket rings to hold glass shades in place, which requires a cover with specific internal ridges or a wider inner diameter to clear the threads. Smooth sockets generally accept standard sliding sleeves.
Checking Vertical Clearance and Bulb Height
Measuring the height of your socket ensures the replacement cover sits flush without leaving exposed metal or protruding awkwardly.
Measure from the very top edge of the electrical socket down to the bottom of the decorative bobesche, which is the drip pan or collar at the base of the candle. If your chandelier does not have a bobesche, measure down to the point where the socket meets the metal arm of the fixture. This measurement determines the exact length of the sleeve you need to purchase.
You must also account for the physical height of the bulb itself. The cover should hide the entire socket but must not extend so high that it covers the glowing filament or glass envelope of the bulb.
Maintaining safe physical clearance between the top of the cover and the bulb is essential for heat dissipation. If a cover is too tall, it can trap heat around the bulb base, potentially shortening the lifespan of your LED bulbs or creating a fire hazard with traditional incandescent bulbs.
Selecting the Right Material and Finish for Your Fixture
Choosing the right material for your chandelier bulb cover involves balancing your decorative preferences with the practical realities of your local climate and the type of bulbs you use.
- Paper and Cardboard: Traditional paper or beeswax-covered cardboard sleeves offer an authentic, vintage look that mimics antique candles. However, they have a very low heat tolerance and are highly susceptible to moisture damage. In tropical, high-humidity environments like the Philippines, paper covers can warp, mold, or discolor quickly, making them a poor choice for rooms without constant air conditioning.
- Plastic and Resin: Modern plastic, acrylic, or resin covers are exceptionally durable and moisture-resistant. They will not warp or degrade in humid weather, making them highly practical. Many resin covers are molded with realistic wax drips and are easy to wipe clean with a damp cloth. Replacement plastic sleeves are highly affordable, typically costing under ₱150 to ₱300 per set of six, while custom glass or brass covers may range higher.
- Metal and Glass: Metal covers (such as brass, copper, or chrome) and glass sleeves offer a premium, high-end aesthetic. They have excellent heat tolerance and are completely unaffected by humidity. Metal sleeves can be polished to match the chandelier's frame perfectly, while glass sleeves can add a sleek, modern touch.
Always verify the material’s maximum temperature rating against your chosen bulb type. To minimize heat buildup inside enclosed covers, it is highly recommended to use energy-efficient LED bulbs. LEDs run significantly cooler than traditional incandescent or halogen bulbs, protecting your new covers from heat-induced cracking or discoloration over time.
When selecting a finish—whether matte, glossy, metallic, or textured—consider the existing hardware in the room. A matte white or cream finish provides a classic candle appearance, while a polished brass or brushed nickel finish can seamlessly integrate the sleeves into the metal frame of the chandelier itself.
Step-by-Step Installation and Safety Checks
Once you have purchased the correct size and material, installing your new chandelier bulb covers is a straightforward process, provided you follow strict safety protocols.
- Step 1: Isolate the Power: Ensure the power is completely shut off at the main circuit breaker. Use your non-contact voltage tester inside each socket to confirm there is absolutely no electrical current present before proceeding.
- Step 2: Remove the Old Components: Carefully unscrew the existing light bulbs and set them aside in a secure place. Gently slide the old bulb covers upward and off the sockets. If they resist, do not twist or pull violently.
- Step 3: Clean the Area: Use a dry, clean microfiber cloth to wipe away any accumulated dust, cobwebs, or debris from the socket exterior and the bobesche. Never use wet cloths or liquid cleaners directly on or inside electrical sockets.
- Step 4: Slide on the New Covers: Align the new cover over the socket and gently slide it downward until it sits completely flush against the bobesche or fixture arm.
- Step 5: Reinstall and Test: Carefully screw the bulbs back into their sockets. Ensure the cover remains centered and does not pinch any wires. Once everything is secure, restore power at the breaker and turn on the switch to test your work.
Important Safety Warning: Never force a cover onto a socket if it feels too tight. Forcing a tight sleeve can crack the plastic socket casing, damage the delicate finish of your chandelier, or pinch and expose live electrical wiring, creating an immediate shock or fire hazard.
Troubleshooting Fit Issues and Knowing When to Call a Pro
Even with careful measurements, you may occasionally encounter minor fit issues during installation that require adjustment.
If a new cover is slightly too loose and wobbles on the socket, you can use safe, non-conductive socket adapters or small silicone spacers designed specifically for lighting fixtures to hold the sleeve steady. Never use tape, paper, or other flammable materials inside the cover to tighten the fit.
If the cover is too tight, do not attempt to sand down the inside of the sleeve or force it. This is a clear sign that the outer diameter of your socket is larger than the inner diameter of the cover. Immediately return or exchange the covers for the next size up.
If you find that the light bulb peeks out too much from the top of the cover, exposing the metal neck of the bulb, you can resolve this by switching to a shorter bulb style (such as a torpedo or blunt-tip shape) or purchasing slightly taller covers that can be trimmed down to the exact height required.
You must know when to stop and call a professional. If you notice that any socket casing is cracked, the wiring insulation is dry-rotted or frayed, or the entire chandelier feels loose or unstable at the ceiling box, stop your DIY work immediately. These are serious electrical hazards that require the expertise of a licensed electrician to repair safely.

Community discussion
Share your experience or ask a question. Comments are reviewed before publication.