
Finding the perfect lampshade to refresh a beloved lamp or repair a damaged fixture requires more than simply choosing an attractive fabric or shape. To ensure a secure fit and safe operation, you must precisely measure and match your lampshade spare parts to your existing lamp base. Mismatching these components can result in an unstable shade, an exposed bulb, or even safety hazards due to poor heat clearance.
In tropical climates like the Philippines, where high ambient humidity and warm temperatures are common, proper heat dissipation and secure hardware fittings are especially critical. Selecting the correct spare parts ensures your lighting remains safe, functional, and aesthetically balanced. By understanding the mechanical connections of your lamp, you can confidently source the exact replacement parts needed for a successful upgrade.
Identify the Correct Fitter Type for Your Lamp
Before taking any measurements, you must identify how your lampshade physically connects to your lamp base. This connection mechanism is known as the fitter. Sourcing the wrong fitter type means the replacement parts will not physically attach to your lamp, regardless of how well the other dimensions align. There are three standard fitter types used in residential lighting.
Products mentioned in this guide
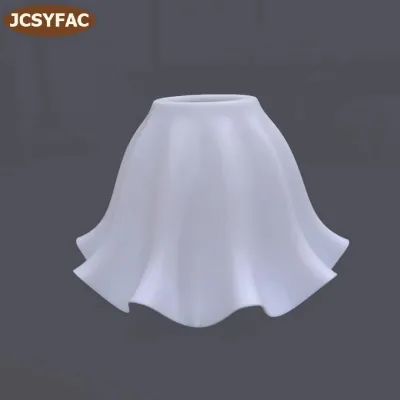
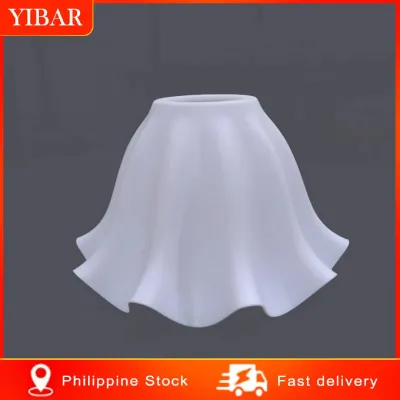
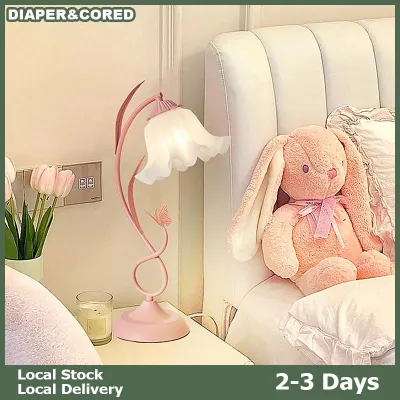
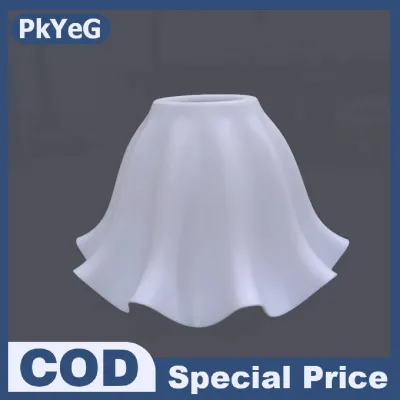
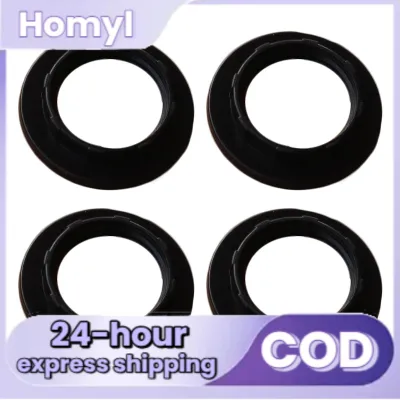
Prices are valid at publication and may change. Please refer to the product page for the latest price.
Spider Fitters
This is the most common style for table and floor lamps. A spider fitter features a central ring with metal spokes (resembling a spider web) that extend to the top rim of the lampshade. This central ring sits on top of a detachable U-shaped metal wire frame called a lamp harp. The harp attaches to the lamp base below the socket, rises up around the bulb, and terminates in a threaded post. Once the spider fitter is placed over the post, a decorative screw cap called a finial is tightened down to secure the shade in place.
Uno Fitters
Uno fitters are designed to connect directly to the lamp socket itself, eliminating the need for a separate harp or finial. These fitters feature a large central ring that either slips over or threads directly onto the outer shell of the light socket. They are most commonly found on smaller bedside table lamps, downward-pointing wall sconces, or bridge arm floor lamps. If your lamp uses an Uno fitter, you must inspect whether the socket is threaded to accept a screw-on ring or if it requires a slip-on design held in place by a plastic collar.
Clip-On Fitters
Clip-on fitters are the simplest connection style and are typically reserved for small accent lamps, wall sconces, or multi-bulb chandeliers. This fitter features a wire frame built directly into the top of the shade that clips directly onto the glass envelope of the light bulb. Because they rely entirely on the bulb for support, clip-on fitters are only compatible with lightweight shades. They are also designed for specific bulb shapes, such as standard round bulbs or flame-shaped chandelier bulbs, so you must match the clip shape to your specific bulb style.
How to Measure Harp Height and Fitter Diameter
Once you have identified your fitter type, you must take precise physical measurements of your existing hardware. Accurate measurements prevent the common mistake of buying a shade that sits too high, exposing the unsightly socket, or too low, crowding the lamp base.

Measuring Harp Height
If your lamp uses a spider fitter, the height of the lamp harp dictates where the shade will sit. To measure your harp, remove the lampshade and finial. Measure the vertical distance from the bottom of the harp (where the metal tines slide into the saddle mounting bracket below the socket) up to the flat base of the threaded post at the top. Do not include the threaded post itself in this measurement. A properly sized harp ensures that the bottom rim of your new lampshade extends down just far enough to cover the electrical socket and neck of the lamp base.
Measuring Fitter Diameter and Drop
To ensure your replacement parts fit securely, you must measure the inner diameter of the fitter ring using a precise ruler or caliper. Standard spider fitters typically feature an inner opening of 1/2 inch or 5/8 inch, while Uno fitters require larger openings to accommodate the socket diameter, often measuring around 1-1/4 inches to 1-1/2 inches.
Additionally, check the “drop” of the fitter, which is the vertical distance from the top edge of the lampshade down to the level where the fitter ring sits. A recessed fitter (one with a deep drop) will make the shade sit lower on the lamp, while a flush fitter will make the shade sit higher. Always verify these mechanical dimensions rather than guessing, as even a minor discrepancy can prevent the parts from threading or sitting level.
Distinguishing Aesthetic Dimensions from Mechanical Specs
While the top fitter dimensions and harp height are strict mechanical requirements that must match your hardware exactly, the overall height, top diameter, and bottom diameter of the lampshade are aesthetic choices. These exterior dimensions influence how light spreads throughout your room and how the lamp balances visually with your furniture. As a general rule of thumb, the height of the lampshade should be roughly two-thirds the height of the lamp base, and the bottom width of the shade should be equal to the height of the base. However, these proportions can be adjusted to suit your personal style, provided the internal mechanical connections match.
Match Bulb Size and Wattage to the Shade
Your chosen lampshade must safely accommodate the physical size and heat output of your light bulb. Failing to match these specifications can lead to damaged materials, poor light distribution, or serious fire hazards.
Bulb Shape and Clearance
Before purchasing a replacement shade, check the physical dimensions of the light bulb you intend to use. Standard A-shape bulbs, large globe bulbs, and elongated decorative bulbs all have different clearance requirements. There must be at least 1 to 2 inches of space between the bulb’s glass surface and the inner lining or metal frame of the lampshade. If the bulb sits too close to the shade, the concentrated heat can scorch, discolor, or melt fabric, paper, or plastic linings over time.
Maximum Wattage and Thermal Safety
Always locate the safety label on your lamp socket to identify its maximum wattage rating. Never use a bulb that exceeds this specified limit. In humid environments, heat can build up rapidly inside enclosed or narrow lampshades, accelerating the degradation of both the socket wiring and the shade material. If you prefer a warmer, high-output light, ensure your lampshade has a wide top opening to allow hot air to escape freely.
Transitioning to LED Technology
If you are struggling to maintain safe clearance distances inside a compact or uniquely shaped lampshade, consider switching from traditional incandescent bulbs to LED alternatives. LEDs emit significantly less heat than incandescent bulbs while providing equivalent or greater light output. This reduced thermal footprint allows you to safely use smaller shades or delicate materials that would otherwise be at risk of heat damage, provided the physical shape of the LED bulb still clears the internal wire frame.
Safe Installation and When to Call a Professional
Installing replacement lampshade parts is generally a straightforward task, but it must be done with care to protect both your safety and the integrity of your lighting fixture.
Power Isolation
Before removing an old lampshade, adjusting a socket-attached Uno fitter, or replacing a lamp socket, you must isolate the electrical power. Always unplug the lamp from the wall outlet. If you are working on a hardwired wall sconce or pendant light, switch off the corresponding circuit breaker at your home’s main electrical panel. Never attempt to adjust or replace parts on a live fixture.
Avoid Over-Tightening and Cross-Threading
When assembling your new hardware, handle all threaded components gently. Hand-tighten finials, Uno rings, and socket collars without forcing them. Over-tightening can easily strip the delicate metal threads on the harp post, crack plastic socket collars, or warp the internal wire frame of your new lampshade. If a part does not spin smoothly, back it off, realign the threads, and try again.
Knowing When to Consult an Expert
While replacing a shade, harp, or finial is a safe DIY project, certain situations require professional assistance. Inspect your lamp base during the replacement process. If you notice frayed electrical cords, loose or cracked sockets, flickering lights, or signs of melting on the plastic components, stop immediately. Do not attempt to modify the internal wiring yourself. Take the lamp to a qualified technician or hire a licensed electrician to repair the electrical components safely.

Community discussion
Share your experience or ask a question. Comments are reviewed before publication.