
Planning and measuring for LED strip lights before purchasing is the most reliable way to ensure a seamless, professional installation. A successful setup requires mapping out the exact path of your light run, selecting the correct placement for your lighting goals, and calculating the electrical load to prevent safety hazards or dimming. Taking these steps beforehand saves time and prevents common issues such as purchasing incompatible components, running out of length mid-installation, or overloading your power supply.
In the Philippines, environmental factors like high tropical humidity and typical home construction—such as solid concrete walls and ceiling slabs in modern condominiums—introduce unique installation challenges. Standard adhesive backings often fail under humid conditions, and drilling into structural concrete requires careful coordination. By understanding how to measure your space, account for corners, and calculate power requirements, you can design an ambient or task lighting system that is both durable and visually striking.
A Quick Planning Checklist for LED Strip Lights
Before purchasing any lighting equipment, running through a structured preparation checklist helps prevent costly mistakes. Many homeowners buy LED strips only to realize the light output is uneven, the strip is too short for the room, or the power adapter overheats due to an insufficient wattage rating. A systematic approach ensures that all components work together safely and look cohesive once installed.
Products mentioned in this guide
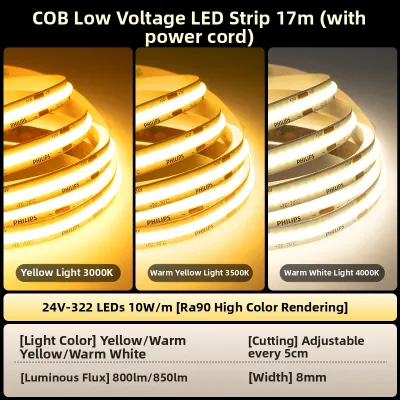
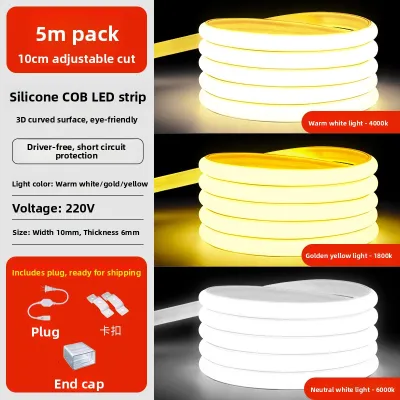
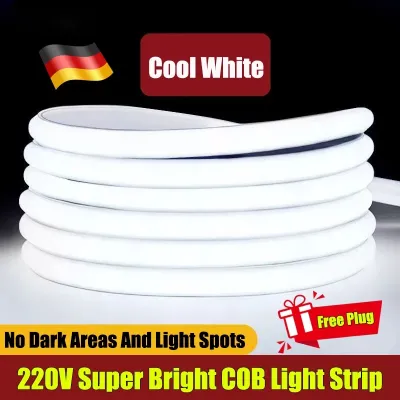
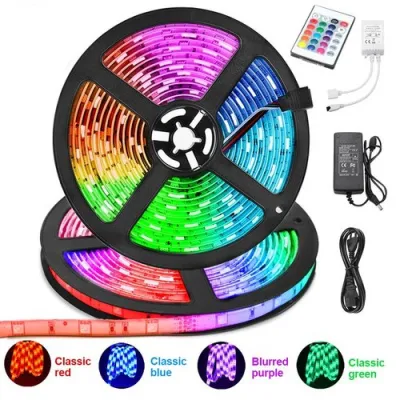
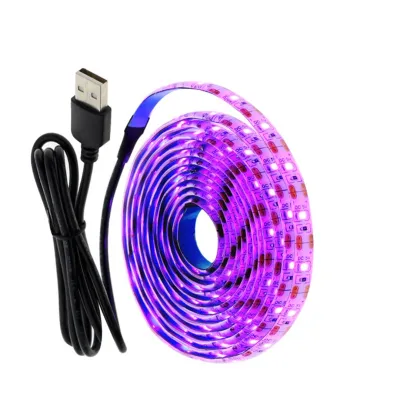
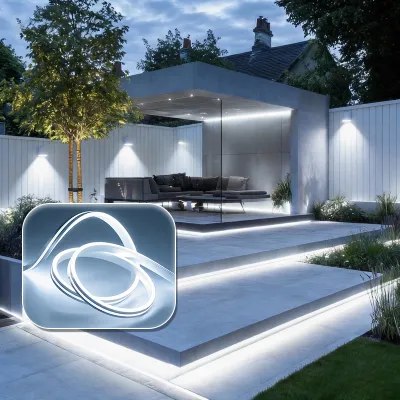
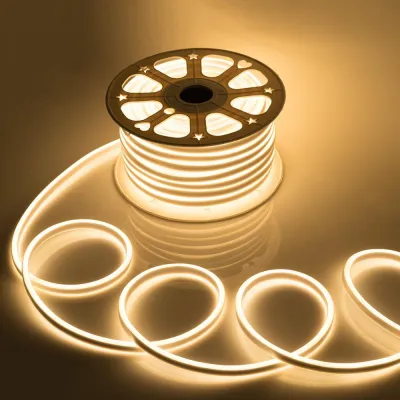

Prices are valid at publication and may change. Please refer to the product page for the latest price.
To achieve a clean finish, your pre-installation planning should cover these three essential phases:
- Identify Placement and Purpose: Determine whether the lights will serve as soft ambient lighting, functional task lighting, or decorative accent lighting, as this dictates the brightness and color temperature you need.
- Measure the Exact Path: Map out the exact route of the strip, including any detours around obstacles, and add a small buffer for connectors and power routing.
- Calculate Power and Voltage Requirements: Determine the total wattage of your planned run, select a compatible power supply with a safety margin, and choose the correct voltage to avoid light dimming at the far end of the strip.
Best Placement Locations for Ambient and Task Lighting
The placement of your LED strip lights determines how light is distributed across the room. Unlike traditional bulbs that project light outward from a single point, LED strips are designed to create continuous lines of light. Deciding whether you want a soft, diffused glow or focused, direct illumination will guide where you position the strips and how you conceal them from view.

Ceiling Coves and Indirect Lighting
Placing LED strips inside ceiling coves, recessed trays, or behind crown molding is an excellent way to provide ambient lighting for living rooms and bedrooms. This method hides the light source completely, directing the illumination upward to reflect off the ceiling and create a soft, glare-free glow. It adds visual height to a room, making small spaces feel larger and more open.
To ensure the strip remains secure over time, the mounting surface inside the cove must be completely smooth, clean, and free of dust or plaster residue. In tropical climates where humidity can cause dust to stick to surfaces, wiping the area down with rubbing alcohol and letting it dry completely before mounting is a critical step. If the surface is uneven or highly textured, the adhesive backing on the strip will eventually peel off, causing the light distribution to become wavy and inconsistent.
Under-Cabinet and Task Lighting
For kitchens, study desks, and vanity mirrors, LED strips serve as highly functional task lighting. In the kitchen, mounting strips under upper cabinets illuminates countertops directly, making food preparation safer and easier. To avoid creating harsh reflections on glossy backsplashes or polished stone countertops, position the LED strip near the front bottom edge of the cabinet, directing the light straight down rather than backward toward the wall.
When planning task lighting, color temperature and brightness are key considerations. Cool white (5000K to 6500K) or neutral white (4000K) light is highly recommended for work areas because it improves visibility, reduces eye strain, and helps you focus. Ensure the strip you select has a high Color Rendering Index (CRI) of 90 or above so that food colors and materials appear natural and accurate under the light.
Behind Furniture and Accent Lighting
Accent lighting adds depth and drama to architectural features, shelving, and furniture. Mounting LED strips behind a wall-mounted television creates a beautiful bias lighting effect that reduces eye strain by softening the contrast between a bright screen and a dark room. Similarly, placing strips under platform beds, behind headboards, or beneath floating shelves creates a modern, floating aesthetic.
When installing strips behind furniture, always leave a clearance of at least two to five centimeters between the furniture and the wall to allow for proper air circulation and heat dissipation. Because LED strips generate heat during operation, trapping them in tight, unventilated spaces can shorten their lifespan. Additionally, position the strips so that the individual light-emitting diodes (LED dots) are never in your direct line of sight; the goal is to see the smooth glow of the light, not the physical light source.
How to Measure Your Space and Account for Corners
Accurate measurements are the foundation of a clean LED installation. Because LED strips are flexible but cannot be bent sharply in every direction, you must plan how the strip will navigate the physical layout of your room, especially when encountering corners and obstacles.
To measure your space effectively, follow these step-by-step instructions:
- Use a Flexible Measuring Tape: Measure the exact path the LED strip will travel. Do not just measure the wall length; follow the precise track, including any turns, vertical drops, or detours around cabinet supports.
- Locate the Nearest Power Outlet: Measure the distance from the start of your LED strip run to the location of your power outlet or junction box. This distance determines how long your low-voltage power lead wire needs to be.
- Identify the Cut Points: LED strips have specific, designated cut marks spaced at regular intervals along their length, usually marked by copper pads or a small scissor icon. Check the product specifications to see how often these cut points occur (e.g., every 5 cm or 10 cm), as your final installed length must align with these marks.
- Add a Length Buffer: Always add a 10% to 15% buffer to your total measured length. This extra length accounts for minor measurement errors, the physical space consumed by corner connectors, and any slack needed to route wires neatly to the power supply.
Handling corners requires special care to avoid damaging the product. While LED strips are flexible, bending them flat at a sharp 90-degree angle will crease the strip, fracturing the delicate internal copper circuitry and causing the entire section beyond the bend to fail. To safely navigate inside or outside corners, you should use dedicated solderless L-shape connectors or short, flexible wire jumper cables. These accessories allow you to cut the strip at a designated cut point and bridge the corner safely without putting mechanical stress on the circuit board.
How to Calculate Power Needs and Prevent Voltage Drop
An underpowered LED strip system can lead to flickering, dimming, or premature failure of the power supply. To prevent these issues, you must calculate the total power consumption of your light run and choose a compatible transformer (also known as an LED driver) that can handle the load safely.
To find your total power requirement, use the following formula:
$$\text{Total Wattage} = \text{Total Length of the Run (in meters)} \times \text{Wattage per Meter of the Strip}$$
For example, if you plan to install a continuous run of 6 meters of LED strip light, and the manufacturer specifications state that the strip consumes 9.6 watts per meter, your calculation would be:
$$6\text{ meters} \times 9.6\text{ W/m} = 57.6\text{ watts}$$
Once you have your total wattage, you must apply the 20% safety buffer rule (often called the 80% load rule). This rule dictates that your power supply should never run at 100% capacity, as doing so causes extreme heat buildup and drastically shortens the lifespan of the transformer. To find the minimum rated capacity for your power supply, multiply your total wattage by 1.2:
$$57.6\text{ watts} \times 1.2 = 69.12\text{ watts}$$
In this scenario, you should choose a power supply rated for at least 70 watts or higher. Standard commercial sizes like a 75-watt or 100-watt power supply would be excellent choices.
Another critical factor to plan for is voltage drop. As electrical current travels along the thin copper traces of an LED strip, resistance causes the voltage to gradually decrease. This results in the LEDs at the far end of the run appearing noticeably dimmer or changing color compared to those closest to the power supply. For standard 12-volt (12V) systems, voltage drop typically becomes visible on continuous runs longer than 5 meters. For 24-volt (24V) systems, which carry current more efficiently, you can usually run up to 10 meters continuously before experiencing dimming.
If your design requires a long continuous run of light, you can prevent voltage drop using one of these three methods:
- Use a 24V System: Choose 24V LED strips and a matching 24V power supply instead of 12V components to support longer single runs.
- Plan for Power Injection: Run a separate, thicker gauge wire parallel to the LED strip and connect it to supply power to both ends of the strip, or at regular intervals along the run.
- Daisy-Chain from the Center: Place your power supply in the middle of your light run and split the output, running one strip to the left and another to the right, effectively halving the length of each individual run.
Always ensure that the output voltage of your power supply matches the voltage rating of your LED strip exactly. Connecting a 12V strip to a 24V power supply will immediately destroy the LEDs, while connecting a 24V strip to a 12V power supply will result in extremely dim lights that may not function at all.
Essential Mounting Accessories for a Clean Finish
While many LED strips come with double-sided adhesive tape on the back, relying solely on this tape often leads to disappointing results. To achieve a professional look and ensure your lights stay in place for years, you should plan to use dedicated mounting accessories.
Aluminum channels, also known as LED profiles, are highly recommended for almost every installation. These channels serve three vital functions: they act as a heat sink to draw damaging heat away from the LEDs, they protect the delicate circuit board from dust and physical contact, and they house a plastic diffuser cover. The diffuser softens the light, blending the individual LED dots into a continuous, seamless bar of light, which is especially important when the strip is installed near reflective surfaces like polished tiles or stone countertops.
In the humid climate of the Philippines, standard adhesive backing degrades rapidly due to moisture and ambient heat, causing the strips to sag or fall down within a few months. Using aluminum channels secured with mechanical mounting clips or screws provides a permanent, reliable physical hold. If you must use adhesive tape directly on a surface, opt for high-quality, moisture-resistant mounting tapes, and ensure the surface is meticulously cleaned and dried beforehand.
Finally, plan your control system compatibility. Depending on the type of LED strip you choose—whether it is a single-color strip, a tunable white strip (which allows you to adjust the warmth of the light), or an RGB/RGBW color-changing strip—you will need a compatible controller. Ensure your dimmer switches or smart controllers are rated to handle the voltage and total wattage of your system, and decide whether you prefer physical wall switches, handheld remotes, or smart home integration via mobile applications.
Safety Checks and When to Hire a Licensed Electrician
Safety should always be your top priority when planning any electrical project. While low-voltage LED installations (12V or 24V) are generally safe for DIY enthusiasts, connecting the power supply to your home’s main electrical system carries significant risks if not handled correctly.
If you live in a condominium or a managed residential development, you must check your property management guidelines before starting work. Many building administrations have strict rules regarding renovations. For example, drilling into structural concrete ceilings or walls is often prohibited because it can damage hidden tension cables or structural reinforcement. Additionally, making permanent modifications to the unit’s electrical wiring usually requires submitting a work permit and layout plan for approval.
When planning your electrical connections, consider how the system will be powered. If you are using a simple plug-in adapter that plugs into an existing wall outlet, the installation is straightforward. However, if you plan to hardwire the LED driver directly into a wall switch or an existing ceiling junction box, you must verify that the circuit breaker has sufficient capacity to handle the additional load. Never overload a circuit that already powers high-draw appliances like air conditioners or water heaters.
For installations in wet or damp areas, such as bathrooms, outdoor balconies, or kitchens near the sink, you must use LED strips with the correct Ingress Protection (IP) rating. Standard indoor strips are rated IP20 and offer no protection against moisture. For areas exposed to steam or occasional splashes, select strips rated IP65 or higher, and ensure all wire connections and power supplies are housed in sealed, waterproof junction boxes.
To ensure safety and compliance, draw a clear boundary between DIY tasks and professional work. You can safely measure, cut, mount the aluminum channels, and stick the low-voltage LED strips into place yourself. However, any task that involves opening your main electrical panel, running new wires inside walls, installing new circuit breakers, or modifying fixed high-voltage building circuits must be performed by a licensed professional electrician. Always isolate the power at the main circuit breaker before touching any electrical connections, and follow all local electrical codes to protect your home from electrical fires or shocks.
Community discussion
Share your experience or ask a question. Comments are reviewed before publication.