
Replacing a worn, faded, or damaged lamp cover is one of the most effective ways to refresh a room’s interior design and optimize its light distribution. However, finding the right replacement is not simply a matter of choosing a color or pattern that matches your decor. A mismatch in physical dimensions or mounting hardware can result in an unstable fixture, exposed bulbs, or even a fire hazard.
To ensure a seamless fit, you must accurately measure your existing cover, identify the correct attachment mechanism, and follow safe installation practices. This guide provides a comprehensive, step-by-step approach to measuring, removing, and installing a new cover for table lamps, floor lamps, and minor residential fixtures.
Preparation and Safety First
Before handling any lighting fixture, prioritizing electrical safety is paramount to prevent shocks, burns, or damage to the lamp’s components. Begin by turning off the power at the wall switch, and completely unplug the lamp from the electrical outlet. Never rely solely on the lamp’s built-in inline switch, as current may still flow to the socket.
Products mentioned in this guide
![[COD] 1Pcs Plastic Lamp Cover Simple Home Light Cover Chic Light Accessory White](https://img.lazcdn.com/g/p/2f4c32e3506e275038a0ff063218d2b6.jpg_400x400q80.jpg_.webp)
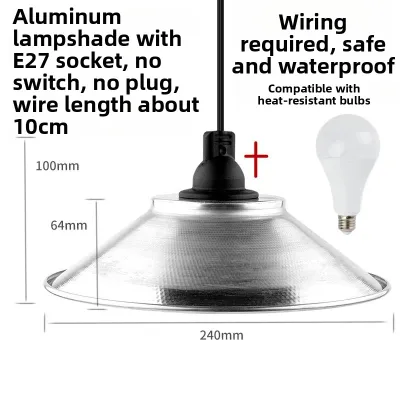
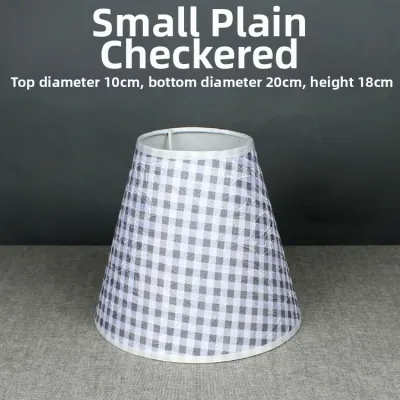
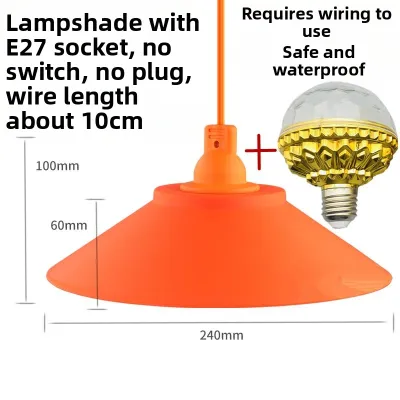
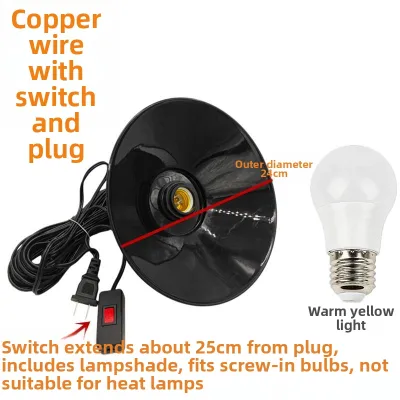
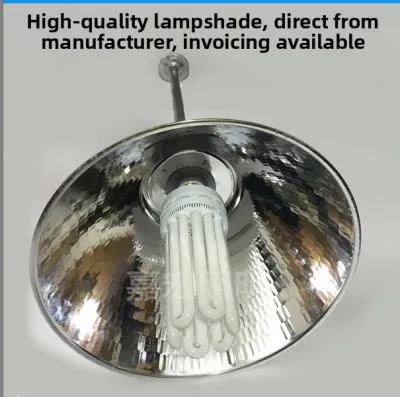
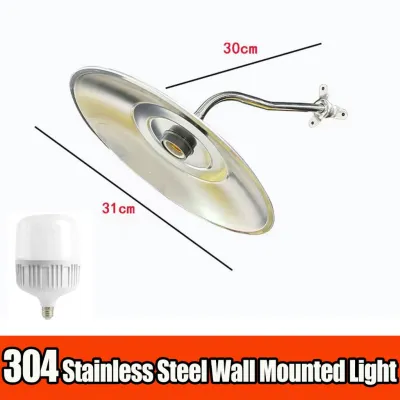
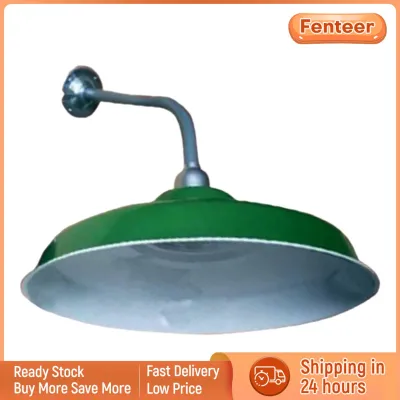
Prices are valid at publication and may change. Please refer to the product page for the latest price.
If the lamp has been in use, allow the bulb and the fixture to cool down completely before touching them. Incandescent and halogen bulbs can reach high temperatures quickly and retain heat long after being turned off, posing a severe burn risk to bare skin.
Gather your tools and materials in a clean, well-lit workspace. You will need a flexible measuring tape, a step ladder if you are accessing a taller floor lamp, clean cotton gloves, and a soft microfiber cloth. Wearing clean cotton gloves prevents the transfer of natural skin oils to delicate glass, fabric, or polished metal surfaces, which can cause permanent staining or smudge marks.
Before proceeding, perform a quick visual inspection of the entire fixture. If you notice any signs of frayed wires, cracked insulation, burnt or discolored sockets, or structural instability in the lamp base, stop immediately. Do not attempt to replace the cover; instead, set the fixture aside and consult a qualified professional or a licensed electrician for repair. In tropical environments with high humidity, such as the Philippines, moisture can accelerate the degradation of older electrical cords and corrode internal metal sockets, making regular safety inspections crucial.
How to Measure Your Existing Lamp Cover
Finding a replacement cover that looks proportionate and fits securely requires capturing precise physical dimensions of your current setup. Writing down these dimensions will help you navigate online marketplaces or local specialty lighting stores with confidence.

Measuring the Dimensions
To find a cover that matches the proportions of your lamp base, you must record three critical dimensions: the top diameter, the bottom diameter, and the vertical height.
To measure the top and bottom diameters, lay the lamp cover flat on its opening and use your flexible measuring tape to measure straight across the widest points of the circular or square aperture. For square or rectangular covers, measure the width of one side as well as the diagonal distance from corner to corner, as manufacturers often use both specifications.
When measuring the height, it is a common mistake to measure along the slant or slope of the cover. Instead, place the cover on a flat surface and measure the vertical height straight down the center, from the plane of the top opening to the plane of the bottom opening. This vertical measurement determines how much of the lamp’s hardware and bulb will be concealed once installed.
Record all your measurements in both inches and centimeters. Because lighting fixtures in the local market are imported from various regions, product listings may use either metric or imperial systems, and having both sets of numbers prevents sizing errors.
Identifying the Fitter Type
The fitter is the metal hardware built into the lamp cover that attaches it to the lamp base. Purchasing a cover with the wrong fitter type will make installation impossible without modification.
- Spider Fitter: This is the most common style for table and floor lamps. It features metal spokes that extend from the top rim of the cover to a central ring. This ring rests on top of a metal wire support called a harp, which arches over the light bulb. A decorative nut, known as a finial, screws onto the top of the harp to secure the cover in place.
- Uno Fitter: An Uno fitter features a built-in metal ring that attaches directly to the lamp socket. It is divided into two sub-types: threaded Uno fitters, which screw onto the threaded outer surface of the socket, and slip-Uno fitters, which slide over the socket and are held in place by a plastic or metal collar. These are highly common in downward-pointing lamps or bedside reading lights.
- Clip-on Fitter: This minimalist style features a wire clip that snaps directly onto the glass envelope of a standard light bulb. It is typically found on smaller accent lamps, chandeliers, or wall sconces where the weight of the cover is minimal.
Always measure the inner diameter of the fitter ring itself. Standard socket sizes and interfaces (such as E27 or E14) can vary, and verifying that the ring will clear your specific lamp socket or fit snugly onto your harp base is essential for a secure, wobble-free installation.
Removing the Old Lamp Cover
Once you have your measurements and your replacement cover is ready, you can safely disassemble the existing fixture. Work on a stable, flat surface like a dining table to prevent any components from rolling off and breaking.
To remove a cover with a Spider fitter, start by carefully unscrewing the decorative finial at the top of the harp. Hold the lamp cover with one hand while unscrewing the finial with the other to prevent the cover from tilting and striking the bulb. Once the finial is removed, lift the cover straight up and off the harp. If you need to replace the harp itself, gently squeeze the two lower arms of the harp inward to release them from the mounting slots near the socket base.
For an Uno fitter, locate the threaded collar or ring securing the fitter to the socket. Slowly unscrew this ring counter-clockwise while supporting the weight of the cover. Once the ring is completely unthreaded, slide the cover off the socket.
Handle fragile materials with extreme care. Glass globes, delicate parchment, and fine fabrics require a gentle touch. In highly humid tropical climates, older paper or parchment covers can absorb moisture over time, making them exceptionally soft and prone to tearing. Fabric covers may also harbor dust or mold, so handling them with clean gloves on a clean surface is highly recommended.
If any metal threads, collar rings, or finials feel stuck or seized due to rust or corrosion, do not force them. Forcing a stuck component can crack a ceramic socket or twist the internal wiring of the lamp. Instead, use a soft rubber grip pad to gain traction, or apply a drop of electrical-safe penetrating lubricant, allowing it to sit for a few minutes before trying again. If it remains seized, seek professional assistance.
Installing the New Lamp Cover
Installing the new cover requires careful alignment to ensure structural stability, proper heat dissipation, and a balanced appearance.
Attaching the Hardware
To install a Spider fitter cover, place the central ring of the fitter flat onto the top saddle of the harp. Ensure the cover sits level and centered. Screw the finial back onto the threaded post of the harp by hand. Tighten it until it is snug, but avoid over-tightening, which can strip the threads or crack the fitter weld.
For an Uno fitter cover, slide the fitter ring over the socket. Carefully thread the securing collar back onto the socket, turning it clockwise. Ensure the threads align smoothly; if you feel resistance, back the collar off and restart to avoid cross-threading, which can permanently damage plastic or brass socket threads.
Once the cover is physically secured, verify that the light bulb is properly seated in its socket. The bulb must be positioned centrally within the cover and must not make physical contact with the inner lining, frame, or fitter of the new cover.
Adjusting and Aligning the Cover
Step back a few paces from the lamp to inspect its alignment from eye level. If the cover appears tilted, do not force the fabric or glass. Instead, gently adjust the metal arms of the harp or loosen the fitter collar slightly, level the cover, and retighten the hardware.
Most fabric and paper lamp covers have a vertical seam where the material is joined. For a clean, professional look, rotate the cover so that this seam faces the wall or the least visible angle in the room.
Safety standards dictate maintaining a safe distance between the light bulb and the cover material to prevent scorching or fire hazards. Always check the manufacturer’s label on the lamp socket or base to verify the maximum allowed wattage and voltage compatibility (typically 220V in the Philippines). While modern LED bulbs run significantly cooler than traditional incandescent or halogen options—making them highly suitable for reducing ambient heat in tropical homes—proper physical clearance must still be maintained to allow heat to escape. Additionally, if your lamp features a dimming switch, verify that your replacement bulb is specifically certified as dimmable to avoid flickering or electrical humming.
While decorative styles, perceived color temperatures, and spatial lighting effects are highly personal preferences that depend on your room’s design, physical compatibility and safety must always come first.
When to Call a Professional
While replacing a standard table or floor lamp cover is a straightforward DIY task, certain lighting fixtures present safety risks that require professional expertise.
Large, heavy glass chandeliers, high-ceiling pendant lights, or any fixture that requires working at height on scaffolding should be handled by qualified professionals. These installations involve structural weight calculations, secure anchoring, and working near main electrical junctions, which carry significant fall and structural failure risks.
For fixed wiring, installations in damp areas (such as bathrooms or outdoor patios), work at height, or suspended loads, always isolate the power at the main circuit breaker, follow the manufacturer’s installation instructions precisely, and hire a qualified professional to perform the work. Any task that goes beyond replacing a cover and involves rewiring, replacing a damaged socket, installing a new inline switch, or modifying the internal electrical components of a fixture must be performed by a licensed electrician. This ensures compliance with local electrical safety standards and minimizes the risk of short circuits or electrical fires.
If during the process you discover that the lamp base is structurally unstable, the electrical cord is cracked, or the mounting hardware is heavily corroded, stop immediately. Do not attempt to mount a new cover onto a compromised fixture. A professional technician can safely re-wire or repair the lamp, preserving your valuable decor while ensuring it is safe for daily use.
Frequently Asked Questions (FAQ)
Can I use a lamp cover with a different fitter type?
Yes, you can use specialized adapters to bridge different hardware types, such as a slip-Uno to Spider converter or a clip-on adapter that attaches to a bulb and provides a harp-like saddle. However, using an adapter can alter the overall height and visual proportions of the lamp. You must ensure that the adapter does not position the cover too close to the bulb, block the light distribution, or exceed the weight limit of the socket assembly.
How do I clean a fabric lamp cover safely?
To clean a fabric lamp cover, use a lint roller or a soft brush attachment on a vacuum cleaner to remove surface dust and pet hair. For minor spots, gently wipe the area with a slightly damp microfiber cloth. Avoid submerging fabric covers in water or using harsh chemical cleaners, as moisture can dissolve the specialized adhesives holding the fabric to the inner plastic liner, and tropical humidity can trap water in the fibers, leading to mold growth.
What is the safe distance between the bulb and the cover?
As a general rule of thumb, maintain at least 2 to 3 inches (approximately 5 to 7.5 centimeters) of clear space between the light bulb and the inner surface of the lamp cover. This physical clearance allows heat to dissipate safely and prevents scorching on fabric, paper, or plastic linings. Because the exact safe distance depends on the bulb’s heat output and the cover’s material specifications, always defer to the fixture manufacturer’s maximum wattage and clearance labels.
Community discussion
Share your experience or ask a question. Comments are reviewed before publication.