
Replacing a lampshade with a vintage-style alternative is one of the most effective ways to breathe new life into an old light fixture, adding character, warmth, and historical charm to your living space. However, finding the perfect vintage lamp shade involves more than just selecting an appealing design; it requires a precise understanding of physical dimensions, attachment mechanisms, and safety parameters. By taking accurate measurements of your current setup, identifying the correct fitter type, and selecting materials that can safely handle your bulb’s heat output, you can successfully execute this upgrade while preserving the structural integrity of your lamp.
Measure Your Current Lampshade and Lamp Base
To ensure your new vintage lamp shade looks balanced and fits securely, you must first establish a baseline using your existing setup. Grab a reliable tape measure and record three critical dimensions of your current shade: the top diameter, the bottom diameter, and the vertical slant (or height). To measure the top and bottom diameters, measure straight across the openings from one outer edge to the other. To measure the slant, run the tape measure along the side slope of the shade from the top rim down to the bottom rim; if your shade is a straight cylinder, measure the vertical height instead.
Next, evaluate the proportions of your lamp base. A well-proportioned lampshade should generally be about two-thirds the height of the lamp base, and the bottom diameter of the shade should be wider than the widest part of the base itself. Additionally, when the shade is installed, it should completely cover the internal hardware, including the socket and the neck of the lamp, without looking top-heavy or bottom-heavy.
Products mentioned in this guide
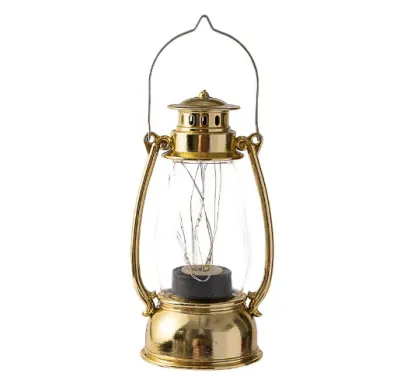
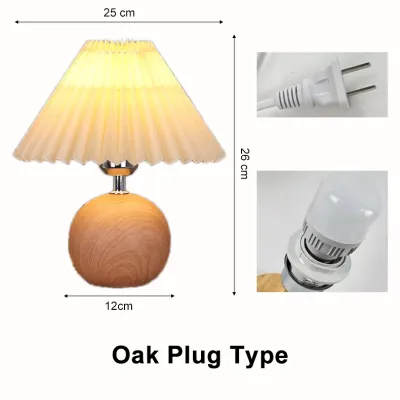
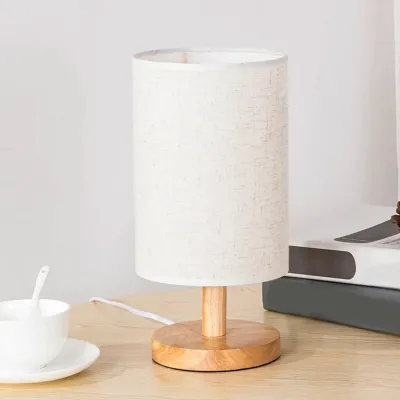
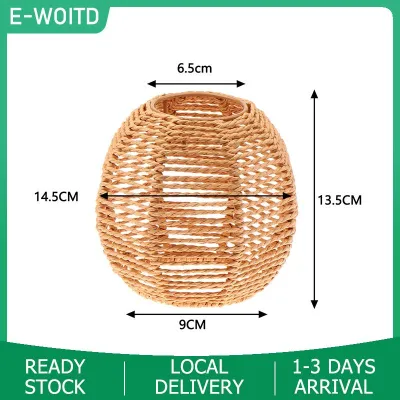
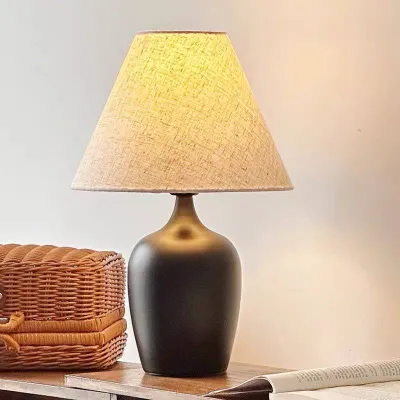
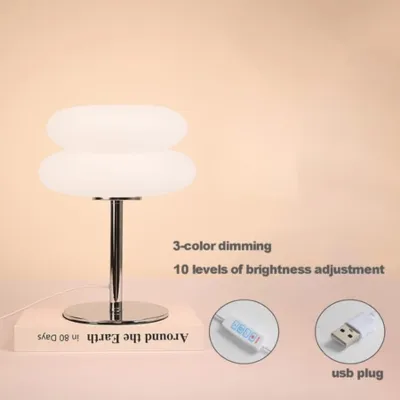
Prices are valid at publication and may change. Please refer to the product page for the latest price.
Finally, pay close attention to the clearance between the light bulb and the interior surface of the shade. For safety reasons, there should be a minimum of two to three inches of open space between the bulb and the shade material. In warm, humid environments like the Philippines, proper heat dissipation is especially important to prevent heat buildup inside the shade, which can degrade delicate vintage adhesives, warp parchment, or discolor fabrics over time.
Identify the Correct Lampshade Fitter Type
Before purchasing a vintage lamp shade, you must identify how the shade attaches to your lamp. The most common attachment mechanism is the spider fitter, which features a central ring supported by metal spokes (or “spiders”) that rest on top of a metal wire support called a harp. The harp arches over the bulb and is secured at the top by a decorative screw-on cap known as a finial. If your lamp has a harp, you will need a spider-fitter shade.

Another common mechanism is the uno fitter, which is highly typical for smaller accent lamps, gooseneck lamps, or authentic vintage fixtures. An uno fitter features a threaded central ring that screws directly onto the lamp socket itself, suspending the shade either upward or downward. There are also slip-uno fitters that slide over the socket and are held in place by a plastic or metal collar.
For smaller fixtures, wall sconces, or chandeliers, you will often encounter the clip-on fitter. This type of fitter features wire loops that clip directly onto the glass body of a standard or candelabra-shaped light bulb. While highly convenient, clip-on fitters are generally limited to lightweight fabric, parchment, or small glass shades to avoid putting excessive weight on the bulb.
Carefully inspect your existing lamp hardware to confirm which fitter type is required. If you fall in love with a vintage shade that has a different fitter type than your lamp, you may need to purchase an adapter, such as a clip-to-spider adapter or a saddle-mount harp, to make the new shade compatible with your fixture.
Choose a Vintage-Style Lampshade That Fits and Performs
Selecting a vintage-style shade requires balancing aesthetic appeal with material performance and safety. Vintage shades come in a wide variety of materials, including delicate silk, linen, heavy glass, natural mica, and treated parchment. Each material diffuses light differently: glass and thin fabrics offer bright, ambient illumination, while mica and thick parchment create a warm, directional glow.
When choosing a material, always verify the maximum wattage rating of both your lamp socket and the shade itself. Delicate materials like vintage parchment, paper, and fine silk have low heat tolerance and can easily scorch, melt, or discolor if exposed to high-wattage incandescent bulbs. If you are using a traditional bulb, ensure its wattage does not exceed the recommended limit printed on the socket or the shade’s safety label.
Additionally, consider the physical size and color temperature of the bulb. A warm white bulb (typically 2700K to 3000K) is ideal for enhancing the rich textures of vintage fabrics and the warm tones of amber glass or mica. Ensure the bulb’s physical shape (such as a standard A19 or a flame-shaped candelabra) fits comfortably within the shade’s interior without touching the sides, maintaining the necessary safety clearance.
Safely Remove the Old Shade and Install the New One
Once you have selected the perfect vintage lamp shade, you can proceed with the physical replacement. Before handling any electrical components, always unplug the lamp from the wall outlet to eliminate any risk of electrical shock. If the lamp has been turned on recently, allow the bulb to cool down completely to avoid burns.
To remove the old shade, carefully unscrew the finial at the top of the harp (for spider fitters) or unscrew the collar holding the uno fitter to the socket. Gently lift the old shade off the fixture, taking care not to bump or damage the bulb. Place the old shade and any small hardware pieces, such as the finial or washers, in a secure spot so they do not roll away or get lost.
Next, position the new vintage shade onto the fixture. For a spider fitter, lower the shade’s central ring onto the top of the harp, then screw the finial back on until it is snug but not overly tight. For an uno fitter, thread or slide the fitter onto the socket and secure it with the collar. Ensure the shade sits perfectly level and does not wobble. Double-check that the shade material does not make direct contact with the bulb or any metal parts of the socket.
Finally, plug the lamp back into the wall outlet and turn it on. Observe the lamp from a distance to verify that the shade is straight, the light is distributed evenly, and there are no shadows or hot spots caused by improper alignment.
Troubleshoot Common Fitting and Alignment Issues
It is not uncommon to encounter minor alignment or compatibility issues when fitting a new vintage-style shade to an older lamp base. If your new shade sits crookedly, the issue is often a bent harp or an uneven saddle at the base of the socket. You can gently adjust the metal arms of the harp by applying light, even pressure with your hands until the shade sits level, or you can install a leveling washer to correct the tilt.
If you are using a clip-on shade and it feels loose or wobbly, check the shape of your light bulb. Clip-on fitters are designed for specific bulb profiles; a fitter meant for a round A19 bulb will not sit securely on a torpedo-shaped candelabra bulb. Swapping the bulb for one that matches the curve of the clip-on wire loops will usually resolve the instability.
While minor physical adjustments are easy to handle at home, you must know when to stop and seek professional assistance. If you notice that the lamp socket is loose, the electrical cord is frayed or brittle, or there are dark scorch marks on the socket or wiring, do not attempt to install the new shade. In these cases, isolate the power and consult a qualified electrician to repair or rewire the fixture safely.
Frequently Asked Questions (FAQ)
Can I use a modern LED bulb with a vintage glass or fabric shade?
Yes, modern LED bulbs are highly recommended for use with vintage glass or fabric shades. Because LEDs produce significantly less heat than traditional incandescent bulbs, they drastically reduce the risk of heat damage, scorching, or discoloration on delicate vintage materials. When selecting an LED bulb, verify that its base type (such as E27 or E14, which are standard in the Philippines) matches your lamp socket, and ensure its physical dimensions allow for proper clearance inside the shade.
How do I clean a delicate vintage fabric or parchment shade?
Delicate vintage fabric and parchment shades require gentle, dry cleaning methods to prevent damage. Avoid using water, liquid cleaners, or harsh chemical sprays, as these can warp parchment, dissolve old adhesives, or leave permanent water stains on silk and linen. Instead, use a clean, soft-bristled paint brush or a microfiber cloth to gently sweep away dust. For stubborn dust on fabric shades, a dry rubber sponge or a lint roller used with very light pressure can safely lift away debris without harming the material.
Community discussion
Share your experience or ask a question. Comments are reviewed before publication.