
Finding a compatible ceiling fan light cover requires precise physical measurements of your existing fixture. To secure a perfect replacement, you must identify how the cover attaches to the fan assembly and measure the exact diameter of the mounting area, known as the fitter. Relying on visual guesses often leads to purchasing parts that fail to align with your light kit or interfere with the spinning blades.
In the Philippines, where ceiling fans run almost continuously to combat tropical heat and high humidity, light covers must be selected with both physical dimensions and environmental durability in mind. Salt air in coastal regions or persistent indoor humidity can cause metal fixtures to expand, contract, or corrode slightly over time, making exact measurements even more critical. By taking a few systematic measurements, you can confidently source a replacement cover that restores both the safety and aesthetic appeal of your living space.
Safety Preparations Before Removing and Measuring
Before attempting to handle, inspect, or measure any part of your ceiling fan, isolating the electrical power is your most important step. Do not rely solely on the wall switch or remote control to turn off the light. Locate your home’s main service panel or circuit breaker board and switch off the breaker dedicated to the room’s lighting or fan circuit. This complete power-isolation eliminates any risk of accidental electrical shock if a switch is flipped while you are working.
Products mentioned in this guide
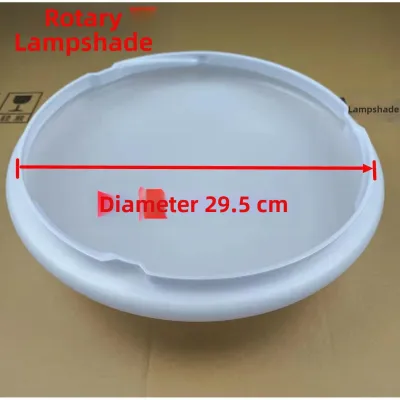
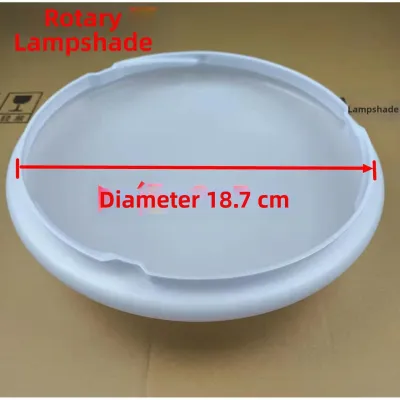
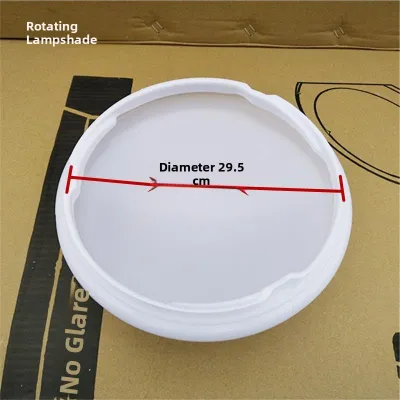
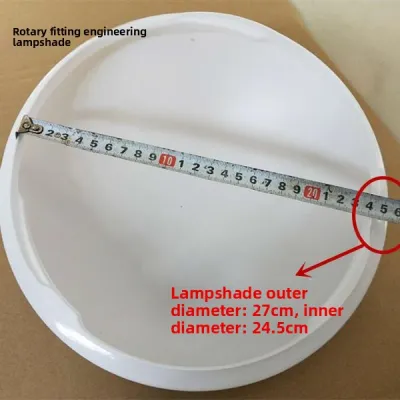
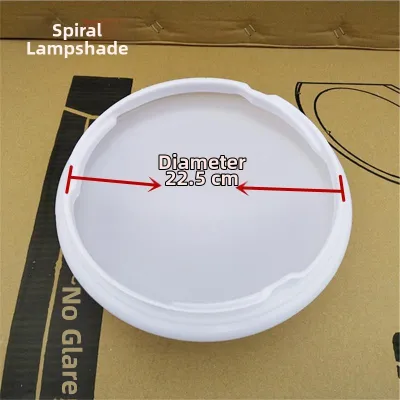
Prices are valid at publication and may change. Please refer to the product page for the latest price.
Once the power is isolated, allow ample time for the light bulbs to cool down completely. Incandescent and halogen bulbs generate intense heat that can cause severe burns upon contact, and even modern LED bulbs can retain significant heat near their base. While waiting for the fixture to cool, clear the area directly beneath the fan to create a safe workspace.
Working at height introduces fall hazards, so you must use a sturdy, stable A-frame step ladder rather than relying on dining chairs, plastic stools, or other unstable household furniture. Position the ladder on a flat, even floor surface so you can comfortably reach the light kit without overextending your arms.
Finally, protect yourself and your home by wearing safety glasses to keep falling dust, debris, or loose hardware out of your eyes. Lay a thick, soft towel or a padded blanket on the floor or dining table directly beneath the fan. If a glass cover slips from your hands during removal, this padded surface can cushion the fall and prevent the glass from shattering across your floor.
For tasks involving work at height, suspended glass loads, or any modifications to fixed wiring, always prioritize complete power-isolation at the breaker, follow the manufacturer’s installation instructions, and consult a qualified professional if the setup feels unstable or unsafe.
Identify the Mounting Type Before You Measure
Before picking up a measuring tape, you must understand how your current ceiling fan light cover is secured to the light kit. The mounting mechanism determines the shape of the cover’s neck and dictates the specific points you need to measure. Sourcing a replacement with identical dimensions but an incompatible mounting style will result in a cover that cannot be installed.

Threaded, or screw-on, fitters are highly common for smaller glass globes and single-light configurations. On these models, the neck of the glass cover features molded, raised threads similar to the mouth of a jar. The cover is installed by screwing it directly into a threaded collar or socket ring integrated into the fan’s light kit. This design provides a clean, seamless look but requires a precise match of the thread pitch and diameter.
Clip-on or spring-loaded mounting systems are frequently utilized for larger glass bowls, dome-style covers, or decorative fabric shades. Instead of threads or external screws, these systems rely on internal metal tension clips or spring-loaded arms located inside the light kit. When you push the cover upward, these clips expand outward and snap securely against the inner rim or lip of the cover, holding it in place through constant physical tension.
Set screw, or thumb screw, fitters are the traditional standard for multi-light ceiling fans (such as those with three or four individual tulip-shaped shades) as well as heavy central glass bowls. The neck of a set-screw cover is completely smooth with a slight, flared lip at the top edge. The cover’s neck slides into a metal receiving cup, and three or four small screws threaded through the side of the cup are tightened gently by hand until they press against the neck, securing it under the lip.
Failing to match the mounting type is a common DIY mistake. A set-screw glass shade cannot be threaded into a screw-on collar, nor will a threaded globe sit securely within a set-screw receiver cup. Take a close look at how your current cover is held in place before moving forward with your measurements.
How to Measure the Fitter Size for a Perfect Fit
The fitter size is the single most critical dimension for compatibility, as it represents the physical connection point between the light cover and the fan. This measurement must be highly accurate, as even a difference of a few millimeters can prevent the cover from fitting or cause it to hang loosely, creating a dangerous fall hazard when the fan vibrates.
For threaded covers, you need to measure the outer diameter of the threaded neck on the cover itself. If the original cover is missing or broken, you can instead measure the inner diameter of the threaded collar on the fan’s light kit where the cover normally screws in. Make sure to measure from the outermost edge of the threads to get an accurate reading of the maximum width.
For clip-on and set-screw covers, the measurement process is slightly different. You must measure the outer diameter of the neck (the lip that inserts into the fixture) of the existing cover. If you do not have the old cover, measure the inner diameter of the fixture’s receiving cup—the metal collar that the shade slides into. This represents the maximum clearance available for the replacement cover’s neck.
While a standard plastic ruler or flexible sewing tape can work, using a digital caliper is highly recommended for the most precise results. Calipers allow you to measure internal and external diameters down to a fraction of a millimeter. If you only have a flexible measuring tape, you can wrap it around the outside of the cover’s neck to find the circumference, then divide that number by pi (approximately 3.1416) to calculate the diameter.
Most replacement covers are manufactured in standard fitter sizes, which are typically expressed in inches. Common standard sizes include 2.25 inches (often found on multi-light fixtures), 3.25 inches, 4 inches, and larger 6-, 8-, or 10-inch options for central bowls. However, you should never assume your fan uses a standard size without verifying it first, as some manufacturers use proprietary dimensions.
Always verify your fan’s voltage, socket base interface, wattage limits, and dimming methods when selecting a new cover to ensure full electrical compatibility and safety. Replacement covers in the local market typically span broad price bands, ranging from approximately ₱300 for basic acrylic globes to ₱1,500 or more for decorative, hand-blown glass bowls. Knowing your exact measurements ensures you do not waste resources on incompatible shipping or return fees.
As a crucial verification step, always measure the diameter at two perpendicular angles—for example, measuring from top-to-bottom and then from left-to-right. This double-check ensures that the receiving cup or the old glass neck is perfectly circular. Over time, heat from high-wattage bulbs or physical impact can warp metal collars, which may require adjustment before a new cover can be safely installed.
Measure Overall Dimensions and Check Blade Clearance
Ensuring the fitter matches is only half the battle; the replacement cover must also fit within the physical envelope of your ceiling fan without obstructing its operation. You must measure the overall height, depth, and width of the cover while checking for clearance issues with the fan blades and internal light bulbs.
Begin by measuring the height and depth of the cover, which is the distance from the top edge of the fitter neck to the lowest point of the glass or plastic bowl. In homes with lower ceilings, installing a replacement cover that is significantly deeper than the original can make the fan hang too low, creating a physical hazard for tall occupants or making the room feel cramped.
Next, measure the width and overall diameter at the widest point of the cover. This step is especially important if you are upgrading from a narrow globe to a wide, decorative bowl or schoolhouse-style shade. A cover that is too wide can disrupt the visual balance of the fixture and alter how light is distributed across the room. Keep in mind that decorative styles, perceived color temperatures, and spatial lighting effects are highly subjective, conditional preferences rather than universal performance standards; your primary focus should always remain on physical compatibility and safety.
Checking blade and motor clearance is a vital safety requirement. You must ensure that the widest part of the new cover will not extend into the path of the spinning fan blades. If the cover is too close to the blades, the air turbulence generated during operation can cause the glass to vibrate excessively, loosen the mounting hardware, or even result in a catastrophic collision if the fan wobbles slightly. Maintain a safe clearance margin of at least a few inches between the outer edge of the cover and the lowest plane of the blades.
Do not forget to measure the internal clearance for your light bulbs. If you plan to use bulkier smart bulbs, large LED globes, or high-wattage bulbs that generate more heat, verify that the interior space of the new cover can accommodate them without physical contact. Light bulbs should never touch the interior surface of a glass or plastic cover, as localized heat buildup can shorten the bulb’s lifespan, damage its internal electronics, or cause glass covers to crack due to thermal stress.
What to Do If the Old Cover Is Stuck or Unremovable
Over years of operation, heat, dust, and humidity can cause ceiling fan light covers to become stuck, making them incredibly difficult to remove for measurement. This is a common issue in tropical environments where moisture can cause metal components to oxidize or expand slightly around glass threads.
If you are dealing with a stuck threaded cover, do not attempt to force it with heavy tools, as this can easily shatter the glass or damage the light kit’s internal wiring. Instead, wear rubberized work gloves or use a silicone jar opener to improve your grip. If the threads are bound by light corrosion, you can apply a very small amount of penetrating lubricant to the seam where the glass meets the metal collar, taking extreme care to keep the liquid away from any electrical sockets, wiring, or plastic parts. Let the lubricant sit for a few minutes before attempting to twist the cover gently.
If the cover remains completely unremovable and you want to avoid breaking it, you can take baseline exterior measurements. Use a flexible measuring tape to find the outer circumference of the metal receiving collar on the fixture, then calculate the outer diameter. While this method is less precise because you must estimate the thickness of the metal and glass, it can help you narrow down the likely fitter size.
Another highly reliable alternative is to locate the manufacturer’s label on the fan. This label is typically found on the top of the motor housing or on the downrod assembly. Write down the brand and model number, then search the manufacturer’s website or the original user manual for the official light kit specifications, which will list the exact replacement part numbers and fitter dimensions.
You must recognize when it is time to stop troubleshooting. If you observe signs of structural damage, stripped set screws, severe corrosion, or exposed electrical wiring, do not continue trying to force the cover off. Forcing a compromised fixture can lead to electrical hazards or falling debris. Under these conditions, turn off the power at the circuit breaker and consult a qualified electrician to safely inspect, repair, or replace the light kit. Always check the applied product’s label and the treated item’s manufacturer instructions before applying any chemical lubricants or tools.
Frequently Asked Questions (FAQ)
Are ceiling fan light covers universal?
No, ceiling fan light covers are not universal. They are manufactured in a wide variety of fitter sizes, mounting mechanisms, depths, and shapes to match specific fan models and lighting kits. Even if two covers look similar, a slight variation in the fitter diameter or mounting style (such as threaded versus set-screw) will prevent a secure installation. Always measure your specific fixture rather than assuming a replacement part will automatically fit.
Can I use a standard floor lamp shade on a ceiling fan?
You should not use a standard floor or table lamp shade on a ceiling fan. Standard lamp shades are designed for static, upright use and are held in place by gravity or simple harp-and-finial mounts that cannot withstand the continuous mechanical vibrations of a spinning ceiling fan. Furthermore, standard shades may not be rated for the downward suspension or the specific heat dissipation requirements of a ceiling fan light kit, presenting a serious falling or fire hazard.
How do I know if my ceiling fan light cover is glass or acrylic?
You can easily identify the material of your light cover through a few simple, non-destructive checks. Glass covers are significantly heavier, feel cool to the touch even in warm rooms, and produce a clear, high-pitched ringing sound when gently tapped with a fingernail. Acrylic or plastic covers are lightweight, feel close to room temperature, and produce a dull, muted thud when tapped. While glass offers superior clarity and classic style, acrylic is highly durable and shatter-resistant, making it an excellent choice for high-humidity areas or homes with low ceilings where impact is a risk.
Community discussion
Share your experience or ask a question. Comments are reviewed before publication.