
Finding the perfect replacement hanging light cover requires more than just matching the visual style of your room. It demands precise physical compatibility with your existing fixture to ensure a secure fit and safe operation. To select a cover that fits perfectly, you must identify the specific fitter type, measure the inner mounting diameter, and verify the hardware clearances. Taking these steps prevents the frustration of purchasing an incompatible shade and ensures your lighting remains safe under local household conditions.
Safety and Preparation Before Measuring
Before handling any part of your hanging light fixture, safety must be your top priority. Always turn off the power at the main circuit breaker or fuse box rather than relying solely on the wall switch. Wall switches can sometimes leave live current at the socket due to improper wiring, posing a severe shock hazard during handling.
Allow the light bulb and the existing cover to cool down completely before touching them. Halogen and incandescent bulbs reach high temperatures quickly, which can cause painful burns or lead you to drop and shatter a glass cover.
Products mentioned in this guide
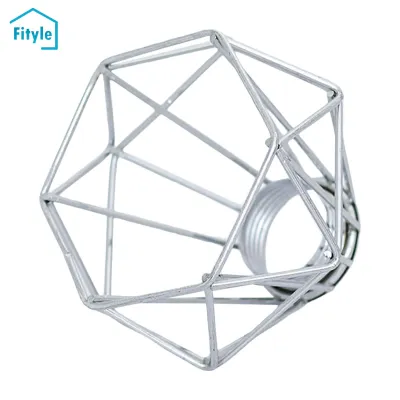
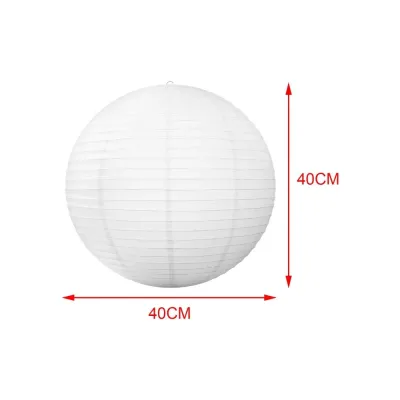
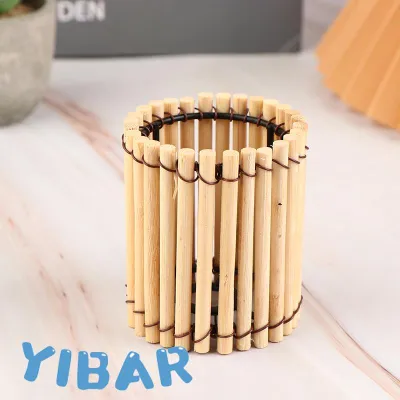
![KOQZM💖[HOT SALE]🎈🎈 E27 Plastic Lampshade Long Tube Conical PP Circular E14 Bulb Cover for Modern Interior Ceiling Pendant Lighting](https://img.lazcdn.com/g/p/87bea486a0c264e8cafc31a34b57c622.jpg_400x400q80.jpg_.webp)
![KOQZM💖[HOT SALE]🎈🎈 E27 Plastic Flower Lampshade for DIY Hanging Lighting Accessory Table Lamp Cover for Living Room Decor](https://img.lazcdn.com/g/p/474c1264fab513e64346f3ce08eb1ac5.jpg_400x400q80.jpg_.webp)
![[COD] 1Pcs Plastic Lamp Cover Simple Home Light Cover Chic Light Accessory White](https://img.lazcdn.com/g/p/2f4c32e3506e275038a0ff063218d2b6.jpg_400x400q80.jpg_.webp)
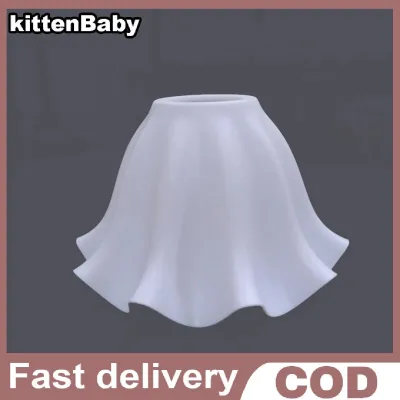
Prices are valid at publication and may change. Please refer to the product page for the latest price.
Because hanging lights are suspended from the ceiling, you will likely need to work at height. Use a sturdy, level step ladder positioned directly beneath the fixture rather than stretching or standing on unstable household furniture like plastic chairs.
If the fixture is heavy, swings easily, or is positioned high above a stairwell, have a helper stand nearby to stabilize the ladder and hold the fixture. Never pull or put excessive downward tension on the electrical cord or chain, as this can damage the internal wiring or loosen the ceiling mounting bracket.
Identifying the Fitter Type and Mounting Hardware
To find a compatible hanging light cover, you must first understand how the shade attaches to the fixture. The mounting mechanism, or fitter type, dictates the shape and style of the replacement cover you can use.

The most common style for hanging pendants is the lip fitter. This type of cover features a raised neck or lip around the top opening. The fixture’s metal cup slips over this neck, and three or four thumb screws are tightened gently into the groove to hold the cover in place.
Another prevalent style is the screw-on or threaded Uno fitter. In this setup, the top opening of the cover is held in place by a threaded socket ring. The cover is slid over the socket, and the ring is screwed onto the outside of the socket to sandwich the cover securely against the fixture body.
Clip-on fitters feature built-in wire loops that clip directly onto a standard-shaped light bulb. These are highly versatile but are generally limited to lightweight fabric or paper shades, as they cannot support the weight of heavy glass or metal covers.
Inspect your existing mounting hardware closely during this stage. Check the condition of the thumb screws, socket rings, or the metal harp if your fixture uses one. In humid tropical environments, metal hardware can corrode over time, making screws difficult to turn. If the screws are rusted or stripped, you may need to replace the hardware along with the cover.
Additionally, consider the physical environment surrounding your fixture. In homes across the Philippines, hanging lights are often positioned near ceiling fans or open windows where drafts are common. Ensuring your mounting hardware is robust and fully functional prevents the cover from rattling or slipping when exposed to moving air.
How to Measure the Existing Cover and Fixture
Accurate measurements are the key to finding a replacement cover that fits seamlessly. Grab a reliable measuring tape or a pair of calipers, along with a notepad to record your findings.
First, measure the fitter diameter, which is the most critical dimension. For a lip fitter, measure the outside diameter of the raised neck that inserts into the fixture cup. For a screw-on or hole-in-glass fitter, measure the inside diameter of the opening where the socket passes through. Standard fitter sizes typically measure 2-1/4 inches, 3-1/4 inches, or 4 inches, though metric variations exist.
If your original cover is broken or missing entirely, you will need to measure the fixture itself. Measure the inside diameter of the fixture cup where the shade lip would sit. For threaded sockets, measure the outer threads of the socket to determine the required opening size of the replacement shade.
Next, measure the overall physical dimensions of the existing cover. Record the height from the very top of the fitter to the bottom rim. If the shade is angled, measure both the vertical height and the slant height. Also, measure the widest part of the shade, which is usually the bottom opening. These dimensions ensure the new cover will not interfere with nearby walls, cabinets, or ceiling fan blades.
Finally, measure the internal clearance between the fitter opening and the bulb position. There must be adequate physical space inside the cover to prevent the bulb from touching the material. This clearance is vital for heat dissipation; trapped heat can degrade the socket, damage the shade, or shorten the lifespan of your bulb.
Using Your Measurements to Select a Replacement
Once you have recorded your measurements, you can begin searching for a replacement hanging light cover that matches your technical specifications. Always prioritize matching the exact fitter size over matching the outer dimensions of the shade.
When browsing online marketplaces or local lighting stores, verify that the replacement cover is rated for your specific installation environment. For instance, if the hanging light is located in a damp area like a covered patio, kitchen, or bathroom, ensure the cover material can withstand high humidity without warping, rusting, or trapping moisture.
Check the fixture’s socket label to verify the maximum wattage limit and electrical specifications. In the Philippines, household electrical systems standardly operate at 220V. Ensure your bulb type (such as an E27 screw base) and wattage align with both the fixture’s limits and the ventilation capacity of the new cover. Enclosed glass globes require lower-wattage bulbs or cooler LED alternatives to prevent heat buildup.
Consider the weight of the replacement cover as well. A heavy glass globe or solid metal dome might exceed the weight capacity of a simple cord-hung pendant. Check if your pendant is supported by a reinforced cable or chain that can safely bear the load of the new cover.
While aesthetic style, color temperature, and light diffusion are matters of personal preference, they do affect the room’s ambiance. A clear glass cover will maximize brightness but may cause glare, while a frosted or fabric cover softens the light at the cost of overall lumen output. Choose a material that balances your visual preferences with the practical lighting needs of the space.
Final Fit and Safety Checks Before Installation
Before permanently securing your new hanging light cover, perform a dry-fit check to ensure everything aligns correctly. Carefully position the cover onto the fixture without fully tightening any screws or rings.
Check that the cover hangs straight and does not tilt or wobble. If your fixture uses thumb screws, tighten them gradually in an alternating pattern to distribute the pressure evenly. Over-tightening screws against a glass cover can cause the glass to crack as it expands from the bulb’s heat.
Verify that there is a clear gap between the bulb and the inner surface of the cover. Air must be able to circulate freely around the socket to prevent heat buildup, which is especially important in warm tropical climates.
If you discover that the new cover does not fit your existing socket, or if installing it requires modifying the fixed wiring, socket assembly, or ceiling support brackets, stop immediately. Modifying electrical components carries severe risks of fire or shock. Always consult a qualified electrician to handle any structural or electrical alterations safely.
Frequently Asked Questions (FAQ)
Can I use a lampshade with a different fitter size if I use an adapter?
Adapters can be used under specific, limited conditions. Lightweight fabric, paper, or plastic shades can often be adapted using reducer rings or clip-on adapters that attach directly to the bulb. However, you should never use adapters for heavy glass, ceramic, or metal covers. These materials require the structural support of a properly matched fitter; using an adapter on a heavy shade can stress the socket assembly, leading to a fall hazard or electrical damage.
What should I do if my hanging light has no visible fitter or harp?
If your fixture lacks standard mounting hardware, it likely uses a proprietary integrated system or a custom design. Start by checking the manufacturer’s label or model number, which is often located on the ceiling canopy or near the socket. This information can help you locate official replacement parts. If the mounting mechanism remains unclear or requires specialized tools, consult a lighting professional to avoid damaging the fixture during disassembly.

Community discussion
Share your experience or ask a question. Comments are reviewed before publication.