
Finding the perfect replacement lamp shade requires matching both the aesthetic style of your room and the physical dimensions of your existing lamp base. When you purchase a “lamp shade head only” replacement, you are buying the shade structure without the underlying harp, socket, or electrical components. To ensure a secure fit and a balanced look, you must measure the base’s height, width, and fitter configuration.
A mismatched shade can make a lamp look top-heavy, expose unsightly electrical sockets, or even create a safety hazard by trapping heat. Taking a few precise measurements before browsing online marketplaces or local decor shops will save you the hassle of returns and ensure your lighting looks professionally styled.
Identify the Fitter Type Before Measuring
Before pulling out your measuring tape, you must identify how the shade physically connects to your lamp base. The connection mechanism, known as the fitter, determines what style of replacement shade frame you can use. If your shade does not match the base’s fitter type, it will not sit securely, leading to a wobbly or unstable lamp.
Products mentioned in this guide
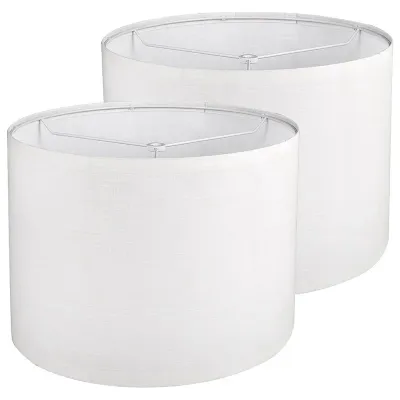
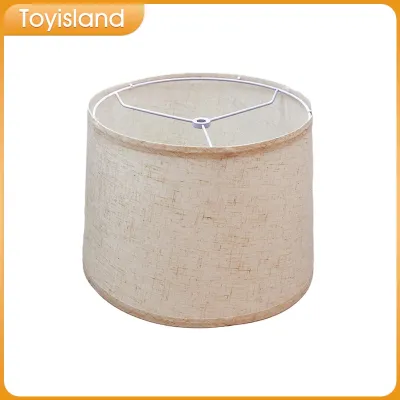
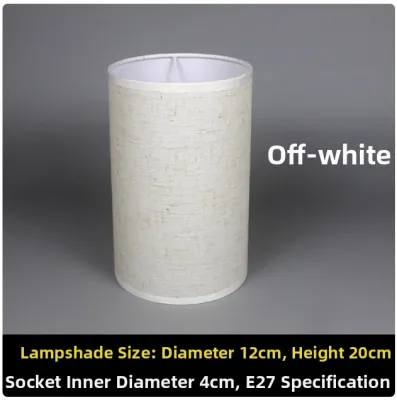
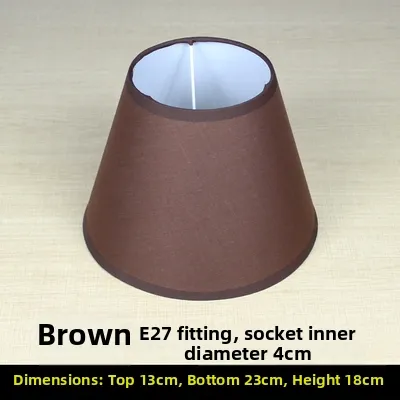
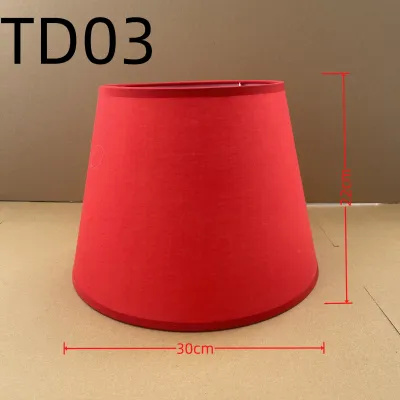
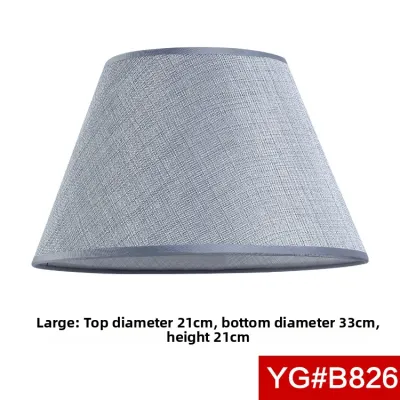
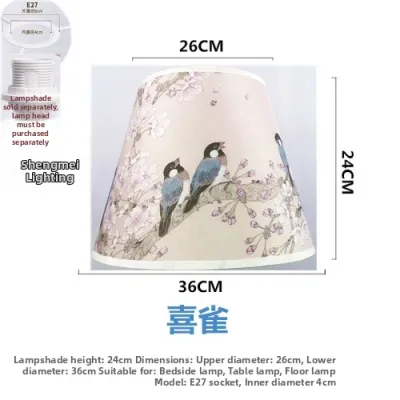
Prices are valid at publication and may change. Please refer to the product page for the latest price.
The most common style is the spider fitter. This design features a metal frame with several spokes radiating inward to a small central ring. This ring rests on top of a metal wire support called a harp, which arches over the light bulb. A decorative cap, known as a finial, screws onto the top of the harp to lock the spider fitter in place. If your current lamp has a detachable metal arch surrounding the bulb, you will need a spider fitter shade.
Another prevalent style is the Uno fitter. This type features a larger threaded ring built directly into the shade’s inner frame. The ring screws directly onto the lamp socket itself, typically positioned beneath the bulb. Uno fitters are highly common on bedside table lamps, smaller accent lamps, and down-bridge floor lamps where the bulb points downward.
Clip-on fitters are the simplest variety, designed with wire loops that squeeze and grip the light bulb directly. These are generally reserved for small accent lamps, wall sconces, or chandeliers because they cannot support the weight of a large, heavy shade. Take a close look at your lamp’s current setup to confirm which of these three configurations your base uses before you begin shopping for a replacement.
Safety Preparation and Required Tools
Measuring electrical fixtures requires basic safety precautions to prevent accidental shocks or damage to the lamp components. Always unplug the lamp’s power cord from the wall outlet before you begin handling the socket, harp, or bulb. Even if the switch is turned off, working around live electrical contacts carries unnecessary risk.

If the lamp was recently illuminated, allow the light bulb and the surrounding socket to cool completely. Incandescent and halogen bulbs can reach high temperatures that cause burns, and even some LED bulbs can become surprisingly warm around their base. Taking a few minutes to let the fixture cool ensures you can measure comfortably without rushing.
To gather accurate dimensions, prepare a rigid metal tape measure for straight vertical and horizontal distances, along with a flexible soft tailor’s tape for curved, tapered, or slanted shade profiles. Keep a notepad or a digital note-taking application ready to record your findings. You will need to write down four key measurements: the base height, the base width, the harp height, and the fitter drop. Having these numbers clearly organized prevents confusion when comparing options online.
Measure the Lamp Base for Proportional Shade Sizing
Achieving a visually balanced lamp relies on the relationship between the physical footprint of the base and the dimensions of the shade. A shade that is too small makes the lamp look unfinished, while an oversized shade can make the entire fixture unstable. To find the ideal proportions, start by measuring the lamp base itself.
First, measure the total height of the lamp base. Place your tape measure at the very bottom of the lamp’s foot or pedestal and extend it straight up to the top edge of the electrical socket. Do not include the harp or the light bulb in this measurement, as these components will eventually be housed inside the new shade.
Next, determine the base’s width by measuring its widest point. For a standard round base, this is simply the diameter of the widest section, whether that is a flared ceramic middle or a weighted brass bottom. If your lamp base has an irregular, sculptural, or square shape, measure the widest horizontal span to establish its true visual footprint.
With these two numbers recorded, you can apply standard design guidelines to find a starting range for your replacement shade. As a general rule of thumb, the bottom width of the replacement shade should be roughly twice the width of the widest part of the lamp base. Additionally, the height of the shade should measure approximately two-thirds of the height of the lamp base. For example, if your lamp base is 30 centimeters tall and 15 centimeters wide, look for a shade that is roughly 20 centimeters tall and 30 centimeters wide at its base. You can adjust these baseline proportions to suit your personal style, choosing a slightly narrower shade for tight spaces or a taller shade to make a dramatic statement.
Measure the Harp and Fitter Drop for Exact Fit
While external proportions dictate how the lamp looks from across the room, the internal measurements determine how the shade sits on the hardware. If the internal alignment is incorrect, the shade may sit too high, exposing the socket and creating an unsightly glare, or sit too low, crowding the base and blocking the light.
To prevent these alignment issues, measure the height of your lamp’s harp. The harp is the U-shaped metal wire that brackets the light bulb. Measure from the bottom of the saddle—the metal bracket mounted directly beneath the socket where the harp legs slot in—up to the flat platform at the very top where the finial screws on.
Next, you must understand the “drop” of the replacement shade. The drop is the vertical distance from the top rim of the shade down to the level where the fitter ring sits. A shade with a shallow drop will sit higher on the harp, while a deep drop will position the shade lower, covering more of the socket. When shopping for a “lamp shade head only” replacement, manufacturers typically list the drop measurement in the product specifications.
Compare the shade’s drop to your harp height to ensure the bottom of the shade will extend about 2 to 3 centimeters below the bottom of the socket. This overlap hides the electrical hardware completely from view when you are seated nearby. If you find a shade you love but the drop does not align with your current setup, you can easily purchase a replacement harp in a different height or use a harp converter to adjust where the shade rests.
Verify Heat Clearance and Functional Access
A properly fitted lamp shade must be safe and practical for daily use, especially in warm, humid environments like the Philippines where trapped heat can degrade materials more quickly. Ensuring adequate airflow around the light bulb is essential for preventing heat buildup and extending the lifespan of both the bulb and the shade.
Check the minimum clearance required between the light bulb and the inner surface of the shade. As a safety standard, there should be at least 5 to 8 centimeters of open space between the bulb and the shade material on all sides. This gap allows heat to rise and escape through the top of the shade. Always verify the maximum wattage rating on your lamp’s socket and match it with the shade manufacturer’s material guidelines to avoid scorching or fire hazards.
In addition to heat safety, consider how the shade affects your physical interaction with the lamp. The bottom opening of the shade must be wide enough to allow your hand to reach inside comfortably to operate the rotary switch, pull chain, or dimmer control. If the shade is too narrow or sits too low, turning the lamp on and off can become a daily frustration.
Finally, consider the placement of the lamp within your living space. When the lamp is placed on a side table next to a sofa or armchair, the bottom edge of the shade should align roughly with your eye level when you are seated. This positioning prevents the bulb’s direct glare from shining into your eyes while providing ample downward light for reading. If you notice any signs of heat damage, brittle wiring, or a loose socket during your measurements, stop immediately and consult a qualified electrician or lighting professional to repair the base before installing your new shade.
Frequently Asked Questions (FAQ)
What if my lamp base does not have a harp?
If your lamp base lacks a harp, it is likely designed for an Uno fitter shade, which screws directly onto the socket, or a clip-on shade that attaches to the bulb. If you want to use a standard spider fitter shade on a lamp without a harp, you can purchase a slip-on harp base. This hardware accessory slides over the electrical socket, providing a secure saddle where a standard harp can be mounted, effectively converting your lamp to accept spider shades.
How do I measure for a square or rectangular shade?
When fitting a square or rectangular shade, measuring only the flat sides of the base can lead to an incorrect fit. Instead, measure the diagonal footprint of the base from corner to corner. Compare this diagonal measurement against the corner-to-corner diagonal width of the replacement shade’s bottom opening. The shade’s diagonal width must be larger than the base’s diagonal footprint to ensure the corners of the base do not visually overflow or physically hit the inner frame of the shade.
Can I convert a clip-on lamp to use a spider shade?
Yes, you can convert a clip-on lamp by using a clip-on to spider adapter. This adapter consists of wire loops that clip onto the bulb, topped with a small threaded post and a finial mount to hold a spider shade. Before making this conversion, check the weight limits of your lamp’s socket and ensure the bulb can support the weight of the new shade. Verify that the adapter does not place the shade material too close to the bulb, which could create a heat hazard.

Community discussion
Share your experience or ask a question. Comments are reviewed before publication.