
Finding a high-quality replacement lamp cover only, without purchasing an entirely new lamp assembly, is an excellent way to refresh your home decor, protect your light source, and customize the ambient lighting in your living space. However, choosing a replacement cover that fits perfectly requires more than just picking an appealing style. To find the correct size, you must first identify your lamp’s specific fitter type, measure the physical proportions of your lamp base, and calculate the ideal dimensions for the new shade. This guide will walk you through the precise steps to measure your lamp base and hardware, ensuring your new cover fits securely and looks beautifully proportioned.
Preparation and Safety Before Measuring
Before you begin pulling out measuring tapes and analyzing hardware, prioritizing safety is essential. Working with electrical fixtures carries inherent risks of electrical shock or burns if the proper precautions are neglected. Always start by turning off the lamp and unplugging its power cord from the wall outlet to isolate the electrical source completely.
If the lamp was recently illuminated, the light bulb, socket, and surrounding metal hardware will be hot to the touch. Wait at least fifteen to twenty minutes for all components to cool down completely before you begin handling or measuring them.
Products mentioned in this guide
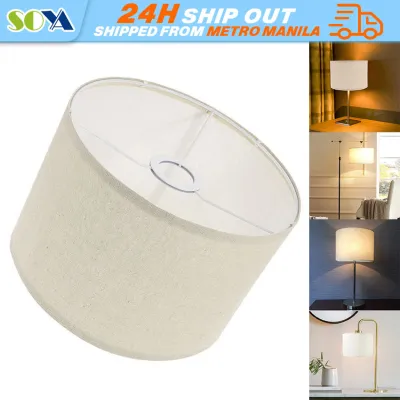
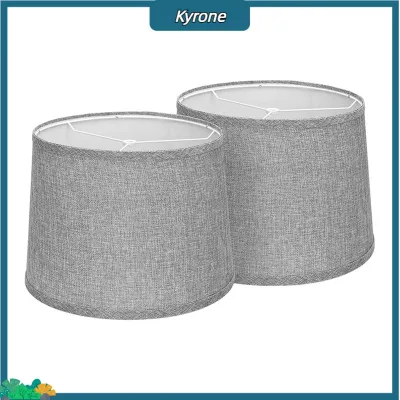
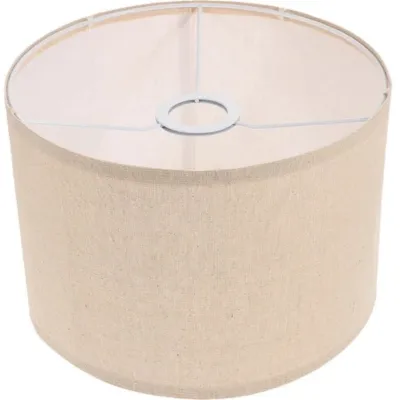
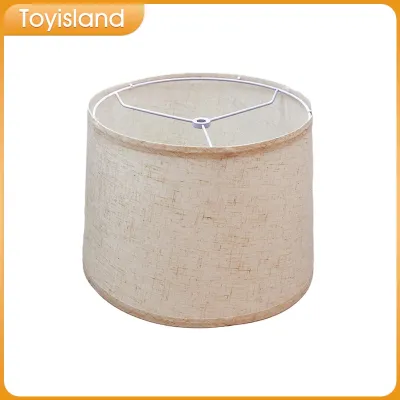
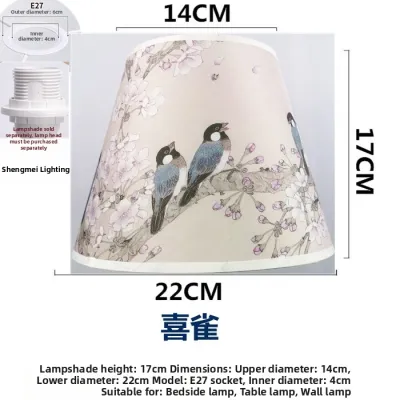
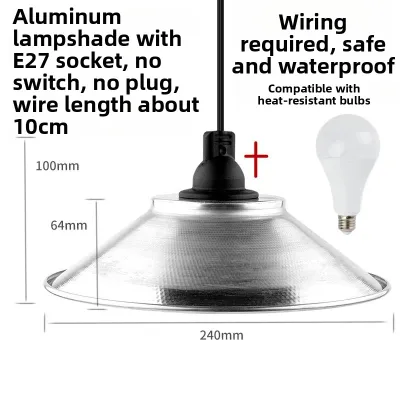
Prices are valid at publication and may change. Please refer to the product page for the latest price.
Gather your tools beforehand to ensure accuracy and streamline the process. You will need a flexible measuring tape (which easily wraps around curved bases), a standard rigid ruler for straight vertical lines, a notepad, and a pen to record your measurements. If you are measuring a fixed, hardwired wall sconce or a suspended ceiling fixture rather than a portable table lamp, make sure to isolate the power at your home’s main circuit breaker panel before proceeding. If you encounter damaged wiring, a loose socket, or complex fixed electrical connections, always consult a qualified professional electrician.
Step 1: Identify the Fitter Type
The fitter is the physical mechanism that attaches the lamp cover to the lamp base. Before you measure any physical dimensions, you must identify your fixture’s fitter type. If you purchase a cover with an incompatible fitter, it will be physically impossible to mount it to your lamp base, regardless of how accurate your other measurements are.

Spider Fitters and Harps
Spider fitters are the most common mounting style for table and floor lamps. This system relies on a U-shaped metal wire frame called a harp, which attaches to the lamp base saddle just below the socket. The harp rises up and around the light bulb, meeting at a small threaded top post.
A spider fitter consists of several metal spokes radiating inward from the top rim of the lamp cover to a central ring. This central ring slips over the threaded post at the top of the harp and is secured in place by screwing on a decorative nut known as a finial. When replacing a cover on a spider-fitter lamp, measuring the vertical height of the existing metal harp is critical, as this directly dictates how high or low the new cover will sit.
Uno Fitters
Uno fitters are designed to thread directly onto the lamp socket itself, eliminating the need for a separate harp or finial. This design is highly common on smaller bedside table lamps, downward-pointing task lights, and reading lamps.
An Uno fitter features a large central metal ring built into the inner wire framework of the lamp cover. This ring is typically threaded on the inside, allowing it to screw directly onto the outer threaded shell of the lamp socket. When shopping for an Uno-style cover, you must measure the outer diameter of your lamp’s socket shell. In the Philippines, standard E27 utility sockets are highly prevalent, but verifying the exact socket diameter ensures the threaded Uno ring will spin on smoothly without binding or slipping.
Clip-On Fitters
Clip-on fitters are the simplest mounting mechanism, designed to attach directly to the light bulb itself. They do not rely on harps, finials, or threaded socket rings, making them highly versatile for small accent lamps, chandeliers, and wall sconces.
These fitters feature a wire tension clip built into the top of the cover’s inner frame. The wire loops are designed to expand slightly and grip the curved glass body of the light bulb. Because these covers rely entirely on friction and tension against the bulb, they are highly dependent on the specific bulb shape and diameter you use. If you plan to use a clip-on cover, you must measure the bulb’s outer diameter and identify its shape—such as a standard A19 utility bulb or a slender torpedo-shaped candle bulb—to ensure the tension clip can grip the glass safely without slipping.
Step 2: Measure the Base and Existing Hardware
Once you have identified your fitter type, you can begin measuring the physical dimensions of your lamp base and its existing hardware. These measurements establish the structural boundaries and visual proportions needed to select a balanced replacement cover.
First, measure the base height. Place your lamp on a flat, level surface. Run your measuring tape vertically from the very bottom of the lamp base (the table surface) up to the bottom of the electrical socket where the bulb screws in. Do not include the socket or the light bulb in this measurement; you only want the height of the decorative base itself.
Next, measure the base width. Find the widest point of your lamp base. If you have a round ceramic jar base, measure its diameter at the widest curve. For square wooden bases or sculptural metal designs, measure the widest horizontal span. This measurement is crucial for visual balance, as a wide, heavy base paired with a narrow cover will make the lamp look awkwardly top-heavy.
If your lamp uses a spider fitter, you must measure the harp height. Measure from the bottom of the harp (where the metal prongs slot into the saddle below the socket) straight up to the flat metal platform just beneath the threaded finial post. This vertical dimension sets a hard limit on the height of your new cover; a cover that is too short will expose the socket hardware, while a cover that is too tall may rest loosely or fail to clear the top of the harp.
Finally, measure the fitter drop if you have your old cover on hand. The drop is the vertical distance from the top rim of the cover down to the plane where the fitter ring rests. If your old cover had a deep drop, the fitter ring was recessed far inside the shade. A shallow drop means the ring sits close to the top rim. Knowing this measurement helps you replicate how deep the new cover will sit over the socket assembly, keeping unsightly electrical components hidden from view.
Step 3: Determine the Correct Lamp Cover Only Dimensions
To find a replacement lamp cover only, you must translate your physical base measurements into the three standard dimensions used by manufacturers: the top diameter, the bottom diameter, and the slant height. Slant height is measured diagonally along the side of the cover from the top rim to the bottom rim, which differs from the straight vertical height.
To achieve a visually balanced and stable lamp, apply standard design proportion guidelines. First, the bottom diameter of the cover should be roughly twice the width of the lamp base. Second, the vertical height of the cover should be approximately one-third of the total height of the lamp (measured from the table surface to the top of the light bulb). Finally, the cover’s bottom diameter should not exceed the vertical height of the lamp base.
Use the quick-reference table below to map your measured base width to the recommended minimum bottom diameter of your replacement cover:
| Base Width (Inches) | Base Width (Centimeters) | Recommended Cover Bottom Diameter (Inches) | Recommended Cover Bottom Diameter (Centimeters) |
|---|---|---|---|
| 3" to 5" | 7.6 to 12.7 cm | 8" to 10" | 20.3 to 25.4 cm |
| 5" to 7" | 12.7 to 17.8 cm | 12" to 14" | 30.5 to 35.6 cm |
| 7" to 9" | 17.8 to 22.9 cm | 16" to 18" | 40.6 to 45.7 cm |
| 9" or wider | 22.9 cm or wider | 20" or larger | 50.8 cm or larger |
Remember that while decorative styles, such as drum, empire, or bell shapes, are conditional preferences that alter the visual style of your room, they must still conform to these physical limits. For spider fitters, your measured harp height acts as a strict physical boundary. A cover with a slant height that is significantly shorter than your harp height will leave the metal harp and socket exposed, detracting from the lamp’s appearance.
Step 4: Verify Bulb Clearance and Heat Safety
Selecting a cover with the correct mounting and proportions is only half the task; you must also ensure the installation is safe. Inadequate physical clearance between the light bulb and the inner walls of the cover can lead to heat buildup, scorching, or even a fire hazard.
Always maintain a minimum clearance of 2 to 3 inches (5 to 7.6 centimeters) between the outer surface of the light bulb and the inner lining of the lamp cover. This space allows air to circulate freely, dissipating the heat generated by the light source. Before purchasing a cover, check the maximum wattage rating printed on the lamp socket. Never use a bulb that exceeds this specified limit, as doing so can melt plastic components or scorch fabric covers.
In tropical, high-humidity environments like the Philippines, managing heat buildup is especially critical. High ambient temperatures combined with trapped heat inside a poorly ventilated lamp cover can rapidly degrade delicate materials like paper, silk, or plastic backings, causing them to discolor, crack, or warp prematurely.
To mitigate these risks, we highly recommend using energy-efficient LED bulbs. LEDs emit significantly less heat than traditional incandescent bulbs, allowing them to operate safely within tighter clearances. Additionally, ensure your bulb is compatible with the standard 220V electrical system used in the Philippines. Always look for official safety certifications, such as the Philippine Standard (PS) mark or the Import Commodity Clearance (ICC) sticker, on both your replacement bulbs and electrical hardware to guarantee safe operation in your home.
Frequently Asked Questions (FAQ)
Can I adapt a spider lamp cover to a lamp without a harp?
Yes, you can adapt a spider-fitter cover to a lamp that does not have a built-in harp by using aftermarket hardware adapters. One popular solution is a slip-on socket adapter, which features a metal ring that slides over the lamp socket before you screw in the bulb, providing a built-in saddle to hold a standard harp. Alternatively, you can purchase a clip-on adapter. This adapter consists of a small wire assembly that clips directly onto the glass bulb, terminating in a threaded top post where the spider fitter ring rests and secures with a finial. These adapters typically cost between ₱150 and ₱500 on major online marketplaces, offering an affordable way to expand your cover options.
What if the replacement cover touches the bulb?
If your replacement cover touches the light bulb, you must address this immediately to prevent heat damage or fire hazards. First, check the physical profile of your bulb. Switching from a standard, bulbous A19 bulb to a smaller, compact LED bulb (such as a candle or golf-ball shape) often provides the necessary 2-to-3-inch clearance without requiring you to replace the cover. If changing the bulb shape does not resolve the issue, and you are using a spider fitter, you may need to purchase a taller or wider harp. A larger harp will raise the cover higher and push the sides further away from the bulb, though you must ensure the new height still keeps the socket hardware hidden and maintains a balanced visual appearance.
Community discussion
Share your experience or ask a question. Comments are reviewed before publication.