
Finding the perfect replacement light cover requires three critical measurements: the fitter diameter, the overall width, and the total height of your current cover. If the original cover is missing or broken, you can instead measure the fixture’s mounting base, socket assembly, and bulb clearance to determine the maximum dimensions your new cover can accommodate. Getting these dimensions right ensures a secure physical fit, prevents dangerous heat buildup, and maintains the aesthetic balance of your room.
In tropical climates like the Philippines, where high humidity and ambient heat can affect materials, selecting a properly sized cover is also essential for adequate ventilation around the bulb. A cover that is too tight can trap heat, potentially damaging the fixture’s wiring or causing acrylic covers to warp over time. By taking a few precise measurements with a standard tape measure, you can confidently browse online marketplaces or local hardware stores for a compatible replacement that restores both the safety and beauty of your lighting.
Safety First: Preparing Your Fixture for Measurement
Before you begin handling any part of your light fixture, electrical safety must be your absolute priority. Never rely solely on the wall switch to turn off the power, as current can still flow through the circuit if the wiring is faulty. Locate your home’s main electrical panel or breaker box and switch off the specific circuit breaker that controls the room’s lighting.
Products mentioned in this guide
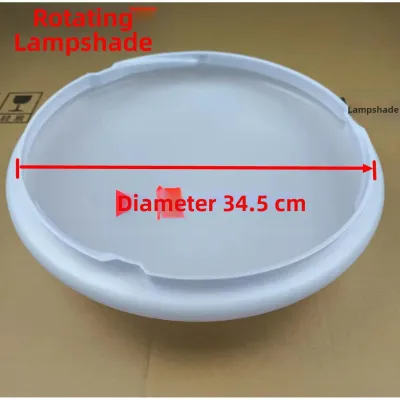
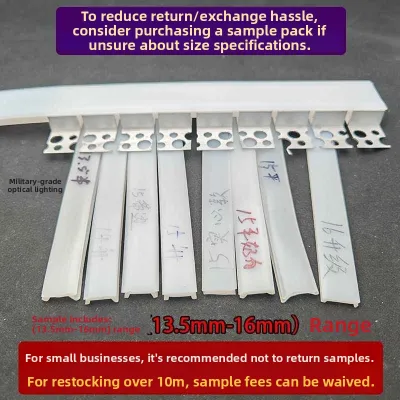
![KOQZM💖[HOT SALE]🎈🎈 E27 Plastic Lampshade Long Tube Conical PP Circular E14 Bulb Cover for Modern Interior Ceiling Pendant Lighting](https://img.lazcdn.com/g/p/87bea486a0c264e8cafc31a34b57c622.jpg_400x400q80.jpg_.webp)
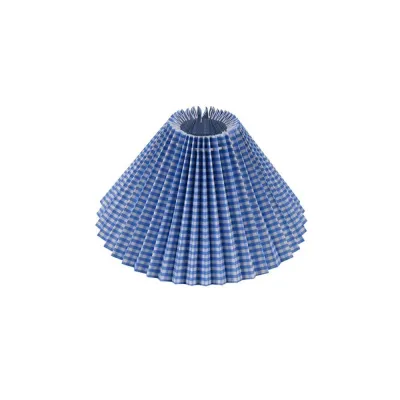
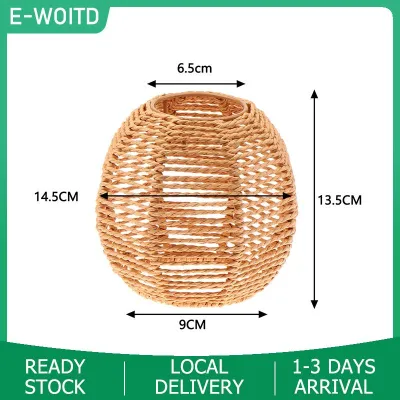
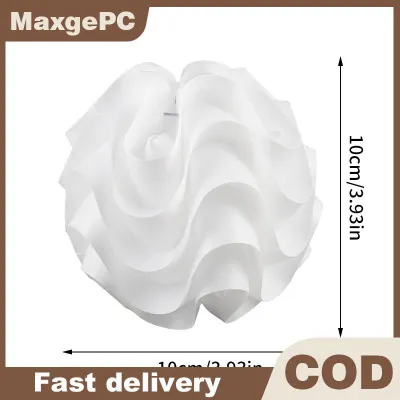
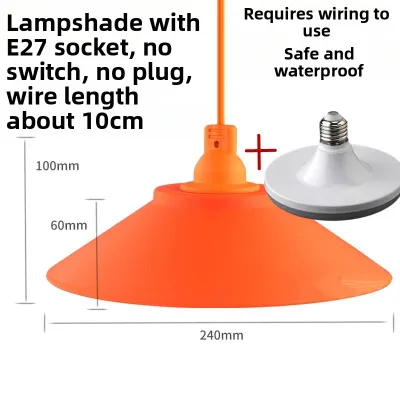
Prices are valid at publication and may change. Please refer to the product page for the latest price.
Once the power is safely isolated, allow the light fixture, bulbs, and existing cover to cool down completely before touching them. Incandescent, halogen, and even some high-wattage LED bulbs can reach temperatures high enough to cause severe skin burns if handled too quickly after operation.
For ceiling-mounted or high-wall fixtures, always use a stable step ladder positioned on a flat, level surface rather than balancing on chairs or tables. Ensure the ladder is fully opened and locked into place, and avoid standing on the very top step to maintain your balance. Keep your body centered between the ladder rails and avoid overreaching, as shifting your weight too far to one side can cause the ladder to tip over.
When removing or handling fragile glass or acrylic covers, work slowly and use both hands to support the weight of the material. Glass covers can become slippery or brittle over time, especially when exposed to dust and humidity. If the cover is secured by screws or clips, hold the cover firmly with one hand while loosening the hardware with the other to prevent the cover from falling and shattering.
Identifying Your Cover Type and Mounting Style
To find a replacement cover that fits seamlessly, you must first identify the specific style of your fixture and how the cover attaches to the base. Flush mount fixtures sit directly against the ceiling and typically use a dome-shaped glass or plastic cover secured by a central finial, side screws, or a twist-lock mechanism. Pendant lights hang from a cord, chain, or rod, often utilizing a bell-shaped or globe cover that suspends over the bulb. Recessed lights, common in modern homes, use trim rings or specialized covers that fit snugly inside the ceiling canister.

The mounting mechanism, or fitter style, is the most critical factor in determining compatibility because it dictates how the cover physically connects to the fixture. A screw-on or neckless fitter features a threaded neck that screws directly into the fixture collar, requiring an exact thread match. Clip-on covers attach directly to the bulb itself using a wire frame, which is common for smaller accent lamps. An uno fitter has a threaded ring that screws onto the socket shell before the bulb is installed, while a spider fitter rests on a metal harp and is secured at the top by a decorative finial.
You must also consider the material and shape of the cover, as these characteristics influence how the cover distributes weight and sits on the fixture base. Heavy glass globes require robust metal collars and secure thumb screws to hold them in place, whereas lightweight acrylic or fabric covers put less strain on the mounting hardware. Pay close attention to whether your fixture requires a lip fitter, which has a raised ridge or groove for screws to grip, or a flangeless fitter, which relies on friction or internal clips to stay secure.
Step-by-Step Guide to Measuring the Existing Cover
If your original light cover is still intact, measuring its physical dimensions is the most direct way to find an exact replacement. Start by measuring the top and bottom diameters of the cover using a flexible tape measure or a pair of calipers for maximum precision. For circular covers, measure across the widest part of the opening from outer edge to outer edge to find the overall diameter.
Next, measure the vertical height or drop of the cover, which is the distance from the very top edge to the lowest point of the bottom edge. To do this accurately, place the cover flat on a level table with the opening facing down, and hold a ruler vertically next to it to measure the distance from the table surface to the highest point of the dome or shade. This measurement is crucial for ensuring the cover is deep enough to fully enclose the light bulbs without touching them.
The most critical measurement is the fitter size, which is the diameter of the neck or opening that connects directly to the fixture hardware. For a lip fitter, measure the outside diameter of the raised neck, including the lip where the screws will tighten. For a neckless or hole-opening fitter, measure the inside diameter of the opening where the socket or mounting collar passes through. Always record these measurements to the nearest millimeter or sixteenth of an inch, as even a tiny discrepancy can prevent the cover from fitting securely.
Checking the Fixture Base and Bulb Clearance
If the original cover is missing or broken beyond measurement, you must measure the fixture base itself to determine the correct replacement size. Begin by measuring the width of the socket cluster, which is the metal or plastic housing that holds the light bulbs. The opening of your new cover must be wide enough to pass over this cluster easily without scraping against the sockets or wiring.
You must also measure the vertical clearance from the fixture base to the lowest tip of the installed bulbs to ensure the new cover is deep enough. If the cover is too shallow, the hot bulb will press directly against the glass or plastic, which can lead to localized overheating, cracked glass, or melted acrylic. Allow at least 25 millimeters of empty space between the bulb tip and the inner surface of the cover to facilitate proper airflow and heat dissipation.
While examining the fixture base, locate the manufacturer’s label to verify the maximum wattage limits and electrical specifications. In the Philippines, residential electrical systems typically operate at 220 volts, and installing a bulb that exceeds the fixture’s rated wattage can generate excessive heat. If you plan to use a closed glass or plastic cover, the heat-trapping effect is amplified, making it vital to stay well within the recommended wattage limits or switch to low-emission LED bulbs.
Using Your Measurements to Find a Compatible Replacement
Once you have recorded all the necessary dimensions, you can begin searching online marketplaces or local lighting specialty stores for a compatible replacement. Keep in mind that standard industry sizing tolerances exist, and a variance of a few millimeters is often acceptable for certain cover styles, such as loose-fitting fabric shades. However, for glass globes and lip fitters, the measurements must match the fixture hardware exactly to prevent the cover from slipping out and falling.
Always prioritize matching the fitter type and its precise dimensions over the overall shape or style of the cover. A beautiful glass shade is useless if its neck diameter is too large for your fixture’s mounting screws to reach, or too small to fit over the socket. When browsing product listings, look closely at the technical diagrams and check whether the seller is listing the inner dimensions or the outer dimensions of the fitter.
If you are purchasing a replacement cover from an online marketplace, read the product specifications carefully and compare them to your recorded measurements. Many manufacturers provide detailed schematics showing the exact thickness of the glass lip and the inner clearance of the dome.
When to Stop and Call a Qualified Electrician
While measuring and replacing a basic light cover is generally a straightforward DIY task, certain situations require the expertise of a qualified professional. If you are dealing with a heavy, complex chandelier or a large flush-mount fixture that requires structural support verification, do not attempt to handle it alone.
If you notice any signs of damaged wiring, brittle insulation, scorched sockets, or loose electrical connections while removing the old cover, stop immediately. Do not attempt to measure or install a new cover over compromised electrical components, as this poses a severe risk of short circuits or electrical fires. A licensed electrician can safely inspect the wiring, replace damaged sockets, and ensure the fixture complies with local electrical safety standards.
Additionally, if your fixture is installed on a very high ceiling or in a hard-to-reach area that requires working at height on a tall extension ladder, it is safer to hire a professional. Working overhead while balancing heavy glass covers requires specialized equipment and experience to prevent falls and accidental damage to your home.
Frequently Asked Questions (FAQ)
Can I use a slightly larger light cover if my exact size is unavailable?
Using a slightly larger cover is sometimes possible, but it depends entirely on the mounting mechanism and physical clearance. If the replacement cover has a larger fitter diameter, you must verify whether your fixture’s mounting screws are long enough to reach and secure the neck safely. Never attempt to use a cover that is too large if it creates an unstable connection, as the cover could slip and fall.
What if my light fixture has no visible labels or documentation?
If your fixture lacks visible labels, you can estimate safe operating limits by measuring the physical dimensions of the socket and the surrounding space. To minimize heat risks in the absence of official wattage ratings, default to using low-wattage LED bulbs, which produce significantly less heat than traditional incandescent bulbs. You can also search for any stamped model numbers or brand logos on the hidden side of the fixture base, which is mounted against the ceiling.
Do I need to remove the light cover to measure it accurately?
While you can measure some outer dimensions like the overall width and height while the cover is installed, you must remove it to get accurate measurements of the fitter size and inner clearance. Measuring a lip fitter or a neckless opening while it is still attached to the fixture is highly inaccurate and often leads to purchasing the wrong replacement size.
Community discussion
Share your experience or ask a question. Comments are reviewed before publication.