
Finding the perfect light bulb shade cover requires a balance of precise physical measurements and an understanding of how the shade connects to your lamp base. A mismatched shade can look awkward, block too much light, or even present a safety hazard if it sits too close to a hot bulb. By taking a few systematic measurements of your fixture’s height, width, and socket configuration, you can confidently select a replacement that fits securely and complements your room’s layout.
In tropical environments like the Philippines, choosing the right shade involves practical considerations beyond aesthetics. High humidity can affect certain materials like untreated paper or delicate fabrics, while the frequent use of ceiling fans means your shade must be securely anchored to prevent rattling or tipping. Taking the time to verify your fixture’s specifications ensures your new cover remains stable, safe, and functional for years to come.
Step 1: Prepare Your Fixture and Ensure Electrical Safety
Before handling any electrical fixture, establishing a safe working environment is your absolute priority. Begin by completely isolating the power source to prevent any risk of electrical shock. For standard table or floor lamps, pull the plug directly from the wall outlet. If you are measuring a hardwired wall sconce, pendant light, or ceiling fixture, locate your home’s main electrical panel and switch off the corresponding circuit breaker. Never rely solely on the wall switch, as current can still flow to the socket.
Products mentioned in this guide
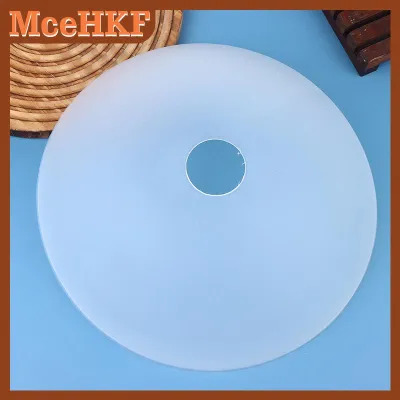
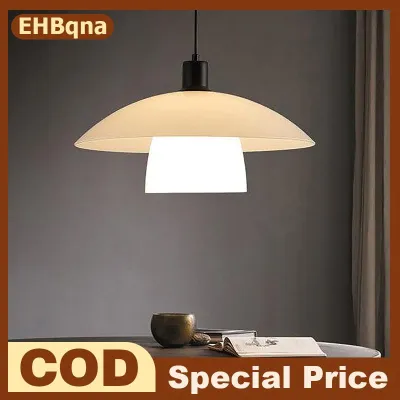
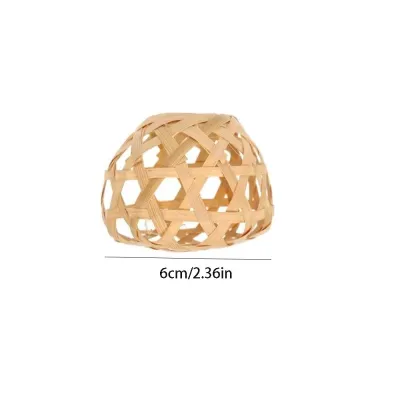
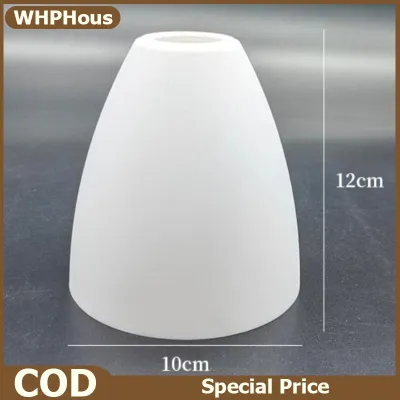
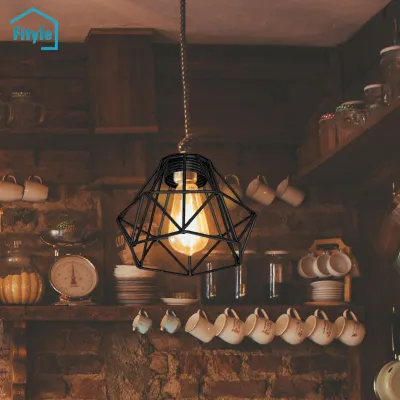
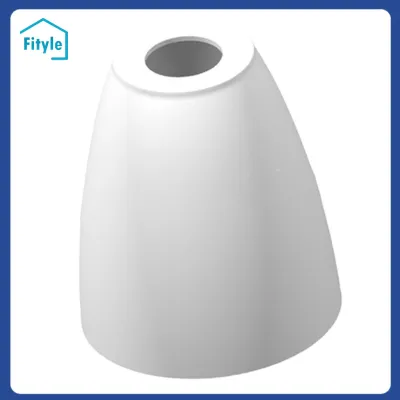
Prices are valid at publication and may change. Please refer to the product page for the latest price.
Working with lighting components also requires managing heat. If the lamp has been turned on recently, the bulb can become extremely hot, especially if you are using traditional incandescent or halogen bulbs. Allow the bulb to cool down completely before attempting to touch or remove it. This cooling period is also an excellent time to inspect the bulb’s wattage and base type, ensuring any replacement shade you choose will maintain a safe distance from the heat source.
Once the fixture is safe to handle, gather the necessary tools to record your measurements accurately. You will need a flexible measuring tape, which easily contours around curved lamp bases and circular shades, along with a notepad and pen to write down your findings. If your fixture is mounted high on a wall or suspended from the ceiling, secure a stable step stool or ladder. Always ensure the stool is placed on a flat, even surface, and avoid overreaching to maintain your balance while taking measurements. If the installation environment involves complex fixed wiring, damp areas, or high ceilings, consider consulting a qualified professional to assist with the physical removal of the old shade.
Step 2: Identify the Fitter Type for Physical Compatibility
The fitter is the inner metal framework of the lampshade that physically connects it to the lamp base. Identifying the correct fitter type is essential, as a light bulb shade cover with the wrong connection style cannot be safely mounted. The three most common fitter configurations are Spider, Uno, and Clip-on, each designed for specific lamp styles.

A Spider fitter is the most traditional style and is designed to sit on top of a metal wire support called a harp. The harp rises from beneath the socket and surrounds the bulb, securing at the top with a decorative nut called a finial. If your lamp has a harp, your replacement shade must have a Spider fitter, which features a small central ring that slips over the top screw of the harp. Measure the diameter of this central ring to ensure it matches the threaded post of your harp.
An Uno fitter, by contrast, does not require a harp. Instead, it features a larger central ring that threads directly onto the electrical socket itself. This style is highly common on downward-pointing lamps, such as bedside reading lights or industrial-style pendants. When measuring for an Uno fitter, you must check the inner diameter of the fitter ring against the outer diameter of your fixture’s socket shell. Because socket sizes can vary between standard screw-in bases and smaller pin-based sockets, matching these dimensions precisely is critical for a secure fit.
A Clip-on fitter is the simplest design, featuring wire loops that expand to grip the glass bulb directly. These are typically found on small accent lamps, chandeliers, or wall sconces. While convenient, clip-on fitters are generally limited to lightweight shades and specific bulb shapes, such as standard rounded bulbs or flame-shaped chandelier bulbs. If your fixture uses a non-standard connection, or if the existing hardware is damaged or heavily corroded, stop and consult the fixture manufacturer or a lighting specialist before purchasing a replacement.
Step 3: Measure the Fixture to Determine Shade Proportions
Achieving the correct visual balance between your lamp base and its shade requires a few straightforward calculations. Start by measuring the total height of the lamp base, starting from the very bottom of the stand up to the base of the electrical socket. Next, measure the height of the visible socket or harp area where the shade will sit. These two vertical measurements will help you determine the ideal height range for your new light bulb shade cover.
After recording the height, measure the width or diameter of the lamp base at its widest point. As a general guideline for visual proportion, the bottom diameter of your lampshade should be roughly equal to the height of the lamp base. Additionally, the height of the shade should be approximately two-thirds of the height of the lamp base. While these proportions help create a balanced look, they are conditional preferences; you should always defer to the specific shade manufacturer’s sizing chart to ensure physical compatibility.
Beyond visual proportions, you must verify the physical clearance around the fixture within your room. Measure the distance from the lamp socket to nearby walls, curtains, shelves, or furniture. A shade that is too wide can crowd a bedside table, block walkways, or press against a wall, creating a fire hazard or risking physical damage. In homes with active ceiling fans, ensuring adequate clearance prevents air currents from constantly shaking the shade, which can loosen the fitter over time.
Step 4: Verify Clearances and Finalize Your Shopping Checklist
Before finalizing your purchase, compile all your recorded measurements into a clear, actionable shopping checklist. Your checklist should specify the required fitter type, the exact inner diameter of the fitter ring, the target shade height, and the maximum allowable bottom diameter. Having these specifications organized will streamline your search when browsing online marketplaces or visiting local lighting showrooms.
Safety must remain a primary consideration when selecting your shade material and shape. Check the maximum wattage limit printed on your fixture’s socket or electrical certification label. Ensure that the shade you select allows for proper heat dissipation, leaving at least several centimeters of open space between the bulb and the inner walls of the shade. This is particularly important in warm, humid climates where ambient temperatures are already high, as trapped heat can degrade the socket wiring or damage delicate shade materials.
Finally, review the retailer’s return and exchange policies before making your purchase. Because minor measurement variances can still occur, knowing you can exchange the shade provides peace of mind, especially when budgeting for potential return shipping fees in ₱. When your new light bulb shade cover arrives, perform a thorough physical inspection before installing it. Check for any warping, loose solder joints on the fitter, or tears in the material. When installing, ensure the power remains isolated, follow the manufacturer’s instructions carefully, and verify that the shade sits completely level and secure on the fixture.
Frequently Asked Questions (FAQ)
Can I use a Spider fitter shade on a lamp without a harp?
A Spider fitter cannot be mounted directly to a standard lamp socket because it relies on the elevated support of a harp saddle. If your lamp base does not have a built-in harp, you cannot use a Spider shade without installing additional hardware. Fortunately, you can purchase a harp converter kit that slips over the socket, allowing you to add a harp to a standard base. Alternatively, you can look for Uno or Clip-on shades that match your existing socket configuration. Always check your socket type, thread direction, and dimensions before purchasing any adapter hardware to ensure a safe, stable connection.
How do I measure a sloped or drum-shaped shade?
Measuring a lampshade accurately depends on its shape, especially when replacing sloped or drum-style covers. For sloped or empire-style shades, you must record three distinct dimensions: the top diameter, the bottom diameter, and the vertical slant height measured along the side slope. For drum or cylinder shades, which have straight vertical sides, you only need to measure the uniform diameter across the top or bottom and the straight vertical height. Additionally, always check the fitter drop, which is the vertical distance from the top rim of the shade down to the center of the fitter ring. A proper fitter drop ensures the socket and bulb remain hidden from view when the lamp is placed at eye level.

Community discussion
Share your experience or ask a question. Comments are reviewed before publication.