
Mixing different styles, sizes, and textures of Christmas balls requires a structured approach based on a defined color palette, a clear hierarchy of sizes, and a balanced distribution of finishes. By establishing a unifying theme first, you can combine seemingly disparate ornaments into a cohesive, professionally styled display. The secret lies in layering: placing larger ornaments deep within the branches to create depth, using medium sizes to build volume, and scattering smaller, textured pieces on the outer tips to catch the light. This method ensures that your tree looks balanced and intentional rather than cluttered or chaotic.
In tropical climates like the Philippines, where high humidity can affect holiday decor and ceiling fans often create gentle indoor breezes, securing your ornaments properly is just as important as how you style them. Choosing the right materials and using sturdy hanging methods will keep your beautifully arranged tree intact throughout the festive season.
Establish a Unifying Theme and Color Palette
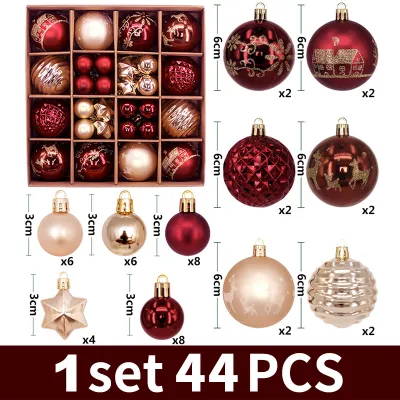
Before hanging a single ornament, you must establish the design rules for your tree. A cohesive look begins with a clear color palette, which typically consists of one dominant color, one secondary color, and one metallic accent. For instance, a classic palette might feature deep red as the dominant shade, forest green as the secondary tone, and warm gold as the metallic accent. Limiting your palette to three or four coordinating colors prevents the tree from looking chaotic and ensures that every ornament feels like it belongs.
Products mentioned in this guide
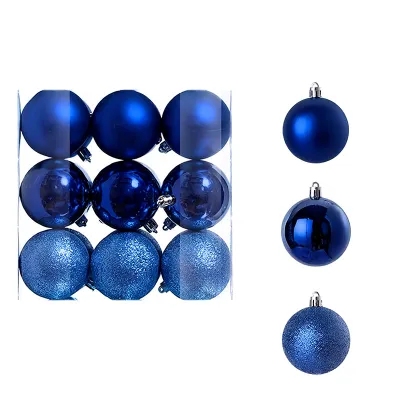
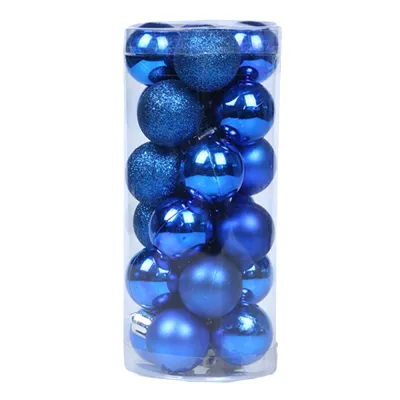
![[READY STOCK] 50Pcs Christmas Tree Decorations Balls Bauble Xmas Party Hanging Ball Ornaments Christmas for Home New Year Gift](https://img.lazcdn.com/g/p/be1fd30512ee7a3d7b11707718fe99b0.jpg_400x400q80.jpg_.webp)
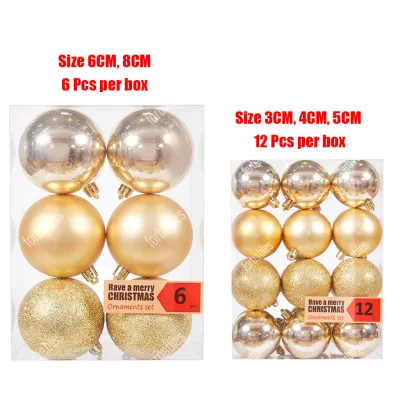
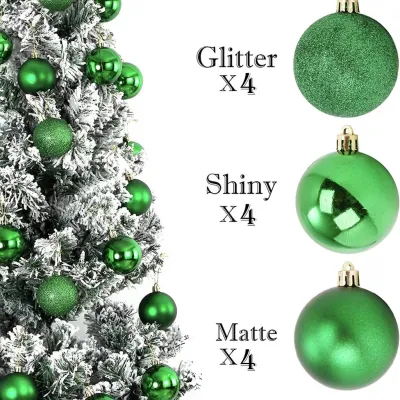
Prices are valid at publication and may change. Please refer to the product page for the latest price.
Your chosen color scheme should align with a specific design theme to guide your selection. A rustic theme might pair matte copper and champagne gold with natural textures, while a modern minimalist theme might focus on monochromatic silver and white with clean, geometric lines. If you prefer a vibrant, eclectic look, you can still maintain cohesion by keeping the shapes uniform while varying the colors, or by sticking to a strict dual-color scheme while mixing diverse ornament styles.
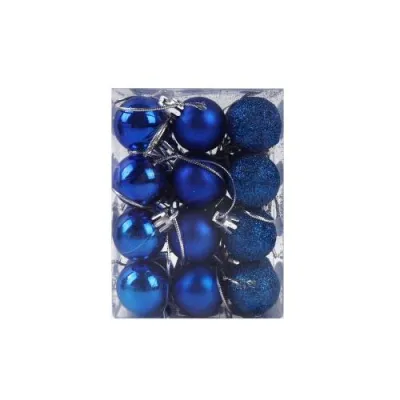
To prevent visual clutter, set strict limits on the number of highly detailed or patterned ornaments you introduce. A good rule of thumb is to ensure that at least sixty percent of your Christmas balls are solid, foundational colors. The remaining forty percent can feature intricate patterns, glitter details, or unique shapes. This balance allows your special accent pieces to stand out without overwhelming the overall design of the tree.
Balance Large, Medium, and Small Ornament Sizes
Achieving a professionally styled tree requires a deliberate variation in ornament scale. Using only one size of Christmas balls makes the tree look flat and monotonous. Instead, source a variety of sizes, typically ranging from large statement baubles to tiny accent spheres. This variation in scale mimics the natural growth patterns of evergreen branches and creates a dynamic, three-dimensional effect.

Large statement ornaments, often measuring ten centimeters or more in diameter, serve as the visual anchors of your design. These substantial pieces should be placed first, tucked slightly deeper into the branches rather than hanging on the very tips. Positioning them closer to the trunk provides structural support for their weight and creates focal points that draw the eye inward. Be sure to distribute these large spheres evenly around the entire tree to balance the visual weight.
Medium-sized ornaments, usually between six and eight centimeters, do the heavy lifting of filling the gaps and building overall volume. These are your primary transition pieces, connecting the large focal points with the rest of the tree. Place them mid-way along the branches, clustering them in groups of two or three with varying finishes to create visual interest. Finally, reserve small ornaments of four centimeters or less for the outer branch tips and the top sections of the tree, where the branches are naturally thinner and more delicate.
Combine Textures and Finishes for Visual Depth
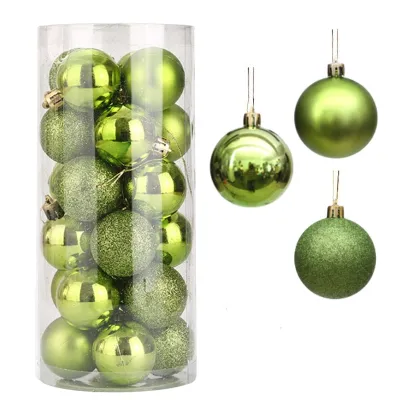
Mixing different surface treatments is the key to transforming a simple tree into a rich, multi-dimensional display. If every ornament has a high-gloss finish, the tree will reflect light harshly and lose its depth. By blending matte, glossy, satin, and metallic finishes, you control how light bounces off the tree, creating a soft, sophisticated glow that highlights the natural shape of the branches.
Matte and satin finishes absorb light, providing a quiet, velvety background that grounds the design. In contrast, glossy and polished metallic finishes reflect light brilliantly, drawing attention to specific areas of the tree. When styling, pair a matte ornament next to a glossy one of the same color; this subtle contrast adds instant sophistication without introducing conflicting colors.
Incorporating textured surfaces like glitter, frosted glass, ribbed patterns, or flocked finishes adds tactile interest. In humid tropical environments, high-quality textured finishes are essential, as cheap glitter can shed easily in damp air. Ensure your selected finishes complement your room’s ambient lighting. If your living space uses warm, yellow-toned lighting, warm metallics like gold, bronze, and copper will look exceptionally rich, while cool white lighting pairs beautifully with silver, platinum, and frosted finishes.
Follow a Strategic Placement Sequence
A beautiful tree is built from the inside out, following a logical sequence that ensures even distribution and structural safety. Before handling any ornaments, always install your Christmas lights first. If you are using plug-in string lights, verify their electrical certification, such as the Philippine Standard (PS) mark or Import Commodity Clearance (ICC) sticker, to ensure safety. Test the lights, check for frayed wires, and isolate the power source before wrapping them deep within the branches near the trunk to create an inner glow.
Once the lights are secure, begin placing your largest Christmas balls. Push these heavy pieces deep into the branches where the boughs are thickest and can support the weight without sagging. This placement also hides the plastic or metal tree center and creates a sense of abundance. If you live in a home with active ceiling fans, use sturdy green floral wire instead of loose plastic hooks to secure these larger ornaments tightly to the branches, preventing them from swaying and falling.
Next, distribute your medium-sized ornaments across the middle sections of the branches. Work in a zigzag pattern rather than a straight horizontal or vertical line to avoid a rigid, grid-like appearance. Finally, hang your smallest and most delicate ornaments on the outer tips. As you work, step back three to four meters from the tree frequently. Squinting your eyes while looking at the tree is a helpful trick to easily spot empty gaps, dark spots, or areas where too many similar colors or sizes are clustered together.
Identify and Fix Common Styling Mistakes
One of the most common decorating mistakes is overcrowding one specific area of the tree while leaving other sections bare. This often happens when decorators work on only one side of the tree or fail to step back to assess their progress. If you notice a heavy cluster of color or size, gently relocate a few pieces to underrepresented areas. Maintaining a balanced distribution of visual weight ensures the tree looks beautiful from every angle in your living room.
Another frequent error is using too many competing themes, colors, or novelty shapes. While sentimental ornaments are cherished, mixing them indiscriminately with a styled theme can break visual cohesion. To fix this, designate a specific section of the tree for family ornaments, or tie them into the main design by adding a matching ribbon or hanging them next to solid-colored Christmas balls that echo their primary colors.
Lastly, avoid hanging all your ornaments at the very tips of the branches. This common habit makes the tree look flat, exposes the bare interior trunk, and puts unnecessary strain on the branch tips, causing them to droop. By consciously pushing at least a third of your ornaments deeper into the foliage, you create layers of color and light that give your tree a professional, high-end look.
Frequently Asked Questions (FAQ)
How many different styles of Christmas balls should I use on one tree?
For a cohesive look, limit your selection to three or four distinct styles of Christmas balls. This might include one solid matte style, one solid glossy style, one textured or glittered option, and one patterned or unique accent style. Keeping the variety controlled prevents visual chaos. If you want to introduce more variety, ensure all the different styles share a single unifying element, such as a matching color tone or a consistent metallic cap finish, to tie them together seamlessly.
Should I mix real glass and shatterproof plastic ornaments?
Yes, mixing real glass and shatterproof plastic ornaments is an excellent way to balance beauty and practicality. Glass ornaments offer unparalleled clarity and light reflection, making them perfect for the upper, safer branches of the tree. Shatterproof plastic ornaments are highly durable and ideal for the lower branches, especially in households with active pets, young children, or high-traffic areas. When mixing them, choose high-quality shatterproof options with seamless finishes so they blend visually with the glass pieces.
Community discussion
Share your experience or ask a question. Comments are reviewed before publication.