
Creating an immersive gaming environment in a condominium often requires balancing high-impact aesthetics with space constraints and strict building rules. Wall-washing with tube LED lights is an effective way to achieve a soft, indirect glow that makes a gaming setup feel expansive and visually dynamic. By casting an even sheet of light across the wall behind your monitors, you can reduce harsh contrasts, minimize eye strain, and elevate the room’s overall design.
However, achieving a clean, polished wall-wash effect with Luxy tube LED lights involves more than just mounting them to the nearest surface. It requires careful planning of light placement, a clear understanding of your condo’s structural guidelines, and safe electrical practices. Proper positioning ensures that the ambient light enhances your screen’s contrast rather than creating distracting glare or reflections that disrupt your gameplay.
Pre-Installation Checks and Condo Safety Rules
Before unpacking your lighting fixtures, you must review your condominium association’s guidelines regarding unit modifications. Many high-rise developments in the Philippines enforce strict rules against drilling into structural concrete walls, columns, or shared partition walls. If your condo has drywall partitions, drilling may be permitted, but you must still locate the studs to ensure secure mounting. Understanding these boundaries early prevents costly penalties or damage to your unit’s structural integrity.
Products mentioned in this guide
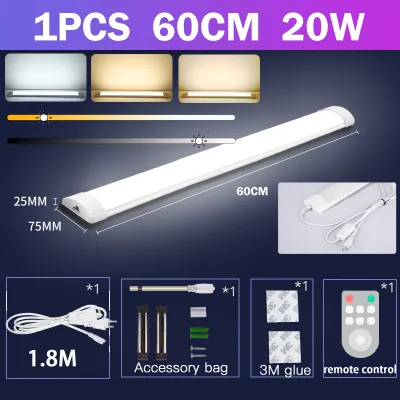
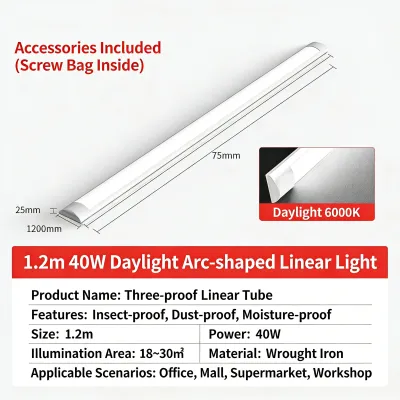
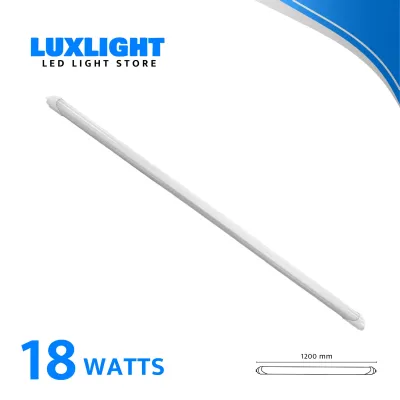
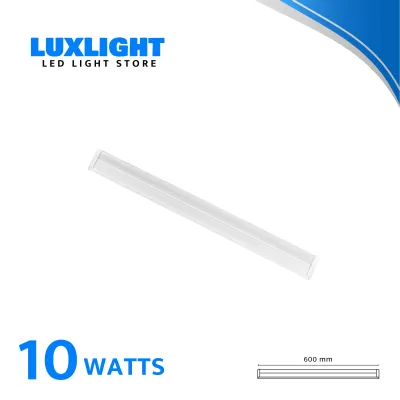
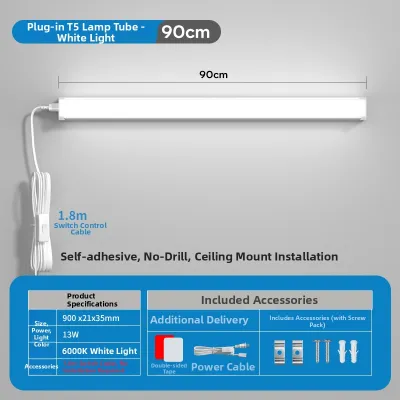
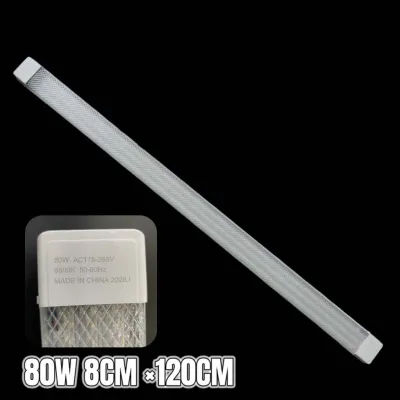
Prices are valid at publication and may change. Please refer to the product page for the latest price.
Next, consult the specific product manual for your Luxy tube LED lights to verify their physical and electrical specifications. Check the operating voltage to ensure it matches the standard local residential supply, which is typically 220V in the Philippines. Confirm the plug type, total wattage, weight of each tube, and the manufacturer’s approved mounting orientations. Operating a fixture on incompatible voltage or using unapproved mounting methods can lead to electrical hazards, product failure, or a voided warranty.
You must also determine how the lights will receive power. Most consumer-grade tube LED lights are designed for standard plug-in connections, which are highly recommended for condo rentals and DIY installations. If your design requires hardwiring the fixtures directly into your wall’s electrical system, you must establish a strict safety boundary. Do not attempt to splice wires, install new wall switches, or modify your circuit breaker panel yourself. Always hire a licensed electrician to handle any direct wiring tasks to comply with local electrical codes and prevent fire hazards.
Tools and Materials Required
Having the correct tools on hand ensures a smooth, efficient installation process and prevents damage to your walls and fixtures. For basic layout and mounting, you will need a reliable measuring tape, a pencil, and a spirit level to ensure the tubes are accurately horizontal or vertical. If your condo rules permit drilling, prepare an electric drill with bits specifically rated for your wall material, whether concrete, masonry, or drywall. If drilling is prohibited, gather high-quality, manufacturer-approved adhesive mounting strips designed to support the exact weight of your light tubes.

Electrical safety and neatness require specific accessories to keep your gaming station organized and hazard-free. Invest in paintable cable raceways, cable clips, or fabric sleeves to conceal power cords running down the wall. These accessories not only preserve the clean, minimalist aesthetic of your gaming room but also protect the cables from being pinched or pulled.
Always prioritize the mounting hardware provided or explicitly recommended by the manufacturer. Using generic brackets that do not fit the profile of your Luxy tube LED lights can result in an unstable mount, causing the fixtures to fall and break. Additionally, ensure you have basic safety gear, including protective eyewear when drilling overhead and insulated tools if you are working near power outlets.
Step-by-Step Mounting and Wiring Process
Measuring and Marking: Begin by mapping out the exact placement of your tube lights on the wall behind your gaming desk. Use your measuring tape to find the center point of your monitor setup, and mark where the light tubes will sit relative to your screens. Hold your spirit level against the wall and draw a light pencil line where the mounting brackets or adhesive strips will go. Taking the time to verify alignment at this stage prevents lopsided lighting effects that can ruin the symmetry of your gaming station.
Mounting the Fixtures: If you are using screws and wall anchors, drill pilot holes at your marked spots, insert the anchors, and secure the mounting brackets firmly to the wall. For adhesive-based installations, wall preparation is critical for a long-lasting hold. Clean the mounting area thoroughly with isopropyl alcohol to remove dust, oils, and moisture, which are common in humid tropical climates. Allow the surface to dry completely before applying the adhesive strips, and press the brackets firmly against the wall for the duration specified in the adhesive instructions to ensure a strong bond.
Electrical Connection: Once the brackets are securely in place, carefully snap or slide the Luxy tube LED lights into the mounts. Route the power cords toward your nearest grounded wall outlet or a heavy-duty power strip equipped with surge protection. If you plan to integrate your lighting into a smart home ecosystem, plug the fixtures into a compatible smart plug. This setup allows you to automate your gaming lights or control them via voice commands without modifying your condo’s permanent electrical wiring.
Cable Management: Loose, dangling wires can ruin the visual appeal of your wall-wash setup and pose a physical hazard. Lay your paintable raceways along the pencil lines you marked earlier, tuck the power cables inside, and snap the covers shut. Secure any excess cable behind your desk using cable ties or adhesive clips, ensuring there is enough slack near the plug to prevent tension on the ports. Keeping cables organized prevents accidental trips, protects the cords from pet damage, and maintains a clean, professional look.
Positioning for an Even Wall-Wash Effect
Achieving a smooth, seamless wall-wash effect depends heavily on the physical distance between the light source and the wall surface. Placing the tube lights too close to the wall creates intense, narrow hot spots of light directly above the fixture, leaving the rest of the wall in shadow. To achieve a soft, uniform distribution of light, position the tubes slightly away from the wall surface, allowing the beam angle to spread naturally before it hits the vertical plane.
The angle of the light tubes also plays a critical role in preventing screen glare and visual discomfort. Tilt the fixtures slightly toward the wall and away from your seating position so that the light washes upward or outward without shining directly into your eyes. This directional control ensures that the light source remains hidden from your direct line of sight, preserving the ambient, indirect quality of the wall-wash effect.
Additionally, you should balance the brightness and color temperature of your wall-wash lights with your monitor’s output. If your gaming room features cool-toned screens, matching them with a complementary ambient temperature can reduce eye strain during extended gaming sessions. Avoid setting the wall-wash lights to maximum brightness; instead, dim them to a level that supports your screen’s visibility without overpowering the room’s natural shadows.
Testing, Adjustment, and Maintenance
Before declaring the project complete, power on your Luxy tube LED lights to conduct a thorough system test. Cycle through the available color modes, brightness levels, and dynamic effects to ensure the lights operate smoothly without flickering or dropping connection. Inspect the physical installation from your primary gaming chair to check for any uneven light pools, harsh shadows, or distracting reflections on your monitors.
If you notice any visual inconsistencies, make micro-adjustments to the angle of the tubes or the positioning of your desk. Sometimes, shifting a monitor slightly forward or tilting a light tube by a few degrees can completely eliminate a stubborn reflection. Ensure that all mounting brackets remain tight and that the adhesive strips show no signs of peeling or lifting under the weight of the fixtures.
Long-term maintenance is essential to keep your wall-wash lighting looking its best and operating safely. Dust can accumulate quickly on the surface of the LED tubes, especially in enclosed condo spaces, which can dim the light output over time. Clean the fixtures periodically using a dry, soft microfiber cloth, and avoid using liquid cleaners or harsh chemicals that could damage the housing. Regularly inspect the power cables and wall plugs for any signs of wear, heat buildup, or loose connections to ensure your gaming setup remains safe.
Frequently Asked Questions (FAQ)
Can I use heavy-duty adhesive strips instead of drilling in my condo?
Yes, heavy-duty adhesive strips can be a viable alternative to drilling, provided you follow specific precautions. You must verify that the weight of your Luxy tube LED lights does not exceed the maximum load capacity specified on the adhesive packaging. Additionally, ensure your wall paint is in good condition; loose or peeling paint can cause the adhesive to fail, bringing the light fixture down with it. Always clean the wall surface thoroughly with rubbing alcohol before application, and test a small, inconspicuous area first to ensure the adhesive can be removed later without tearing the drywall or paint.
How do I prevent the wall-wash light from reflecting on my gaming monitors?
To eliminate distracting reflections, adjust the physical angle of your tube lights so they face the wall directly rather than angling back toward your desk. You can also increase the distance between your monitors and the wall, which helps position the screens outside the direct path of the reflected light. If your desk space is limited and repositioning is not an option, consider installing a monitor light bar to provide downward bias lighting, or use physical monitor hoods to shield your screens from ambient side light.
Community discussion
Share your experience or ask a question. Comments are reviewed before publication.