
Ordering a custom letter signage light allows you to transform a blank wall into a personalized focal point, whether you are decorating a cozy condominium in Metro Manila, setting up a trendy neighborhood cafe, or designing an eye-catching backdrop for a creative studio. The customization process involves translating your creative vision into a physically viable, safe, and durable light fixture. By carefully planning your design, selecting the right material specifications, verifying technical compatibility with local electrical standards, and following safe installation practices, you can ensure your bespoke sign performs beautifully for years. This guide outlines the complete step-by-step journey from your initial concept to the final, safely illuminated installation.
Plan Your Design: Choosing Text, Fonts, and Layout
The foundation of a stunning custom letter signage light lies in its visual layout and readability. Before reaching out to a manufacturer or using an online design tool, you must establish the exact text you want to display. Keeping your message concise is highly recommended. Short phrases, single words, or initials not only look cleaner and are easier to read from a distance, but they also maintain better structural integrity. Longer sentences require smaller letter sizes, which can make the physical bending of LED neon tubes difficult or cause individual letters to blur together when illuminated. Additionally, most custom sign pricing is calculated by the total length of the lighting element used, meaning concise text is inherently more cost-efficient.
Font selection is another critical design decision that dictates the physical construction of your sign. Custom signage lights generally fall into two categories: cursive or connected script fonts, and block or print fonts. Script and cursive fonts are ideal for flexible LED neon tubing because the continuous, flowing lines allow the manufacturer to bend a single, unbroken piece of silicone or PVC housing over the design. This minimizes the number of cut points and soldered joints, reducing potential failure points in the electrical circuit. Conversely, block, print, or sans-serif fonts often feature sharp angles and disconnected strokes. These are better suited for individual 3D LED channel letters or signs where the tubing is cut and wired behind an acrylic backing board. If you select a block font for a continuous neon sign, the manufacturer must black out the connecting segments between letters using specialized paint or heat-shrink tubing to prevent unwanted light leakage.
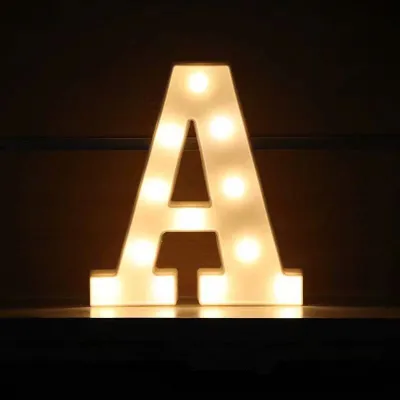
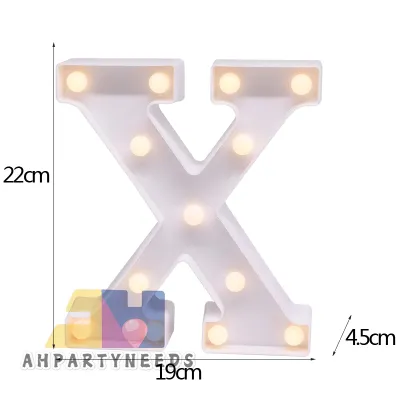
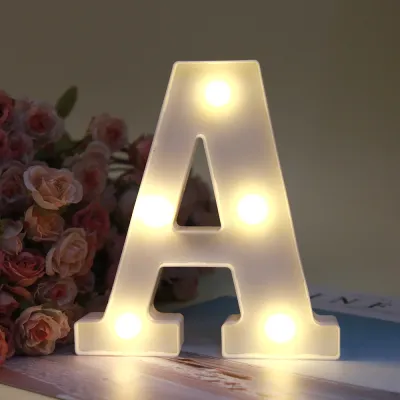
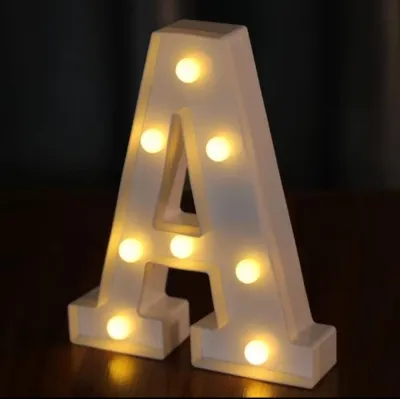
Products mentioned in this guide
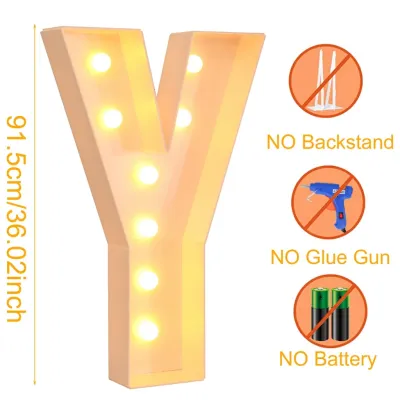
Prices are valid at publication and may change. Please refer to the product page for the latest price.
Layout considerations also play a vital role in determining the final dimensions and wiring path of your custom sign. You must decide whether your text will sit on a single horizontal line or be stacked across multiple lines. Stacked layouts are excellent for square or vertical wall spaces, but they require complex internal wiring to connect the separate lines of text. When designing a multi-line sign, consider where these connecting wires will run. Most high-quality manufacturers route these wires discreetly behind the backing board, but a poorly planned layout might result in visible black wires jumping between lines. Additionally, think about how punctuation marks, symbols, or special characters will be supported; small, isolated elements like the dot on an “i” or an exclamation point require their own individual power connections and structural anchoring, which can slightly increase the complexity and cost of the fabrication process.
Select Specifications: Size, Materials, and Colors
Once your design concept is ready, you must define the physical specifications of the sign to ensure it fits your space and functions safely in your environment. Accurate measurement of the installation area is the first step. Use a physical tape measure to determine the maximum width and height available on your wall or mounting surface. It is crucial to leave a generous margin of at least 15 to 20 centimeters around all sides of the sign. This border prevents the signage from looking cramped, allows for adequate heat dissipation, and ensures you have enough physical space to reach the mounting brackets or adhesive strips during installation. In tropical climates like the Philippines, where indoor humidity can fluctuate significantly, leaving air gaps around the sign helps prevent moisture buildup behind the backing board.

The choice of material will significantly affect both the aesthetic output and the durability of your sign. Flexible LED neon is the most popular modern option for residential and light commercial spaces. It utilizes a flexible silicone or PVC jacket embedded with high-density LED chips, producing a smooth, continuous glow that mimics traditional glass neon without the fragility, high operating voltage, or buzzing noise. LED neon is highly shatter-resistant, runs cool to the touch, and consumes minimal power. For a more structured, architectural look, 3D LED channel letters are an excellent alternative. These letters are individually fabricated from metal or thick acrylic, housing internal LED modules that project directional light either forward through a colored face or backward against the wall to create a sophisticated halo effect.
Color and backing options allow you to tailor the sign to your exact decorative preferences. You can choose from single-color setups, multi-color designs, or dynamic RGB systems controlled via a wireless remote or smartphone app. While vibrant pinks, blues, and purples are popular for a retro-modern aesthetic, warm white (2700K to 3000K) or cool white (5000K to 6500K) options offer a more refined, timeless appeal. Remember that perceived color temperature and spatial effects are highly subjective; a color that looks brilliant in a dark room might appear washed out in a brightly lit space. To support the lighting elements, manufacturers mount them on a backing board, typically made of clear, colored, or mirrored acrylic, or a sturdy metal grid. Clear acrylic is the most common choice as it virtually disappears against the wall, keeping the focus entirely on the glowing letters.
The Ordering Process: From Digital Mockup to Checkout
Ordering a custom letter signage light is a collaborative process that requires clear communication with the manufacturer. The first step involves submitting your design concept. Most specialty lighting brands and online marketplace sellers provide interactive web-based customization tools where you can type your text, select a font, choose a color, and instantly preview a basic digital rendering. If your design is more complex or requires a specific layout not supported by automated tools, you can message the seller’s design team directly. Provide them with your text, preferred font style, desired dimensions, and reference images to help them understand your vision.
The second step is the careful review of the digital mockup provided by the manufacturer. This mockup is a technical blueprint of how your sign will look once fabricated. You must inspect this document with extreme attention to detail. Verify the spelling of every word, check that the letter proportions match your expectations, and examine the indicated physical dimensions. Crucially, look for the designated wiring paths and power cord exit points. The power cord should ideally exit from the bottom or a discreet corner of the sign closest to your designated electrical outlet. If you notice any visible wires crossing over the front of the design in the mockup, request that the manufacturer reroute them behind the backing board.
Third, finalize the technical specifications to ensure safety and local compatibility. In the Philippines, the standard electrical grid operates at 220V and 60Hz. You must explicitly confirm with the seller that the included power adapter (transformer) is rated for a 220V input and features a compatible plug type (typically Type A or Type B). Never assume a power supply is dual-voltage; using a 110V-only adapter on a 220V outlet will cause immediate electrical failure, pose a severe fire hazard, and void your warranty. Additionally, verify if the sign includes a dimmer switch or remote control. Because LED neon can be exceptionally bright, having a dimming method is essential for adjusting the light output to match the ambient mood of your room. Look for power adapters that carry recognized electrical safety certifications to ensure safe continuous operation.
The final step is placing your order and preparing for delivery. Custom-made items require variable production lead times, often ranging from 5 to 15 business days, plus shipping time. Because custom signage lights are highly personalized, manufacturers typically do not accept returns or exchanges unless the item arrives damaged or deviates significantly from the approved mockup. When completing your checkout, verify that the seller uses robust packaging, such as thick wooden crates or heavy-duty foam-lined boxes, to protect the fragile acrylic backing and delicate solder joints during transit.
Inspect and Prepare for Safe Installation
When your custom letter signage light arrives, immediate inspection is vital before you begin the installation process. Carefully unbox the package and conduct a thorough visual check. Examine the acrylic backing for any hairline cracks or chips that may have occurred during shipping. Inspect the flexible LED tubing to ensure it is securely bonded to the backing board and that no wires are loose or exposed. Before mounting the sign to the wall, place it on a clean, flat, non-abrasive surface, plug the power adapter into a certified outlet, and turn it on. Verify that all LED nodes illuminate evenly, that there are no dead zones or flickering sections, and that the dimmer or remote control functions correctly. If you discover any defects, document them immediately with photographs and video.
Choosing the correct mounting method depends on the weight of your sign and the texture of your wall. For lightweight, small-scale signs mounted on smooth, clean, and dry surfaces—such as painted drywall or glass—heavy-duty adhesive strips or mounting tape can provide a clean, drill-free installation. However, in the humid, tropical climate of the Philippines, adhesive bonds can weaken over time due to moisture in the air. For larger, heavier signs, or those mounted on textured surfaces like concrete, brick, or wood, screw mounting is highly recommended. Most manufacturers pre-drill mounting holes into the acrylic backing and provide wall anchors and decorative stainless steel standoff screws. This hardware suspends the sign slightly away from the wall, creating a beautiful floating effect and allowing air to circulate freely behind the fixture.
Safety boundaries must be strictly observed during installation and daily use. Always disconnect the power supply at the wall outlet before mounting, adjusting, or cleaning your sign. If your installation involves fixed electrical wiring, mounting at a significant height, or suspended overhead loads, you must isolate the power source and hire a qualified professional electrician to complete the work safely. Ensure that indoor-rated signs (typically IP20) are kept far away from direct water sources, open windows during heavy rains, or high-humidity zones like bathrooms. Avoid overloading your electrical wall outlets by plugging multiple high-wattage appliances into the same circuit as your sign, and never use damaged power cords or loose extension leads. Always prioritize the manufacturer’s specific care and safety instructions; if these instructions conflict with general guidelines or if your sign’s electrical specifications are unclear, stop immediately and consult the manufacturer or a certified electrical professional.
Frequently Asked Questions (FAQ)
Can I use my own logo or complex graphics instead of just text?
Yes, most custom signage manufacturers can convert logos, line art, and simple graphics into illuminated LED signs. However, highly detailed, shaded, or complex graphics with gradients cannot be accurately replicated using flexible LED tubing. For the best results, you should provide the seller with clean, high-resolution vector files in formats such as SVG, AI, or PDF. The design team will then simplify the lines to match the physical bending limits of the LED neon material, providing you with a modified mockup for approval before production begins.
What happens if the custom sign arrives damaged?
If your custom sign arrives damaged, you must act quickly to secure a replacement or refund. It is highly recommended to record a continuous, unedited unboxing video from the moment you open the shipping package to document the exact condition of the product upon arrival. Contact the retailer immediately—usually within 24 to 48 hours of delivery—and provide this video evidence along with clear photographs of the damage. Review the store’s specific remake or refund policy beforehand, as custom-made items are typically exempt from standard return policies and require clear proof of transit damage for a replacement to be authorized.
Community discussion
Share your experience or ask a question. Comments are reviewed before publication.