
To make a room look significantly larger using a whole-body acrylic wall mirror, the optimal placement is directly opposite a primary light source—such as a large window—or along a narrow, dark wall that lacks architectural interest. Because acrylic is highly reflective yet lightweight, it serves as an excellent tool for bouncing light into deep corners and creating the illusion of an extended floor plan. However, achieving this spatial expansion requires precise positioning to avoid reflecting cluttered areas, along with a perfectly flat mounting method to prevent the flexible material from warping your reflection. By strategically aligning the mirror with your room’s natural traffic paths and light entry points, you can visually push back the walls and make even the most compact room feel open and airy.
Evaluate Acrylic Mirror Properties for Spatial Illusions
Before mounting a whole-body acrylic mirror, understanding its unique physical characteristics is essential for maximizing its space-expanding potential. Acrylic is a synthetic polymer that offers excellent optical clarity, allowing it to reflect both natural and artificial light with high efficiency. When light hits the smooth surface, it bounces cleanly across the room, instantly brightening dark corners and making the entire area feel more expansive. This high reflectivity is particularly beneficial in tropical climates where bright, sunny days can be harnessed to illuminate interior spaces without relying heavily on overhead electrical fixtures.
However, unlike traditional glass mirrors, acrylic sheets are inherently flexible. This flexibility means that if the mirror is mounted on an uneven surface, it will bend slightly, resulting in a distorted, “funhouse” reflection that ruins the illusion of depth. To maintain a realistic and helpful spatial expansion, you must ensure the backing remains completely flat. On the positive side, the lightweight nature of acrylic makes it incredibly easy to handle, reposition, and test on various walls before committing to a permanent installation. This is a major advantage for renters or those with lightweight partition walls who want to avoid heavy drilling.
Products mentioned in this guide
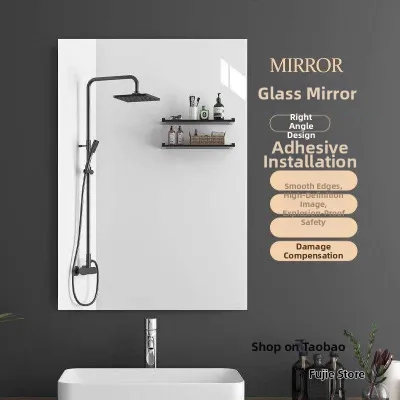
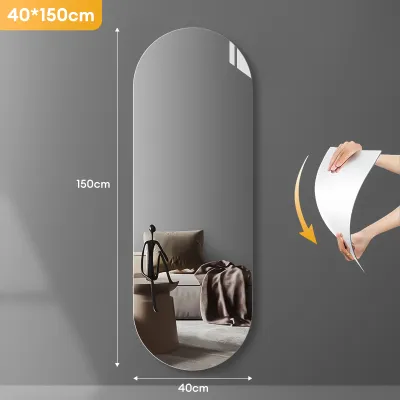
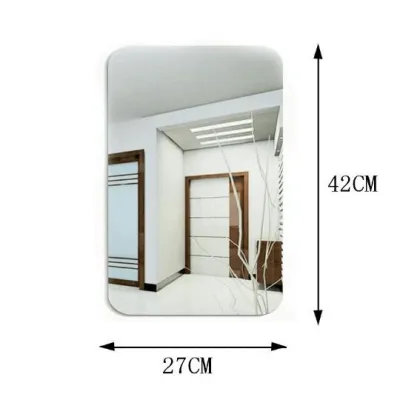
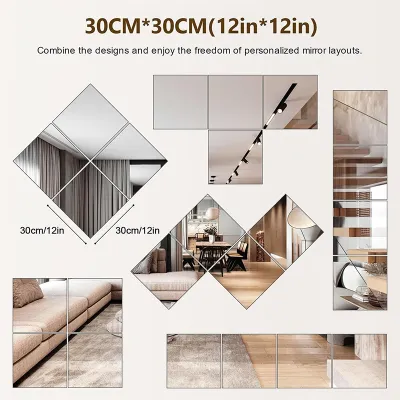
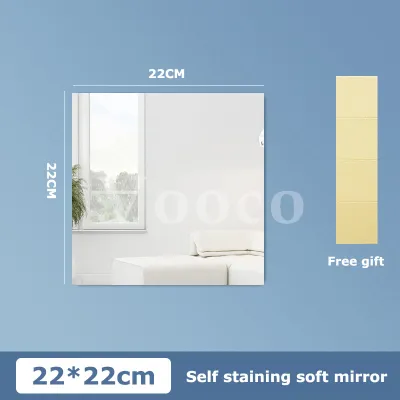

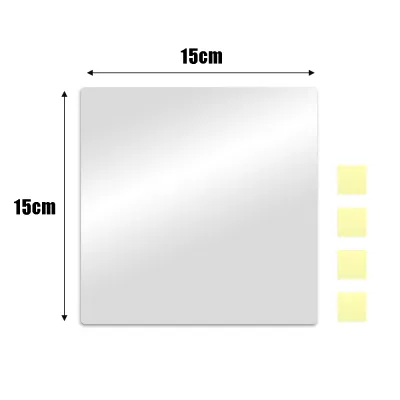
Prices are valid at publication and may change. Please refer to the product page for the latest price.
Select Effective Wall Placements to Expand Your Room
Choosing the right wall for your full-body mirror requires a careful assessment of your room’s layout, natural light paths, and overall geometry. The primary goal of using a mirror for spatial expansion is to trick the eye into perceiving depth where a solid wall actually exists. To do this, look for areas where the visual flow of the room abruptly stops, such as blank partition walls, dead ends, or dark corners that receive minimal light.

Additionally, you must evaluate what the mirror will actually reflect from its proposed position. A mirror placed directly opposite a cluttered shelf, a messy wardrobe, or a blank, unpainted wall will only multiply the visual noise or reinforce the room’s limitations. Instead, aim to position the mirror so it captures open floor space, attractive furniture arrangements, or outdoor views. This creates a “window” effect that visually doubles the footprint of your living area.
Opposite a Window or Primary Light Source
Placing your whole-body acrylic mirror directly opposite or adjacent to a window is one of the most effective ways to amplify natural light and stretch your room’s boundaries. When positioned correctly, the mirror acts as a secondary window, capturing incoming daylight and projecting it deep into the room. This not only brightens the space but also brings the outdoor environment inside, creating a seamless connection with the exterior that makes the room feel much larger.
When aligning the mirror, pay close attention to the angle of the incoming light to prevent harsh glare from bouncing directly into seating areas or workspaces. You can test this by temporarily propping the mirror against the wall at different times of the day to observe how the sunlight shifts. Additionally, check for any unappealing outdoor views, such as utility poles or neighboring walls, that might be amplified by the reflection. If the view is less than ideal, angling the mirror slightly away from the direct window line can still capture the ambient light while keeping the reflection focused on more pleasant indoor elements.
In Narrow Hallways or Behind Furniture
Narrow hallways, entryways, and tight bedroom corridors often feel cramped and restrictive, but a strategically placed full-body acrylic mirror can visually push these walls back. Mounting a mirror along a long, monotonous corridor breaks up the flat surface and introduces a sense of movement and depth. In these high-traffic zones, the lightweight nature of acrylic is a safety benefit, reducing the risk of heavy glass shattering if accidentally bumped by passing family members or pets.
Another highly effective technique is placing the mirror behind low-profile furniture, such as a console table, a low sofa, or even a bed’s headboard. By positioning the mirror so it peeks out from behind these pieces, you create the illusion that the room continues beyond the furniture rather than ending abruptly at the wall. When implementing this setup, ensure there is sufficient physical clearance between the furniture and the mirror surface to prevent direct contact, which could scratch the sensitive acrylic material over time.
Adjacent to Room Focal Points
Positioning your mirror adjacent to an existing focal point—such as a beautiful piece of artwork, a statement indoor plant, or an architectural feature—can draw the eye and widen the room’s visual field. Instead of competing with the main feature, the mirror should complement it by reflecting its colors and textures from a different angle. This creates a cohesive design narrative and makes the entire room feel more thoughtfully curated and spacious.
To achieve this balance, avoid placing the mirror directly opposite another highly detailed focal point, as this can create a chaotic, infinite-reflection loop that confuses the eye and makes the space feel smaller. Instead, align the edges of the mirror with the surrounding decor, such as matching the top frame of the mirror with the height of an adjacent door frame or bookshelf. This clean alignment maintains visual order, allowing the spatial illusion to work seamlessly without adding unnecessary clutter to the room’s design.
Adjust Height and Angles for Full-Body Depth
To maximize both the spatial illusion and the practical utility of a full-body mirror, you must carefully adjust its height and mounting angle. A common mistake is hanging the mirror too high, which cuts off the lower half of the reflection and disrupts the visual connection to the floor. For a true sense of depth, the bottom edge of the mirror should be positioned relatively close to the floor—typically between 10 to 20 centimeters high—ensuring that your feet are fully visible when standing at a comfortable viewing distance.
The overall height of your ceiling should also guide your placement. In rooms with standard or low ceilings, extending the mirror higher up the wall can draw the eye upward, creating the illusion of vertical volume. If your mounting hardware and wall structure allow, a very slight forward tilt at the top of the mirror can enhance this effect. This tilt reflects a portion of both the floor and the ceiling, tricking the brain into perceiving a taller, more voluminous space. However, ensure the tilt is secure and does not cause the flexible acrylic to bend or warp under its own weight.
Mount Securely to Prevent Acrylic Distortion
Because acrylic is highly flexible, securing it flat against the wall is the single most important step in preventing optical distortion. Any slight bump, texture, or curve in the wall will transfer directly to the acrylic sheet, turning your elegant spatial mirror into a distorting funhouse mirror. Before installation, thoroughly inspect the chosen wall surface using a straightedge or level to identify any uneven plaster, paint drips, or structural bowing.
Depending on your wall type—whether it is concrete, drywall, or wood—you must select the appropriate mounting method. For perfectly flat walls, high-quality double-sided mounting tapes or specialized acrylic adhesives can work well, but you must verify that the adhesive is compatible with both the mirror’s backing material and your wall paint. In humid tropical environments, standard adhesives can degrade over time, so using mechanical fasteners, such as mirror clips or a sturdy backing board, is highly recommended to keep the sheet flat and secure. If you are using screws or clips, be careful not to overtighten them, as localized pressure can pinch the edges of the acrylic and introduce unwanted ripples across the reflective surface.
Avoid Common Placement Mistakes That Shrink Space
While a well-placed mirror can make a room feel twice its size, a poor placement can have the exact opposite effect, making the space feel cluttered, dark, or disjointed. One of the most frequent errors is placing a mirror where it directly reflects a cluttered storage area, a laundry corner, or a blank, unadorned wall. This simply duplicates the visual clutter or emphasizes the emptiness, making the room feel cramped and uninviting.
Another mistake is ignoring the primary sightlines from the room’s main entryway. If a visitor’s first view upon entering is a sudden, direct reflection of themselves in a poorly angled mirror, it can feel jarring and disruptive. Instead, angle the mirror so it reflects an open pathway or a welcoming design element, guiding the eye smoothly into the room. Finally, avoid hanging the mirror at an awkward, non-standard height that serves neither its functional purpose as a full-body mirror nor its aesthetic purpose as a spatial expander.
Frequently Asked Questions (FAQ)
Can I place an acrylic mirror on a textured or uneven wall?
Placing a flexible acrylic mirror directly onto a textured or uneven wall is not recommended, as the material will conform to the wall’s imperfections and distort the reflection. To resolve this issue, you should first mount the acrylic mirror to a rigid, flat backing board, such as a piece of smooth plywood or medium-density fiberboard (MDF). Once the mirror is securely attached to the flat board, you can then hang the board onto the textured wall, ensuring a perfectly flat reflective surface and a distortion-free spatial illusion.
How do I clean an acrylic mirror without damaging the reflection?
Acrylic is softer than glass and can scratch easily if cleaned with improper materials or harsh chemicals. Avoid using ammonia-based, alcohol-based, or abrasive glass cleaners, as these can cause the acrylic to cloud, yellow, or develop micro-scratches over time. Instead, use a clean, ultra-soft microfiber cloth dampened with water or a specialized acrylic cleaner. Gently wipe the surface in a light, circular motion without applying heavy pressure, which helps prevent static buildup and keeps the reflective surface clear and bright.

Community discussion
Share your experience or ask a question. Comments are reviewed before publication.