
Acrylic mirror wall stickers offer a lightweight, budget-friendly way to make a small room feel more open and airy. By strategically bouncing light around a compact space, these reflective panels trick the eye into perceiving depth where there is none. Unlike heavy glass mirrors, these flexible acrylic alternatives can be arranged in custom patterns to suit tight corners, narrow hallways, or studio apartments. Achieving this spatial illusion requires careful planning of light reflection, surface preparation, and precise installation.
Using lightweight reflective decor is particularly useful in compact urban living spaces, such as studio condominiums or cozy bedrooms, where floor space is at a premium. Because acrylic is highly customizable and easy to mount without drilling, it provides a damage-free solution for renters and homeowners alike. However, simply sticking them onto the wall at random will not yield the best spatial results. To truly open up a room, you must understand how light, angles, and layout patterns interact with your existing environment.
Plan the Layout to Maximize the Spatial Illusion
To create a convincing sense of expanded space, you must first evaluate the natural and artificial light sources in your room. In tropical climates where bright sunlight is abundant, placing your acrylic mirror stickers directly opposite or adjacent to a window allows them to capture incoming daylight. This placement distributes natural light deeper into dark corners, instantly making a cramped room feel brighter and more open. If your room lacks large windows, positioning the stickers near wall sconces, pendant lights, or floor lamps will achieve a similar effect by doubling the ambient glow at night.
Products mentioned in this guide
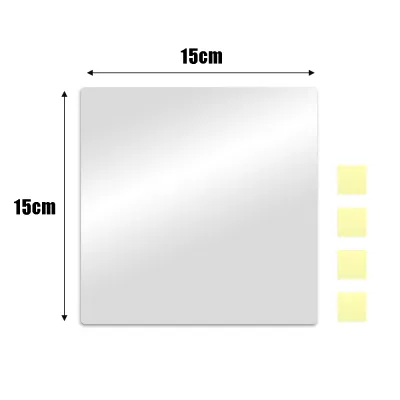
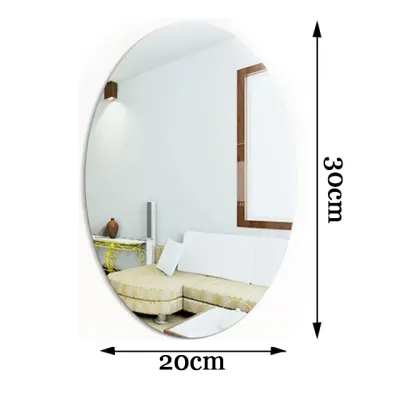

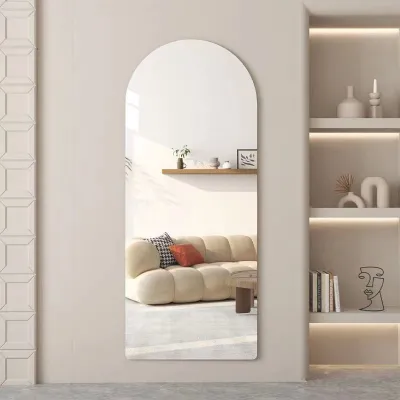
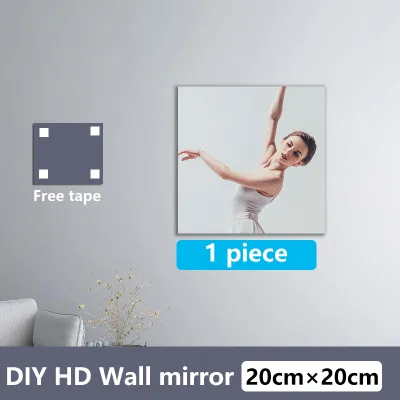
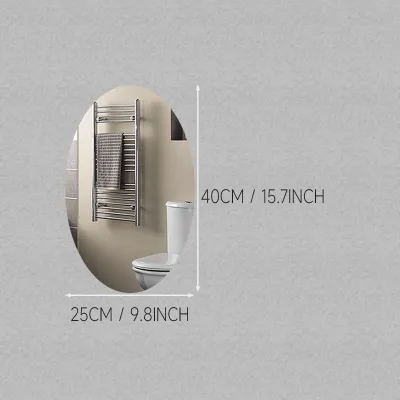
Prices are valid at publication and may change. Please refer to the product page for the latest price.
The arrangement of your stickers should complement the room’s existing dimensions and furniture layout. A structured grid pattern—such as a three-by-three or four-by-four block of square tiles—mimics the look of a traditional multi-pane window, adding architectural interest and a clean sense of depth. For rooms with low ceilings, arranging the stickers in a tall, narrow vertical column draws the eye upward, creating the illusion of height. Conversely, a horizontal band of mirrors running along a narrow hallway or behind a dining table can make a tight corridor feel significantly wider.
Before finalizing your layout, identify the visual focal points in the room and consider what the mirrors will actually reflect. Placing reflective stickers directly opposite a cluttered open wardrobe, a busy utility area, or a stack of storage boxes will visually double the clutter, making the space feel more chaotic. Instead, aim to position the mirrors so they reflect clean, minimalist zones, a favorite indoor plant, or an open doorway. This ensures that the reflected image contributes to a sense of order and continuous space rather than visual noise.
You can also experiment with geometric and mosaic layouts to add a decorative touch while maintaining the spatial illusion. Hexagonal, diamond, or teardrop-shaped acrylic stickers can be clustered together to form a stylish accent wall. When using these creative shapes, keep the spacing between individual tiles tight and consistent. Large gaps between reflective pieces can break up the reflection too much, which diminishes the continuous visual depth you are trying to achieve.
Prepare the Wall and Gather Necessary Tools
Acrylic mirror stickers rely on a strong, flat bond with the wall to provide a clear, undistorted reflection. Because acrylic is flexible, any bumps, textures, or imperfections on the wall surface will transfer to the sticker, resulting in a warped, funhouse-mirror effect. Ideal surfaces for installation include smooth painted drywall, polished wood panels, glass, flat ceramic tiles, or smooth metal laminates. If your wall has a rough plaster finish, heavy orange-peel texture, or textured wallpaper, the stickers will not sit flat and are highly likely to peel off over time.

Before beginning the installation, gather all the necessary tools to ensure a smooth and accurate process. You will need a measuring tape, a spirit level, a pencil for light marking, some low-tack masking tape, and a soft squeegee or microfiber cloth. Having these items on hand prevents alignment mistakes that are difficult to correct once the adhesive backing makes contact with the wall. A spirit level is particularly crucial, as even a millimeter of tilt in the first tile can ruin the alignment of an entire grid.
Proper surface preparation is the most critical step in preventing your stickers from falling off, especially in humid tropical environments. Wipe the wall thoroughly with a clean, damp cloth and a mild cleaning solution to remove surface oils, dust, and fingerprints. If the wall has a greasy residue, a light wipe with a diluted isopropyl alcohol solution can help clean the surface, provided it does not damage your paint. Allow the wall to dry completely for several hours; any trapped moisture behind the acrylic sheet can weaken the adhesive or lead to mold growth.
There are several stop conditions where you should delay or avoid installation altogether. Do not apply acrylic stickers to freshly painted walls, as paint can take up to four weeks to fully cure and release gases that destroy adhesives. Avoid walls with peeling paint, active dampness from rainy-season leaks, or surfaces directly exposed to high steam, such as the immediate splash zone of a shower. If you are renting and concerned about paint damage, test a small piece of low-tack masking tape on an inconspicuous area of the wall first to check the paint’s stability.
Step-by-Step Installation Guide
To ensure a flawless and secure application, start by performing a dry run of your layout on the floor or a large table. This allows you to verify the spacing, check the pattern, and make adjustments without risking the adhesive. Once you are satisfied with the arrangement, use your measuring tape and spirit level to mark the exact boundaries of the first sticker on the wall with light pencil marks. This initial piece serves as the anchor for your entire layout, so take your time to ensure it is perfectly level.
Once your guidelines are marked, prepare the first acrylic tile for mounting. Carefully peel a small portion of the protective backing from the adhesive side of the sticker, exposing just the top edge. Align this edge precisely with your pencil marks on the wall, then slowly press it down. Gradually peel away the remaining backing with one hand while using your other hand to smooth the sticker onto the wall from top to bottom. This slow, controlled application prevents air bubbles from getting trapped underneath the flexible acrylic sheet.
After the sticker is positioned on the wall, use a soft microfiber cloth or a squeegee to secure the bond. Work in firm, outward strokes from the center of the tile to the outer edges, pushing any trapped air toward the sides. Apply even, moderate pressure across the entire surface, paying special attention to the corners and edges where peeling is most likely to start. Avoid pressing too hard with sharp tools, as excessive localized force can warp the flexible acrylic and permanently distort the reflected image.
Repeat this process for each subsequent sticker, using your spirit level frequently to check that the rows and columns remain perfectly straight. If you are creating a grid pattern, use a small spacer—such as a piece of thick cardboard or a plastic tile spacer—to maintain a uniform gap of two to three millimeters between each tile. This small gap accommodates minor wall imperfections and creates a clean, professional look.
Keep the front protective plastic film on the stickers throughout the entire installation process. This thin film shields the delicate acrylic surface from accidental scratches, fingerprints, and scuffs while you are handling and smoothing the tiles. Only when all the stickers are securely mounted and the adhesive has had a moment to set should you carefully peel off the front protective film to reveal the bright, reflective surface underneath.
Maintain and Clean the Acrylic Mirrors Safely
Preserving the reflective quality of your acrylic mirrors requires a gentle touch, as acrylic is much softer than traditional glass and scratches easily. Never use paper towels, rough sponges, or abrasive scrubbing pads, which can leave micro-scratches that dull the reflection over time. Avoid household glass cleaners that contain ammonia, alcohol, or harsh solvents, as these chemicals can cause the acrylic to crack or develop a cloudy haze. Instead, gently wipe the surface with a clean, dry microfiber cloth to remove dust.
For stubborn smudges, fingerprints, or water spots, use a slightly damp microfiber cloth with a single drop of mild dish soap. Wipe the surface gently in circular motions, then follow up immediately with a dry section of the cloth to prevent water spots from forming. In humid tropical climates, dust can stick to surfaces more easily due to moisture in the air; regular, gentle dusting once a week is usually sufficient to keep your mirrors looking bright and clear.
Over time, high humidity or temperature fluctuations can affect the adhesive backing of the stickers. Periodically inspect the edges of your layout to check for any signs of lifting, curling, or loosening. If a sticker begins to pull away from the wall, do not pull it off forcefully, as this can tear the wall paint. Instead, use a hairdryer on a low, warm setting to gently heat the adhesive, making it soft and pliable enough to peel away safely. You can then clean the back of the tile and reapply it using a high-quality, wall-safe double-sided mounting tape.
Safety is another important consideration when placing acrylic mirrors in your home. While acrylic is shatterproof and a much safer alternative to heavy glass in earthquake-prone regions, the edges of individual tiles can still be sharp if bumped directly. Avoid installing these stickers at shoulder or elbow height in high-traffic hallways where family members might frequently brush against them. Additionally, ensure that all stickers are mounted securely out of reach of young children or pets who might attempt to peel them off, preventing both wall damage and potential choking hazards.
By choosing the right wall, planning a layout that maximizes light, and following a careful installation process, you can easily transform a cramped room into a bright, visually spacious haven. These simple, lightweight decor pieces offer a highly effective way to enhance your home’s interior without the need for heavy renovations or expensive glass installations.

Community discussion
Share your experience or ask a question. Comments are reviewed before publication.