
Placing an adhesive mirror strategically is one of the most effective, budget-friendly ways to transform a cramped room into an open, airy sanctuary. By reflecting both natural and artificial light, these lightweight decor pieces trick the eye into perceiving depth where there is none. For renters and homeowners alike, especially those living in compact urban condominiums or studio apartments, adhesive mirrors offer a highly customizable alternative to heavy, stud-mounted glass mirrors.
However, achieving a flawless, space-expanding effect requires more than just sticking panels onto the nearest open wall. You must carefully plan your layout, prepare the surface to withstand tropical humidity, and position each piece to maximize light reflection. By following a systematic approach to preparation, installation, and placement, you can safely maximize your room’s visual footprint while protecting your walls from damage.
Planning the Layout for Maximum Spatial Illusion
Before purchasing or mounting any mirrors, you must evaluate your room’s physical dimensions and identify its natural focal points. Walk into the room and notice where your eyes naturally land first. Placing your mirror arrangement on or directly opposite this focal wall immediately draws the eye inward, creating an instant sensation of depth. In small rooms, utilizing the wall space opposite a doorway or a primary pathway can make the entire room feel as though it extends into another area.
Products mentioned in this guide
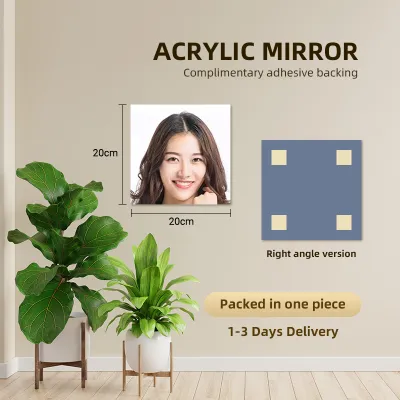
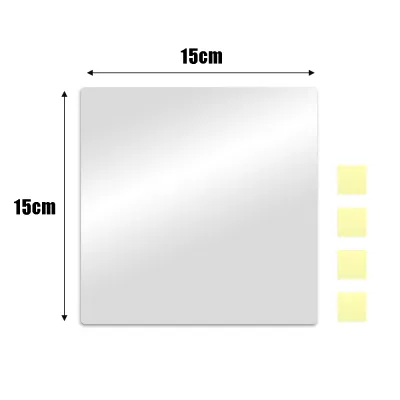
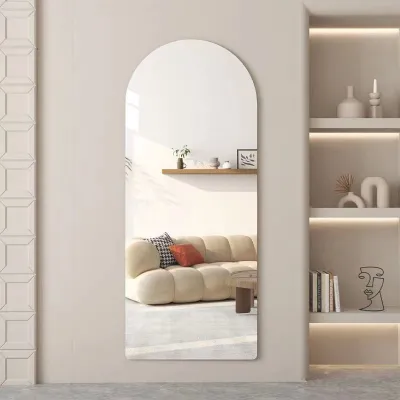

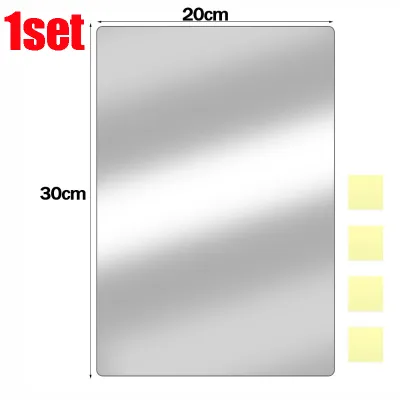
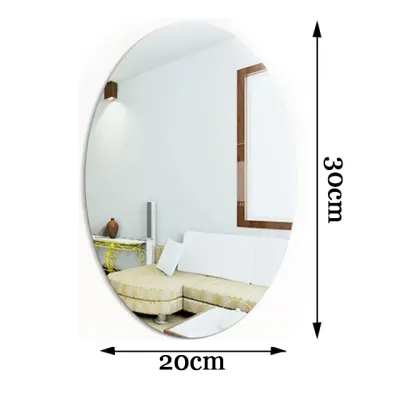
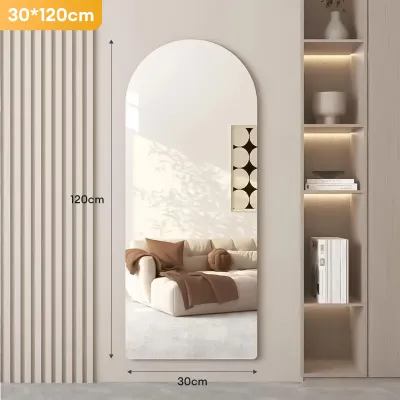
Prices are valid at publication and may change. Please refer to the product page for the latest price.
Next, consider whether a single large panel or a multi-piece geometric layout best suits your space. Single large adhesive panels offer a seamless, window-like reflection that mimics architectural openings. However, they can be challenging to align perfectly and may feel visually heavy in exceptionally tight quarters. Alternatively, tiled layouts—such as square grids, diamonds, or hexagonal patterns—are highly customizable, easier to handle during installation, and add a modern decorative element. These multi-piece configurations break up the reflection, which can soften harsh glare while still bouncing ample light around the room.
To prevent the mirrors from overwhelming your space, you must determine the appropriate mirror size relative to the wall. A mirror layout that is too small will look lost and fail to create a convincing illusion of space, while one that covers an entire wall from corner to corner can feel disorienting. A practical guideline is to aim for your mirror arrangement to cover approximately 50% to 70% of the target wall section. This proportion provides enough reflective surface to expand the room visually while leaving sufficient negative space around the edges to frame the installation beautifully.
Preparing the Wall Surface for Secure Adhesion
Proper surface preparation is the single most critical factor in ensuring your adhesive mirrors remain securely on the wall. Start by verifying your wall material’s compatibility by checking the mirror manufacturer’s label. Adhesive backing bonds exceptionally well to smooth, non-porous surfaces such as painted drywall, sealed wood, smooth concrete, and ceramic tiles. Conversely, heavily textured plaster, rough concrete, brick, or highly porous surfaces do not allow the adhesive to make full contact, which can lead to the mirror falling and breaking.

In tropical climates like the Philippines, high humidity levels can cause moisture to accumulate on wall surfaces, which severely compromises adhesive performance over time. To combat this, you must clean the wall thoroughly to remove dust, grease, and residual moisture before application. Wipe the target area with a clean microfiber cloth dampened with a mixture of isopropyl alcohol and water, which cuts through oils without leaving a soapy residue. Allow the wall to dry completely for at least one to two hours before proceeding with the installation.
If your wall paint is old, peeling, or has been freshly applied, you must perform a test in a small, hidden area first. Freshly painted walls release gasses and cure slowly; applying adhesives too soon can trap moisture, ruin the paint, and cause the mirror to fall. Most paint manufacturers recommend waiting at least two to four weeks for paint to fully cure before applying any adhesive products. For older paint, press a small piece of painter’s tape firmly onto a hidden spot and pull it off quickly; if paint flakes off onto the tape, the wall surface is too weak for direct adhesive mounting without risk of failure.
Step-by-Step Installation Process
Achieving a professional, straight alignment requires patience and precise measurements. Begin by using a spirit level, a measuring tape, and painter’s tape to map out your entire layout directly on the wall. Mark the exact corners and edges of each mirror piece with a pencil or painter’s tape guidelines. This step is especially crucial for multi-piece tiled layouts, where even a single millimeter of misalignment in the first row will compound and ruin the symmetry of the entire grid.
Once your guidelines are set, prepare to mount the mirrors. Carefully peel the protective backing from the adhesive tape or pads on the rear of the mirror. Align the mirror piece precisely with your painter’s tape guidelines, making sure not to let the adhesive touch the wall until the alignment is perfect. Press the mirror firmly against the wall, applying even pressure across the entire surface with a clean, dry cloth for at least 30 seconds. This pressure activates the adhesive bond and helps eliminate any trapped air bubbles that could weaken the hold.
After mounting, you must allow the adhesive to cure completely according to the manufacturer’s specific product instructions. Avoid touching, cleaning, or applying any weight or adjacent interlocking pieces during this curing window, which typically ranges from 12 to 24 hours. If you are installing mirrors in a high-humidity zone like a bathroom, ensure the room remains dry and well-ventilated during this curing period to prevent moisture from degrading the fresh bond.
Safety must remain your top priority throughout the installation process. If your planned layout sits near heavy electrical fixtures, wall outlets, or switches, stop the installation and consult a qualified professional to ensure you do not accidentally damage hidden wiring. For installations that require working at heights or handling exceptionally large, heavy glass panels, always seek assistance or hire a professional installer. If you are mounting mirrors in high-traffic areas or children’s rooms, consider using lightweight acrylic mirror sheets instead of glass to eliminate the risk of shattering.
Strategic Placement Techniques to Expand the Room
To maximize the spatial illusion, you must understand the optical principles of light reflection. Position your adhesive mirrors opposite or adjacent to windows and primary light sources. This placement allows the mirror to capture incoming natural light and bounce it deep into the darker corners of the room. By reflecting the outdoor view, the mirror acts as an additional window, instantly making a small room feel brighter, more open, and connected to the outdoors.
For a natural visual extension, align the center of your mirror arrangement with the average eye level. In residential spaces, this is typically around 1.5 meters (57 to 60 inches) from the floor. When mirrors are placed too high or too low, they reflect the ceiling or the floor rather than the living space, which can disrupt the visual flow and make the room feel disjointed. Keeping the reflection at eye level ensures that as you walk through the room, your line of sight extends naturally into the reflected space.
Be highly selective about what your mirrors will reflect. Avoid placements that directly face cluttered shelving, busy patterns, utility areas, or harsh, unshaded light bulbs. Reflecting clutter simply doubles the visual noise, making a small room feel twice as crowded. Instead, aim to reflect clean walls, indoor plants, elegant decor, or soft, diffused light fixtures. Additionally, avoid placing mirrors directly opposite each other on parallel walls, as this can create a distracting “infinity tunnel” effect that feels disorienting rather than spacious.
Finally, utilize clever corner placements or position mirrors behind low-profile furniture to create an illusion of extended floor space. Placing vertical mirror strips in a dark corner can make the corner seem to disappear, softening the room’s boundaries. Similarly, mounting adhesive mirrors on the wall directly behind a console table, a low sofa, or a bed headboard tricks the brain into thinking the room continues past the furniture, adding a sophisticated layer of depth to your interior design.
Maintenance and Safe Removal Guidelines
Keeping your mirrors clean is essential for maintaining a clear, convincing reflection. However, the cleaning method you choose must match the mirror material. If you installed acrylic adhesive mirrors, avoid standard glass cleaners and paper towels, which can easily scratch the soft plastic surface. Instead, use a soft microfiber cloth dampened with mild soapy water or a specialized acrylic cleaner. For glass adhesive mirrors, standard glass cleaner is perfectly safe, but you must spray the cleaner onto the cloth rather than directly onto the mirror to prevent liquid from seeping behind the edges and degrading the adhesive backing.
When it is time to remove the mirrors—whether you are moving out of a rental or updating your decor—you must proceed slowly to minimize wall damage. Check the manufacturer’s removal instructions for recommended heat or solvent methods. Using a hair dryer on a medium-heat setting to warm the mirror surface is a highly effective way to soften the adhesive backing. Once the adhesive is warm and pliable, gently slide a piece of dental floss or a thin, flexible wire behind the mirror, using a sawing motion to slice through the adhesive layer.
During removal, you must recognize critical stop conditions to prevent structural damage. If you notice the wall paint lifting, the drywall paper tearing, or the plaster cracking as you pull, pause immediately. Do not force the mirror off the wall. Instead, reapply heat to the area, apply a small amount of adhesive remover or isopropyl alcohol along the top edge to help dissolve the bond, and try slicing through the adhesive again. Accepting that minor paint touch-ups or small drywall repairs may be necessary is part of the process, but taking your time will save you from costly wall restoration work.
Frequently Asked Questions (FAQ)
Can I apply adhesive mirrors to textured or uneven walls?
Applying adhesive mirrors directly to heavily textured or uneven walls is not recommended. Textured surfaces, such as orange peel, popcorn, or rough plaster, prevent the adhesive backing from making full contact with the wall, which significantly reduces the bond strength and increases the risk of the mirror falling. Furthermore, uneven walls can bend flexible acrylic mirrors, resulting in a distorted, funhouse-style reflection that ruins the spatial illusion. If you must install mirrors on a textured wall, consider mounting the adhesive mirrors onto a smooth, thin plywood or MDF backing board first, and then hanging that board securely using appropriate wall anchors and screws.
Will removing adhesive mirrors damage my wall paint?
There is always a risk of paint damage when removing high-adhesion products, especially on walls with matte finishes, older paint layers, or poor primer preparation. Strong adhesives are designed to create a semi-permanent bond, and pulling them off dry can easily tear away the paint and the top layer of drywall. To minimize this risk, always use a hair dryer to soften the adhesive with heat before attempting removal, and slice through the bond gently with dental floss rather than pulling the mirror outward. If minor paint peeling does occur, you can easily patch the area with a small amount of wall joint compound, sand it smooth once dry, and apply a matching touch-up paint.

Community discussion
Share your experience or ask a question. Comments are reviewed before publication.