
Placing an adhesive mirror wall is one of the most effective ways to visually expand a compact living space. By strategically positioning reflective surfaces, you can bounce natural light into dark corners, mimic the presence of extra windows, and create a convincing illusion of depth. This approach is particularly popular in modern apartments and condominiums where floor space is limited, offering a lightweight, customizable, and budget-friendly alternative to heavy, framed mirrors.
To achieve a spacious feel without cluttering your design, you must focus on precise placement, thorough wall preparation, and the right installation techniques. Because adhesive bonds are highly sensitive to environmental factors like tropical humidity and wall texture, taking the time to assess your space and follow a structured setup process ensures your new mirror wall remains both beautiful and secure.
Assessing Your Wall and Mirror Specifications
Before purchasing or mounting any adhesive mirror tiles, you must verify that your wall surface can safely support the installation. Adhesive backing relies on direct, continuous contact with a stable substrate. If the underlying wall is compromised, the adhesive can fail, leading to falling glass and potential injury.
Products mentioned in this guide
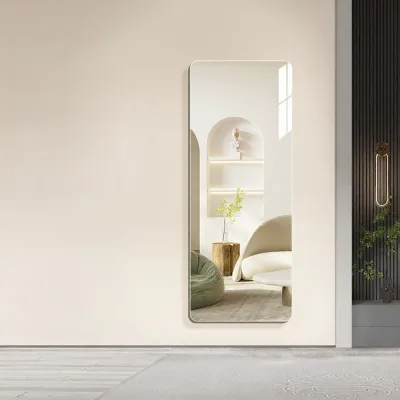
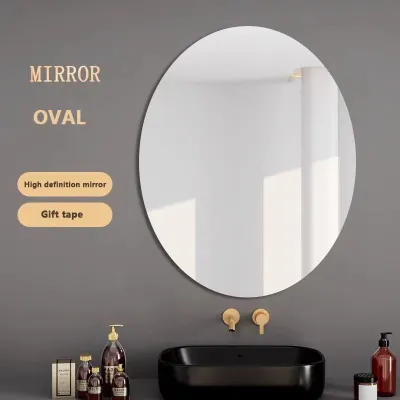
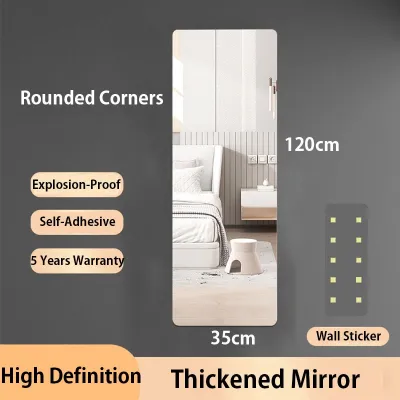
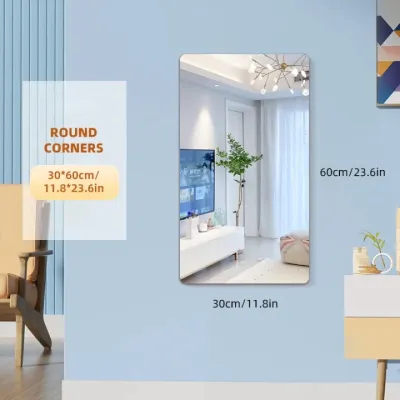

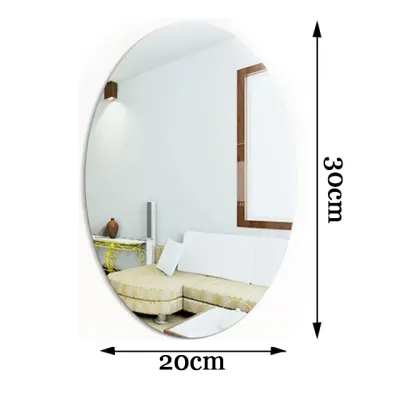
Prices are valid at publication and may change. Please refer to the product page for the latest price.
Begin by identifying your wall material. Common interior walls include painted concrete, drywall, ceramic tiles, and wood paneling. Painted concrete and drywall are generally compatible with adhesive mirrors, provided the paint is fully cured, clean, and not peeling. Ceramic tiles and glass surfaces offer excellent adhesion but require meticulous degreasing. Conversely, you should avoid installing adhesive mirrors on crumbling plaster, flaky paint, or delicate wallpapers, as the weight of the mirror will likely pull the surface material away from the wall.
Next, carefully review the manufacturer labels and product instructions for your specific adhesive mirrors. Pay close attention to the rated weight limits, recommended adhesive types, and required curing times. Some mirror packages come with pre-applied double-sided tape, while others require specialized mirror mastic or silicone. Ensure the adhesive you use is explicitly rated for mirrors; standard construction adhesives can eat through the reflective silver backing over time, causing unsightly black spots.
Environmental conditions also play a critical role in adhesive performance. In warm, humid climates, moisture in the air can slow down curing times and weaken certain water-based adhesives. If you are installing mirrors in a high-humidity area like a bathroom or a kitchen, verify that both the mirror backing and the adhesive are rated for damp environments.
Establish clear stop conditions before you begin. If your wall shows signs of active moisture leaks, structural cracking, or powdery residue, do not proceed with the installation. Additionally, if the individual mirror panels exceed the weight capacity specified by the adhesive manufacturer, you must pivot to mechanical mounting options, such as mirror clips or brackets, to ensure safety.
Strategic Placement Techniques for Small Rooms
To make a small room look bigger, your mirror placement must be intentional. Randomly scattering mirrors across a room can create confusing reflections and visual clutter, which actually makes the space feel smaller and more chaotic. The goal is to use reflections to extend the sightlines of the room.

One of the most effective techniques is placing your adhesive mirror wall directly opposite or adjacent to a window. This positioning captures incoming natural light and disperses it throughout the room, instantly brightening the space. By reflecting the outdoor view, the mirror acts as an additional window, breaking up solid walls and making the room feel more connected to the outside world.
For a dramatic sense of depth, consider creating a large, continuous mirror layout or a carefully aligned grid arrangement. A full-wall mirror reflection can make a room appear twice its actual size. If a solid mirror wall feels too overwhelming, a grid pattern using square adhesive tiles offers a sophisticated, windowpane-like aesthetic. Keep the gaps between the tiles minimal and perfectly uniform to maintain a clean, cohesive look.
What your mirror reflects is just as important as where it is placed. Avoid positioning mirrors where they will directly reflect cluttered shelves, laundry areas, or busy pathways. Reflecting clutter doubles the visual noise in a small room. Instead, aim the reflection toward visually pleasing, minimalist areas, such as a clean accent wall, a well-placed indoor plant, or an open doorway that leads to another room.
Finally, consider eye-level positioning and alignment with your existing furniture. For the most natural look, the center of your mirror arrangement should sit at average eye level, which is approximately 1.5 meters from the floor. Aligning the edges of the mirror wall with the boundaries of a sofa, dining table, or console table helps ground the installation, making it look like an integrated architectural feature rather than an afterthought.
Step-by-Step Installation Guide for Adhesive Mirrors
Achieving a flawless, long-lasting adhesive mirror wall requires patience and systematic preparation. Follow these steps to ensure a secure bond and a perfectly level alignment.
Prepare the Surface Clean the wall surface thoroughly to remove dust, grease, and oils that can interfere with the adhesive bond. Wipe the area down with a mixture of isopropyl alcohol and water, then allow it to dry completely. Avoid using heavy household detergents or oil-based cleaners, as they can leave a residue behind. In humid tropical climates, ensure the wall is entirely free of condensation before applying any adhesive.
Plan and Mark the Layout Do not attempt to align the mirrors by eye during application. Lay your mirror tiles out on the floor first to finalize your pattern and check for any manufacturing defects. Use a spirit level, a metal ruler, and a pencil to draw precise horizontal and vertical reference lines directly onto the wall. Apply strips of painter’s tape along these lines to serve as physical guides and temporary supports during the mounting process.
Apply the Adhesive If your mirrors do not have pre-applied adhesive, apply mirror-safe adhesive tape or mastic to the back of each tile. When using liquid adhesive, apply it in vertical beads or small, thick dots rather than closed circles; closed circles can trap air and moisture, preventing the adhesive from curing properly. Keep the adhesive at least two centimeters away from the edges of the tile to prevent squeeze-out.
Mount and Secure Align the bottom edge of the first mirror tile with your pencil line. Press the tile firmly against the wall, applying even pressure across the entire surface for at least 30 seconds to activate the adhesive bond. Work from the bottom up, using small plastic spacers between the tiles to maintain consistent gaps. Secure each tile with painter’s tape across the front to hold it in place while the adhesive cures.
Allow to Cure Leave the temporary painter’s tape and supports in place for the full curing time recommended by the manufacturer, which typically ranges from 24 to 72 hours. Avoid touching, cleaning, or putting any stress on the mirrors during this critical window.
Know When to Call a Professional If your project involves installing heavy glass panels, working at heights near the ceiling, or mounting mirrors in high-traffic commercial zones, stop and consult a qualified professional. Suspended loads or installations over beds and seating areas require mechanical safety backups that go beyond standard DIY adhesives.
Maintenance and Safe Removal Considerations
Once your adhesive mirror wall is securely installed, proper maintenance will keep it looking pristine and prevent premature degradation of the adhesive backing.
When cleaning your mirrors, always use a soft, lint-free microfiber cloth and a non-abrasive glass cleaner. Avoid spraying liquid cleaners directly onto the mirror surface, as the liquid can run down and pool along the edges. Over time, moisture can seep behind the glass, attacking the adhesive and causing silvering damage—a condition where the reflective backing oxidizes and turns black. Instead, spray the cleaner directly onto your microfiber cloth and gently wipe the glass.
Periodically inspect the perimeter of your mirror wall for any signs of lifting or shifting. This check is especially important during seasonal transitions or periods of high humidity, which can stress adhesive bonds. If you notice a corner beginning to pull away from the wall, address it immediately by applying temporary support and consulting the manufacturer’s guidelines for re-securing the tile.
If you ever need to remove the adhesive mirrors—whether you are moving out of a rental or updating your decor—do so slowly to minimize wall damage. Never try to pry the mirrors off dry, as this can shatter the glass and tear away large chunks of drywall or plaster. Instead, use a handheld hairdryer on a medium-heat setting to gently warm the mirror surface, which softens the underlying adhesive. Once the adhesive is warm, slide a length of dental floss or strong fishing line behind the mirror and use a gentle sawing motion to cut through the bond.
For exceptionally large mirror installations or mirrors bonded with heavy-duty construction adhesive, seek professional removal assistance to avoid injury and severe wall damage.
Frequently Asked Questions (FAQ)
Can I install an adhesive mirror wall on textured or wallpapered surfaces?
Installing adhesive mirrors directly onto heavily textured walls or wallpaper is not recommended. Textured surfaces, such as stucco or orange-peel plaster, significantly reduce the surface area contact, preventing the adhesive from forming a strong, reliable bond. Wallpaper presents a different risk: the adhesive will bond to the paper rather than the structural wall, meaning the weight of the mirror can easily pull the wallpaper away, causing the mirror to fall. Always check your mirror manufacturer’s surface compatibility list. If your wall is textured, you must sand it smooth or mount a flat plywood backing board to the wall studs first to create a safe, flat surface for the adhesive.
How do I prevent the mirror edges from lifting over time?
To prevent mirror edges from lifting, you must ensure meticulous surface preparation and respect the manufacturer’s curing times. Trapped dust, moisture, or grease are the primary causes of edge lifting. In tropical climates with high humidity, using a dehumidifier in the room during the installation and curing phases can help the adhesive set correctly. Additionally, avoid spraying liquid cleaners directly onto the mirror edges, as chemical runoff can dissolve the adhesive bond over time. Perform regular visual checks around the perimeter of your mirror wall to catch and address any minor lifting before it compromises the entire installation.

Community discussion
Share your experience or ask a question. Comments are reviewed before publication.