
Placing a mirror in bathroom spaces that are small or narrow is one of the most effective ways to instantly double the perceived square footage. By strategically selecting the size, shape, and position of your mirror, you can transform a cramped, dark room into a bright, airy oasis. The secret lies in understanding how light bounces off reflective surfaces and how scale influences our spatial perception. Whether you are remodeling a compact condominium bathroom in Metro Manila or updating a small guest powder room, applying simple design rules will help you maximize every square inch of visual space.
Assessing Your Bathroom Layout and Light Sources
Before purchasing a mirror, you must thoroughly evaluate your bathroom’s physical layout and existing lighting. Small bathrooms often suffer from limited wall space and poor light distribution, making a pre-installation assessment crucial. Start by identifying the primary focal point of the room, which is almost always the vanity area. Measure the width and height of the wall space above your sink, taking careful note of any permanent fixtures such as wall-mounted faucets, sconces, or electrical outlets.
Next, observe how light moves through the space. In the Philippines, tropical sunlight can be intense during the day, but many small bathrooms lack large windows and rely heavily on artificial light. Identify where your natural light enters and where your ceiling or wall lights are positioned. A well-placed mirror should capture these light sources and bounce them into darker corners, effectively neutralizing shadows that make a room feel confined.
Products mentioned in this guide

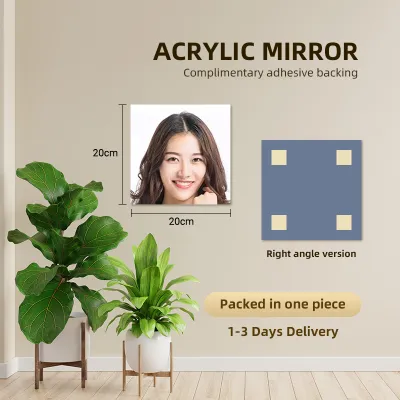


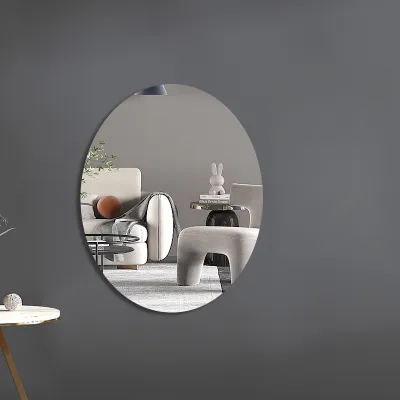
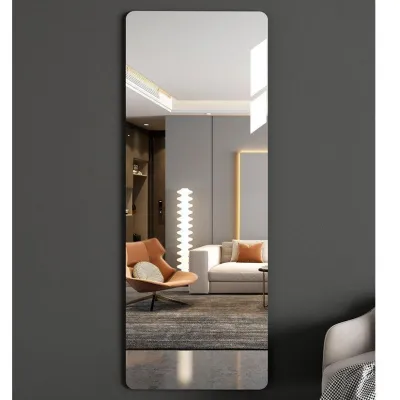

Prices are valid at publication and may change. Please refer to the product page for the latest price.
Finally, inspect the composition of your bathroom walls. Many homes in the Philippines feature solid concrete or concrete hollow block walls finished with plaster or ceramic tiles, while others use fiber cement boards or drywall. Mounting a heavy mirror on concrete requires masonry drill bits and plastic wall plugs, whereas drywall requires specialized toggle bolts or locating structural wood studs. Understanding your wall type beforehand ensures you select a mirror weight that your wall can safely support without risking structural damage.
Sizing Rules and Ratios to Maximize Visual Space
Sizing a mirror in bathroom spaces requires a careful balance between functionality and proportion. A mirror that is too small will look lost and disconnected, while one that is too large can overwhelm the room and make it feel top-heavy. To create an open, balanced look, follow established design ratios that harmonize the mirror with your vanity countertop.

Width Proportions and Visual Balance As a general rule, the width of your mirror should be slightly narrower than the width of your vanity countertop. Aim to leave about one to two inches of wall space on either side of the mirror. For example, if you have a standard 60-centimeter vanity, a mirror width of approximately 50 to 55 centimeters maintains a clean, balanced border. This gap prevents the mirror from looking squeezed into the corner and allows the wall material to frame the reflective glass, which actually enhances the sense of depth.
Height and Vertical Illusion To make a low ceiling feel significantly taller, utilize vertical space. Extending your mirror upward toward the ceiling draws the eye of anyone entering the room, creating an immediate illusion of height. If your bathroom has standard 2.4-meter ceilings, choosing a tall rectangular or arched mirror that reaches close to the ceiling line will make the entire room feel loftier. Ensure the mirror is tall enough so that the tallest household member can comfortably see their reflection with room to spare.
Avoiding Extremes While maximizing reflection is key to expanding a small bathroom, avoiding extreme sizes is essential. An oversized, thick-framed mirror can crowd the wall and visually shrink the room by occupying too much physical and visual volume. Conversely, a tiny mirror forces the user to lean in, highlighting the cramped quarters. If you want a very large reflective surface, opt for a frameless design that blends seamlessly into the wall tile or paint rather than a heavily framed piece.
Strategic Placement of a Mirror in Bathroom Layouts
The precise location of your mirror determines how effectively it manipulates light and space. Proper placement can trick the brain into perceiving a deeper room, while poor placement can highlight clutter or awkward architectural features.
Above the Vanity The vanity area is the logical anchor for your mirror. Center the mirror precisely over the sink basin to establish a clear sense of symmetry. If your sink is off-center due to a custom countertop layout, center the mirror over the sink rather than the entire vanity cabinet to maintain functional alignment. Coordinate the height so that the bottom of the glass sits high enough to avoid water splashes but low enough for shorter family members to use comfortably.
Opposite a Window or Light Source One of the most effective tricks to amplify brightness is placing a mirror directly opposite a window or a primary light fixture. When natural light streams into the bathroom, a mirror positioned on the opposite wall captures that light and projects it back into the room. This effectively doubles the visual impact of your window, making a dark, windowless-feeling room feel connected to the outdoors. If your bathroom lacks a window, position the mirror to reflect a bright, warm-toned wall sconce or ceiling downlight.
Adjacent Walls or Corners For exceptionally tight bathrooms, consider placing a secondary mirror on an adjacent wall or installing a continuous L-shaped mirror in the corner. This configuration blurs the physical boundaries of the room by reflecting different angles of the space simultaneously. When you cannot look at a wall without seeing a reflection of open space, your mind perceives the room as having extra depth and dimension.
What to Avoid Be highly intentional about what your mirror reflects. Avoid placing a mirror where its primary reflection is a cluttered open shelf, a trash bin, or an open toilet lid. Reflecting these elements doubles the visual clutter, which instantly makes a small bathroom feel chaotic and cramped. Instead, aim the reflection toward a clean, neutral wall, a decorative tile accent, or a small indoor plant that thrives in humid conditions.
Choosing Mirror Styles and Moisture-Resistant Features
The style and structural features of your mirror play a major role in both its visual impact and its longevity in a humid environment. In the tropical climate of the Philippines, selecting the right materials is just as important as choosing the right shape.
Frameless vs. Framed Designs Frameless mirrors are highly recommended for small bathrooms because they lack a heavy border that stops the eye. Without a frame, the reflective glass merges with the surrounding wall, creating a continuous, airy look. If you prefer a framed mirror to match your bathroom fixtures, choose an ultra-thin metal frame—such as matte black, brushed brass, or chrome—with a depth of less than one inch. This provides a clean, modern outline without adding unnecessary visual weight.
Shapes that Soften the Space Most small bathrooms are dominated by hard, rectangular lines from floor tiles, wall tiles, and vanity cabinets. Introducing a round or oval mirror breaks up these harsh angles and softens the overall aesthetic. A round mirror leaves open wall space at the top corners, which can make the wall area feel less crowded while still providing ample reflective surface at eye level.
Humidity and Moisture Protection The high humidity levels common in Philippine bathrooms can quickly damage low-quality mirrors. Standard mirrors often suffer from “black edge” or desilvering, which occurs when moisture penetrates the backing and oxidizes the silver coating. To prevent this, always check product specifications for copper-free silver mirrors or mirrors with sealed, moisture-resistant backings. Look for frames made of rust-proof materials like aluminum, stainless steel, or high-density polystyrene rather than medium-density fiberboard or untreated wood, which warp and mold when exposed to steam.
Mirrored Cabinets When floor and counter space are at a premium, a mirrored medicine cabinet is an excellent dual-purpose solution. It provides the necessary reflective surface to make the room look larger while hiding daily toiletries, toothbrushes, and cosmetics behind closed doors. Keeping your countertop completely clear of clutter is one of the most effective ways to maintain an open, spacious feel in a small bathroom. Choose a recessed cabinet that sits inside the wall cavity for a flush, seamless look, or a slim-profile surface-mounted model.
Step-by-Step Installation and Safety Boundaries
Installing a mirror securely requires precision, the right tools, and an understanding of when to call in a professional. Follow these steps to ensure your mirror is mounted safely and accurately.
Measuring and Marking Begin by measuring the height of your vanity and determining the ideal eye-level height for your household. Use painter’s tape to outline the proposed mirror dimensions on the wall. This visual aid allows you to double-check the scale and proportions before drilling any holes. Use a spirit level to ensure your markings are perfectly horizontal. If you are mounting on drywall, use a stud finder to locate structural studs; if no studs are available in your desired position, select heavy-duty hollow wall anchors or toggle bolts rated for at least double the weight of your mirror.
Clearances and Backsplash Distance Maintain a safe distance between the bottom of your mirror and the top of your vanity countertop or backsplash. A gap of two to four inches is ideal. This clearance prevents water droplets from splashing onto the glass during handwashing, reducing water spots and protecting the bottom edge of the mirror from pooling moisture. Additionally, ensure there is adequate clearance between the top of the mirror and any over-mirror light fixtures to prevent heat damage or casting harsh downward shadows on your face.
Safety Boundaries and Stop Conditions Before you begin drilling, you must identify potential hazards. If your bathroom walls are covered in ceramic or porcelain tiles, drilling without the proper diamond-tipped tile drill bit will crack the tiles, leading to costly repairs. Furthermore, bathroom walls contain hidden plumbing pipes and electrical conduits feeding the sink and light fixtures. If you are unsure of what lies behind the wall, or if the mirror is exceptionally heavy and requires structural reinforcement, stop immediately. Always isolate the electrical power at the breaker panel before drilling near light fixtures or outlets, and consult a qualified professional contractor to handle the installation safely.
Frequently Asked Questions (FAQ)
Can I use a large floor mirror in a small bathroom?
While a large floor-length mirror can dramatically expand the perception of space by reflecting the entire floor, it is rarely practical in a small bathroom due to limited floor area. If you choose to use one, it must not block walking paths or doors. For safety, never leave a floor mirror simply leaning against the wall in a tight, wet environment where slips are common. It must be securely anchored to the wall studs using heavy-duty safety brackets to prevent tipping.
How do I prevent mirror fogging in a humid climate?
To minimize mirror fogging in a humid tropical climate, ensure your bathroom has an active ventilation system, such as a properly sized exhaust fan vented to the outdoors. Keep the exhaust fan running during and for fifteen minutes after your shower. Alternatively, you can look for modern mirrors equipped with built-in electronic anti-fog heating pads, which gently warm the glass to prevent condensation. For existing mirrors, applying a thin layer of specialized, manufacturer-approved anti-fog spray or wiping the glass with a mild dish soap solution can help keep the surface clear.

Community discussion
Share your experience or ask a question. Comments are reviewed before publication.