
Placing glass mirror stickers strategically on your walls is one of the most effective, budget-friendly ways to make a small room feel significantly larger and brighter. By bouncing ambient light and reflecting key visual pathways, these lightweight accents trick the eye into perceiving expanded depth and higher ceilings. Unlike traditional heavy glass mirrors, mirror stickers allow you to experiment with creative layouts without drilling holes or risking structural damage to your walls.
To achieve the best spatial illusion, you must position these reflective decals where they can capture natural light, extend narrow pathways, or establish structured focal points. Proper wall preparation and precise alignment are crucial to avoiding warped reflections and premature peeling, especially in warm, humid environments. Taking the time to plan your layout and prepare your surfaces ensures a professional-looking result that enhances your home’s interior flow.
How Mirror Stickers Create the Illusion of Space
Understanding the optical mechanics of reflection helps you position your wall decor for maximum impact. When light hits a reflective surface, it bounces back into the room rather than being absorbed by dark paint or matte finishes. This redistribution of light instantly brightens dim corners, making the physical boundaries of a small room feel less restrictive and more open.
Products mentioned in this guide

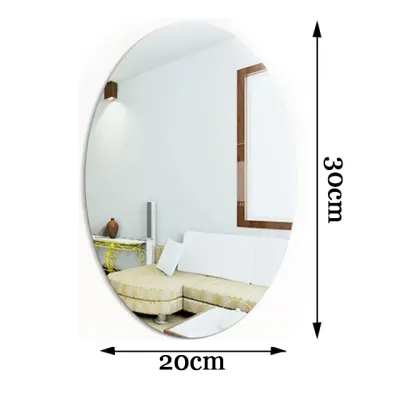
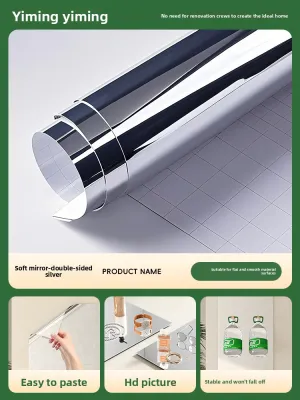
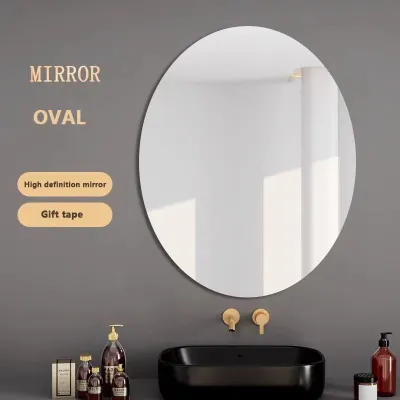
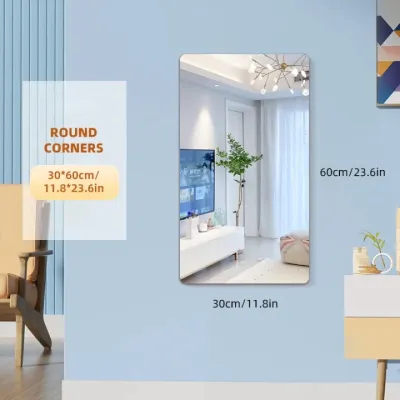
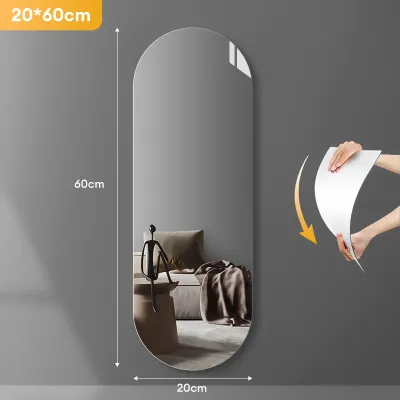
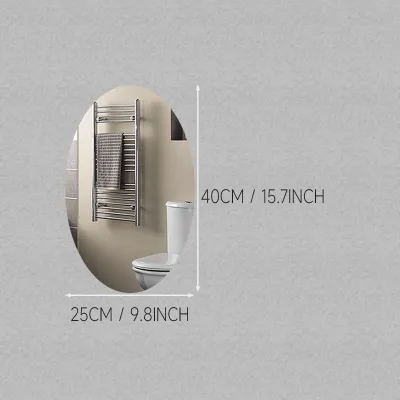
Prices are valid at publication and may change. Please refer to the product page for the latest price.
Mirrors also introduce a secondary plane of depth to a flat wall. By reflecting the opposite side of the room, they create a visual “window” that tricks the brain into perceiving a larger footprint than what actually exists. This continuous visual flow prevents the eye from stopping abruptly at a solid wall, which is highly beneficial in compact living rooms, studio apartments, or tight entryways.
While traditional glass mirrors offer flawless, distortion-free clarity, they are heavy, expensive, and require secure mounting hardware. Lightweight glass or acrylic mirror stickers provide a highly flexible, renter-friendly alternative that achieves a similar spatial effect without the physical bulk. However, because many mirror stickers are thin and flexible, they are more susceptible to slight edge distortions if the underlying wall is not perfectly flat. Choosing high-quality glass mirror stickers or rigid acrylic tiles helps minimize this distortion, ensuring your expanded space looks clean, sharp, and realistic.
Tools and Materials You Will Need
Before you begin peeling and sticking, gathering the right tools will ensure a smooth, bubble-free installation that lasts. Having your materials ready prevents adhesive exposure to dust or humidity while you search for a tool mid-process.

- Glass mirror stickers: Select your preferred shapes, ensuring you purchase a few extra pieces to test your layout or replace any panels damaged during installation.
- Measuring tape and spirit level: These are essential for ensuring your alignment is perfectly straight, as even a minor tilt will ruin the spatial illusion.
- Masking tape: Use this to map out your design on the wall before removing the adhesive backing.
- Mild wall cleaner and microfiber cloth: A clean, dust-free surface is mandatory for a secure bond. Avoid oily or heavy chemical cleaners that leave a residue.
- Soft squeegee or clean felt scraper: This helps press out air bubbles and secure the adhesive without scratching the reflective surface.
- Step stool: If you are working at height to place stickers near the ceiling, a sturdy step stool is necessary to maintain a safe, stable working position.
Strategic Placement Techniques to Maximize Space
Where you place your mirror stickers determines how successfully they alter the perception of your room. Haphazard placement can create confusing reflections or amplify visual clutter, whereas strategic positioning works with the room’s natural architecture to expand its boundaries.
Reflecting Natural Light and Windows
Positioning mirror stickers to capture outdoor light is one of the most powerful ways to brighten a cramped room. According to the optical principle of the angle of incidence, light reflects off a surface at the same angle it strikes it. Placing your mirror stickers directly opposite or adjacent to a window allows them to catch incoming daylight and bounce it deep into the dark corners of your room, effectively doubling the perceived light source.
This technique also pulls the outdoor scenery inside, creating the illusion of an extra window. In a small bedroom or dining area, seeing a reflection of trees, sky, or open space makes the room feel connected to the outdoors, softening the boundaries of the walls.
During the rainy season in the Philippines, natural light can be limited for days. Placing mirror stickers adjacent to windows helps capture and amplify even the dim, diffused light of an overcast afternoon, maintaining a brighter indoor environment without relying solely on overhead electrical lighting.
However, you must consider the intensity of the sun throughout the day. If a window receives harsh, direct afternoon sunlight, placing a mirror directly opposite can cause blinding glare. In these scenarios, slightly offset the stickers or place them on an adjacent wall to diffuse the light gently without creating uncomfortable hot spots.
Expanding Narrow Hallways and Tight Corners
Cramped hallways, tight entryways, and awkward alcoves often feel claustrophobic because of their restrictive proportions. You can use specific arrangements of mirror stickers to visually reshape these challenging areas.
To make low ceilings feel higher, arrange your mirror stickers in tall, vertical columns or continuous vertical lines. This layout draws the eye upward, emphasizing vertical height and making the entire room feel loftier. This is particularly useful in small condominiums or ground-floor rooms where ceiling heights are often limited.
Conversely, to widen a narrow corridor or a tight alcove, arrange the stickers in horizontal rows. This stretches the visual plane sideways, making the walls feel further apart.
In typical studio condominiums or row houses in urban areas like Manila, the entry corridor is often shared with a compact kitchenette, making the entrance feel narrow and dark. Placing horizontal rows of mirror stickers along the wall opposite the kitchen counter can make the entryway feel twice as wide while reflecting light from the main living area.
Avoid the common mistake of placing a large mirror sticker arrangement at the very end of a dead-end hallway. While it might seem like a good way to add depth, it often creates a jarring “infinite tunnel” effect that can be disorienting to walk toward. Instead, place the stickers along the side walls of the hallway to encourage lateral visual movement and make the passage feel wider as you walk through it.
Creating Focal Points and Gallery Arrangements
Instead of covering an entire wall, grouping smaller mirror stickers into structured patterns can create an elegant focal point that draws the eye and adds architectural interest. A well-planned arrangement acts as a piece of functional art, giving a small room a clear center of attention.
For a modern, clean, and structured look, organize square or rectangular mirror stickers into a precise grid pattern. Leave a uniform gap of about one to two centimeters between each tile to mimic the look of a high-end paneled mirror. This grid structure adds depth and sophistication without the weight or expense of a solid glass piece.
If you prefer a more organic or artistic feel, opt for asymmetrical clusters or geometric shapes like hexagons. When arranging an asymmetrical gallery wall, maintain adequate negative space between the pieces to prevent the wall from looking cluttered. Too many small, disorganized reflective surfaces can scatter light in a chaotic way, which actually makes a room feel smaller and more chaotic.
For the most comfortable viewing experience, always align the center of your overall arrangement with the average human eye level—typically about 150 centimeters from the floor. This ensures the reflections are functional and visually balanced within the room’s layout.
Step-by-Step Installation Guide for a Flawless Finish
Achieving a professional, bubble-free finish requires patience and a methodical approach. Because mirror stickers rely on adhesive backings, proper preparation and application techniques are key to ensuring they stay flat and secure for years.
1. Wall Preparation The longevity of your mirror stickers depends entirely on the cleanliness of the wall. Dust, grease, and moisture will prevent the adhesive from bonding, leading to peeling corners. Clean the target area thoroughly with a mild, non-oily soap solution or a mixture of water and a little rubbing alcohol. Wipe the wall dry with a clean microfiber cloth. In humid environments like the Philippines, moisture can easily trap behind the sticker, so wait at least one to two hours after cleaning to ensure the wall is completely dry before applying any adhesive.
2. Measuring and Marking Never attempt to apply mirror stickers by eye alone. Use a measuring tape to find the exact center of your layout, and use a spirit level to draw light, straight guidelines. To protect your wall paint, use low-tack masking tape to mark the outer boundaries and alignment lines of your stickers instead of drawing directly on the wall with a pencil.
3. Peeling and Positioning When working with larger mirror stickers, avoid peeling off the entire adhesive backing at once, as this makes the sticker difficult to handle and increases the risk of misalignment. Instead, use the “hinge method.” Peel back only the top two to three centimeters of the backing paper and fold it downward. Align the exposed adhesive strip with your masking tape guidelines and press it lightly onto the wall. This allows you to verify the alignment before committing to the full placement.
4. Application and Smoothing Once the top edge is securely positioned, slowly peel the remaining backing paper downward with one hand while using a soft squeegee, felt scraper, or clean microfiber cloth with the other hand to smooth the sticker onto the wall. Always work from the center of the sticker outward to the edges. This outward sweeping motion pushes out trapped air, preventing unsightly bubbles and creases. Work slowly and apply firm, even pressure.
5. Final Sealing After the entire sticker is flat against the wall, pay special attention to the edges and corners, as these are the most vulnerable to peeling over time. Run your squeegee or cloth firmly along all the outer borders multiple times to ensure a complete, airtight seal. If your stickers came with a thin, clear protective film on the reflective side, gently peel it off now to reveal the clean, polished mirror finish.
Wall Safety, Removal, and Common Mistakes to Avoid
While mirror stickers are designed to be user-friendly, improper application or removal can damage your drywall, peel off paint, or ruin the spatial aesthetic of your room. Taking a few precautionary steps will protect both your walls and your design.
Wall Safety and Paint Curing Before applying adhesive stickers to a prominent wall, always perform a test. Apply a small, spare piece of the sticker’s adhesive backing to an inconspicuous area, such as behind a door or near the baseboard, and leave it for 24 hours to ensure it does not damage the paint upon removal. Additionally, never apply mirror stickers to freshly painted walls. Paint may feel dry to the touch within hours, but it takes at least 30 days to fully cure. Applying stickers to uncured paint will trap moisture, prevent proper adhesion, and almost certainly pull the paint off when you eventually remove them.
Safe Removal Techniques If you are renting or want to change your layout, removing the stickers requires care to avoid tearing the drywall paper or peeling the paint. Do not rip them off quickly. Instead, use a handheld hairdryer on a low or medium heat setting to gently warm the sticker for 30 to 60 seconds. This heat softens the adhesive, making it pliable. Once warmed, slowly slide a piece of dental floss or thin fishing line behind the sticker, starting from a top corner, and use a gentle sawing motion to slice through the softened adhesive foam. Any remaining sticky residue can be cleaned off with a mild adhesive remover or soapy water.
Aesthetic Mistakes to Avoid The goal of placing mirror stickers is to create a sense of openness, but mirrors reflect whatever is in front of them. Avoid placing your stickers directly opposite areas that tend to accumulate clutter, such as laundry baskets, open closets, trash cans, or tangled electrical cables. Reflecting clutter effectively doubles it, making your small room feel twice as messy and cramped. Furthermore, avoid using too many tiny, unorganized mirror pieces scattered across a wall. A fragmented layout creates excessive visual noise, which disrupts the clean lines needed to make a space feel larger. Stick to structured grids or deliberate, cohesive clusters.
Frequently Asked Questions (FAQ)
Can mirror stickers be applied to textured or uneven walls?
No, mirror stickers require a completely smooth, flat, and non-porous surface to function correctly. Ideal surfaces include smooth drywall, glass, metal, polished wood, or flat ceramic tiles. If you attempt to apply them to heavily textured walls, orange peel surfaces, popcorn ceilings, or uneven plaster, the adhesive will not make full contact, causing the stickers to fall off over time. Furthermore, because flexible mirror stickers conform to the shape of the wall underneath, any bumps or textures will warp the reflective surface, resulting in a distorted, funhouse-mirror effect rather than a clean, space-expanding reflection.
How do I clean and maintain mirror stickers without scratching them?
To maintain a clear reflection, clean your mirror stickers using a soft, clean microfiber cloth and a gentle, non-abrasive glass cleaner or a damp cloth with mild dish soap. Avoid using paper towels, rough sponges, or abrasive scrubbing pads, as these can easily scratch the delicate acrylic or thin glass surface. Never spray liquid cleaners directly onto the mirror stickers. The liquid can run down the surface and seep behind the edges, weakening the adhesive backing and causing the stickers to peel. Instead, spray your cleaning solution lightly onto the microfiber cloth first, then gently wipe the reflective surface clean.
Community discussion
Share your experience or ask a question. Comments are reviewed before publication.