
Mirror stickers offer a lightweight, highly flexible, and budget-friendly way to trick the eye into perceiving a small room as significantly larger. By strategically bouncing light and extending sightlines, these reflective acrylic or vinyl sheets can transform cramped studio apartments, narrow hallways, and dim bedrooms into bright, open spaces. Unlike heavy glass mirrors, they require no heavy-duty drilling, making them an ideal solution for renters or those dealing with tough concrete walls.
Achieving this spacious illusion requires more than just sticking reflective tiles randomly onto a wall. The success of the visual expansion depends heavily on selecting the right material, preparing the surface to withstand tropical humidity, and positioning the stickers to capture light. With a thoughtful layout and precise installation, you can maximize every square inch of your living space, saving you thousands of ₱ compared to heavy glass installations.
Assess Your Room and Choose the Right Mirror Stickers
Before purchasing any mirror stickers, take a close look at the physical characteristics of your room. Observe where natural light enters during the day and identify the areas that remain cast in shadow. A small room with a single window benefits most from reflective surfaces placed where they can catch and distribute that limited daylight. Measure the wall space carefully, keeping in mind that a massive, unbroken block of mirrors might overwhelm a tiny room, while a layout that is too small will fail to make a spatial impact.
Products mentioned in this guide
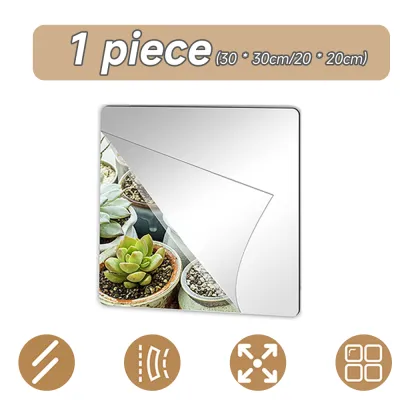
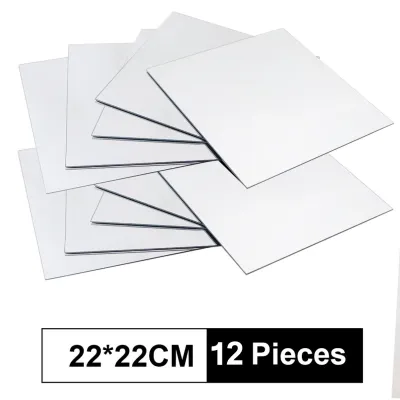
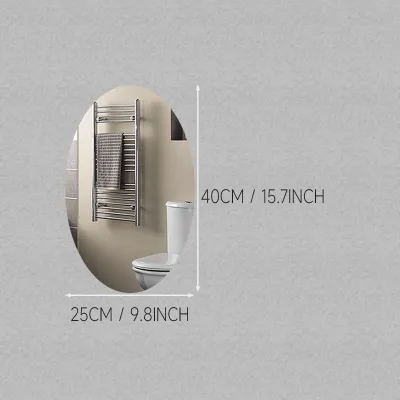
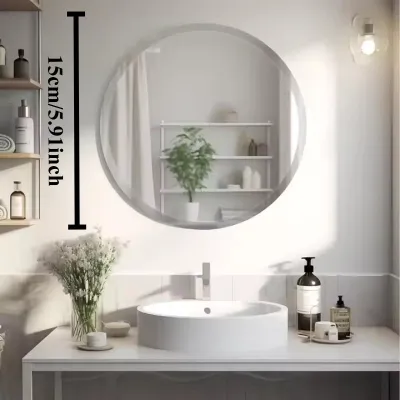

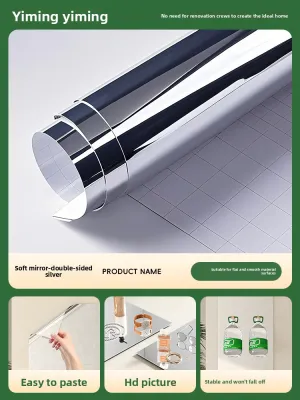
Prices are valid at publication and may change. Please refer to the product page for the latest price.
Wall surface compatibility is the most critical factor for a long-lasting installation. Mirror stickers require a completely smooth, clean, dry, and non-textured surface to adhere properly. In many homes, walls are finished with textured plaster, matte paint, or concrete that may harbor hidden moisture. If your wall has a rough texture, the stickers will not only fail to stick securely but will also warp, creating a distorted, funhouse-mirror effect. Ensure the wall is free of dust, grease, and peeling paint before proceeding.
The shape, size, and edge finishes of your stickers should align with your existing interior design. Hexagonal, square, or round stickers can be arranged in geometric patterns to complement modern or minimalist aesthetics. If you prefer a traditional look, large rectangular sheets with clean, polished edges can mimic the appearance of a standard framed mirror. Keep in mind that thinner acrylic stickers are highly flexible but more prone to minor surface distortions, whereas thicker, rigid tiles provide a flatter, more realistic reflection.
Strategic Placement Techniques to Expand Visual Space
To double the visual depth of a compact room, position your mirror stickers directly opposite or adjacent to a window. This placement captures the outdoor view and pulls it inside, effectively creating the illusion of a second window. The reflected natural light will bounce deep into the room, instantly softening harsh shadows and making the entire space feel more open and airy. If your window looks out onto lush tropical greenery, this technique also brings a refreshing natural element indoors.

You can manipulate the perceived proportions of a room by choosing between vertical and horizontal arrangements. To make a low ceiling feel loftier, arrange your mirror stickers in tall, vertical columns that draw the eye upward. Conversely, if you are trying to widen a narrow, corridor-like hallway or a cramped galley kitchen, install the stickers in a continuous horizontal band along the center of the wall. This horizontal line stretches the visual boundaries of the room, making the walls feel further apart.
Deciding between a clustered arrangement and a single large layout depends on your aesthetic goals. Clustered geometric patterns, such as a honeycomb of hexagonal stickers, serve as an artistic focal point that adds texture and interest while still bouncing light around. However, if your primary goal is a seamless, expansive view that truly mimics a spacious room, opt for larger, tightly fitted sheets. A unified reflective surface minimizes visual breaks, allowing the eye to travel smoothly across the reflection without being distracted by seams.
Step-by-Step Installation Guide for a Seamless Look
Achieving a professional, bubble-free finish requires patience and meticulous preparation. Begin by thoroughly cleaning the target wall area with a mixture of mild dish soap and water to remove any accumulated oils or dust. Allow the wall to dry completely, which may take longer in humid tropical climates. Use a spirit level, a pencil, and a measuring tape to draw precise guidelines directly onto the wall, ensuring your layout remains perfectly straight and centered.
When you are ready to apply the stickers, peel off a small portion of the adhesive backing rather than exposing the entire sticky surface at once. Align the edge of the sticker carefully with your pencil guidelines, then press it gently onto the wall. Using a squeegee, a plastic card wrapped in a soft cloth, or a clean microfiber cloth, smooth the sticker down by working from the center outward to the edges. This outward motion effectively pushes out trapped air bubbles, ensuring a flat, secure bond.
Managing the seams between adjacent tiles is crucial for a cohesive, high-end appearance. If you are installing a grid of square tiles, leave a tiny, uniform gap of about one millimeter between each piece to accommodate minor wall imperfections and thermal expansion. Avoid overlapping the edges of acrylic stickers, as this will cause them to lift and create unsightly, distorted reflections. Once all pieces are securely attached, carefully peel away the protective film from the front of the stickers to reveal the clear, reflective surface.
Common Placement and Installation Mistakes to Avoid
One of the most frequent mistakes is overcrowding a small wall with too many tiny, fragmented mirror stickers. While a geometric collage can look stylish, using dozens of small pieces breaks up the reflection into a chaotic grid. Instead of making the room feel larger, this visual clutter can make the space feel busy, distracting, and ultimately more confined. Aim for a balanced layout where the reflective elements harmonize with the surrounding blank wall space.
Be highly intentional about what your mirror stickers will reflect. Placing mirrors directly opposite a cluttered shelf, a laundry area, or a blank, unadorned wall will only double the visual clutter or emphasize the emptiness of the room. Additionally, avoid positioning stickers where they will catch the direct, unshielded glare of overhead light bulbs or harsh afternoon sunlight. This direct reflection can create uncomfortable hot spots and blinding glare that make the room unpleasant to inhabit.
Never rush the installation by applying stickers to unsuitable surfaces. Damp walls, freshly painted surfaces, or walls with peeling paint are guaranteed to cause adhesion failure. If you have recently painted your room, wait at least two to three weeks for the paint to cure completely before applying any adhesive decor. In high-humidity areas like bathrooms, standard adhesives may fail quickly; always verify that the product is rated for damp environments before installation.
Maintenance and Cleaning for Long-Lasting Clarity
To maintain the illusion of space, your mirror stickers must remain clean and free of dust, fingerprints, and smudges. Acrylic mirror stickers are softer than glass and scratch easily, so always use a clean, lint-free microfiber cloth for dusting and wiping. Avoid using paper towels or rough sponges, which can leave microscopic scratches that dull the reflective surface over time. A gentle, alcohol-free glass cleaner or a simple mixture of water and a drop of mild dish soap is usually sufficient.
Protect the delicate reflective coating and adhesive backing by avoiding harsh chemical cleaners. Strong solvents, ammonia-based sprays, and abrasive scrubbing powders can seep behind the edges of the sticker, degrading the adhesive and causing the silver backing to peel or discolor. When cleaning, spray your cleaning solution directly onto the microfiber cloth rather than spraying the wall itself. This prevents liquid from pooling along the seams and weakening the bond.
Periodically inspect the edges of your mirror stickers, especially in rooms prone to temperature fluctuations or high humidity. If you notice any corners beginning to lift, address them immediately to prevent dust from gathering underneath, which would permanently ruin the adhesive. You can gently press the lifting edges back down, or use a small amount of wall-safe double-sided tape designed for lightweight decor to secure the loose sections before the peeling spreads.
Frequently Asked Questions (FAQ)
Can I remove mirror stickers without damaging the paint?
Yes, you can safely remove mirror stickers by using gentle heat to soften the adhesive backing. Run a hairdryer on a low or medium setting over the surface of the sticker for a few minutes to warm the glue. Once the adhesive is warm and pliable, slowly and carefully peel the sticker away from the wall at a sharp angle. Any remaining sticky residue can be wiped away with a mild, wall-safe adhesive remover or soapy water, though older or poorly primed walls may still carry a small risk of paint peeling.
Do mirror stickers work in rooms with no natural light?
Mirror stickers are highly effective in windowless rooms, though they function differently than they do in sunlit spaces. Instead of reflecting the outdoors, they bounce artificial light from lamps, wall sconces, and overhead fixtures around the room. Positioning your stickers near or opposite these light sources helps eliminate dark corners and softens shadows, making a windowless bathroom or basement feel significantly brighter and more open.
How do I clean mirror stickers without leaving streaks?
To achieve a streak-free finish, always spray your cleaning solution onto a microfiber cloth rather than directly onto the mirror sticker. Wipe the surface in a continuous S-pattern or gentle circular motions, working from the top down. Using a dry section of the microfiber cloth for a final buffing pass will remove any remaining moisture and prevent streaks. This method also keeps excess liquid from seeping behind the edges, protecting the adhesive bond.

Community discussion
Share your experience or ask a question. Comments are reviewed before publication.