
Small bathrooms can often feel cramped and dark, but you do not need a costly renovation to open up the space. Mirror stickers offer a lightweight, budget-friendly, and highly customizable alternative to traditional heavy glass. By strategically placing these reflective sheets, you can bounce light into dim corners, extend visual sightlines, and create a convincing illusion of a much larger room. These lightweight alternatives can save you thousands of pesos (₱) compared to heavy, custom-cut glass installations.
The secret to a successful transformation lies in understanding how light and reflection interact with your specific layout. In high-humidity environments like bathrooms in the Philippines, careful planning and proper installation are crucial to ensure the stickers remain secure and distortion-free. This guide will walk you through assessing your space, choosing the optimal placement zones, and executing a flawless installation.
Assessing Your Bathroom Layout and Lighting
Before peeling off any adhesive backing, analyze your bathroom’s unique layout and lighting conditions. Start by identifying all light sources, including natural light from windows and artificial light from ceiling fixtures or vanity bulbs. Knowing where light enters and pools helps you determine where a reflective surface will have the greatest impact.
Products mentioned in this guide
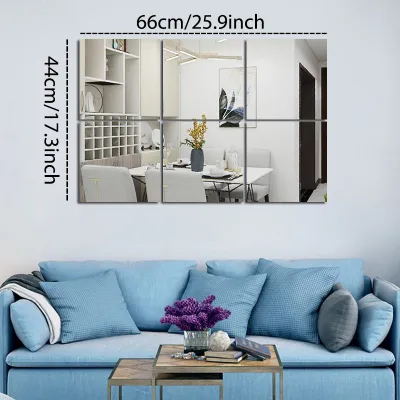
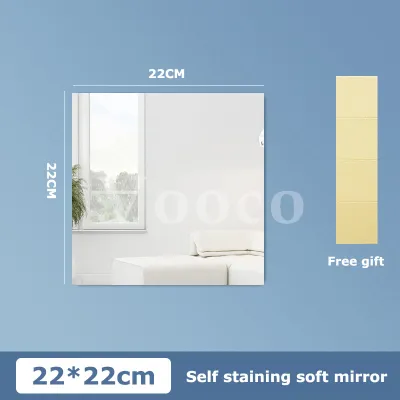
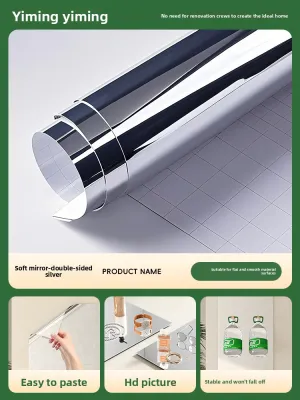
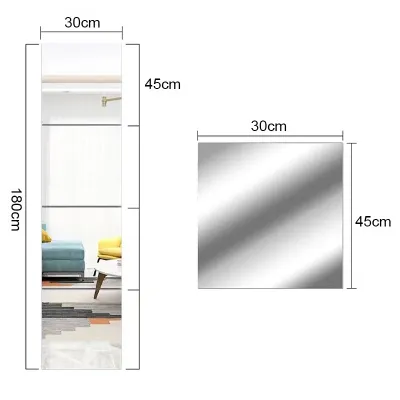

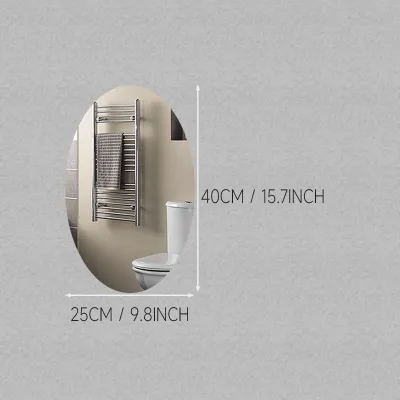
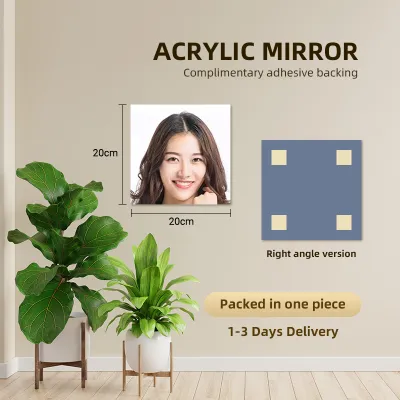
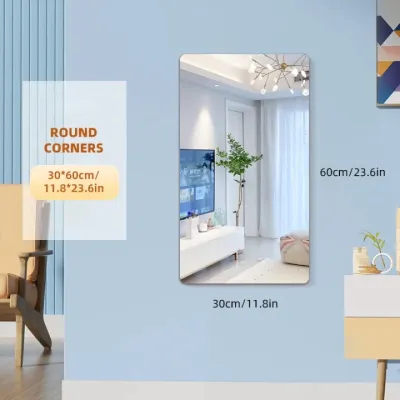
Prices are valid at publication and may change. Please refer to the product page for the latest price.
Next, measure your available wall space carefully. Note permanent obstacles such as plumbing pipes, wall-mounted cabinets, electrical outlets, and light switches. Mirror stickers require a completely flat, unobstructed surface; placing them too close to fixtures can make the layout look cramped rather than spacious.
Finally, evaluate your current color palette. Light-colored walls, such as soft whites or creams, work exceptionally well with mirror stickers because they already reflect a high percentage of light. If your walls are dark or heavily textured, you must plan your placement carefully to avoid highlighting surface imperfections or creating harsh, high-contrast borders.
Best Placement Strategies to Maximize Space
To make a small bathroom feel larger, you must use reflective surfaces to trick the brain into perceiving depth and height. Mirror stickers achieve this by reflecting light and extending your sightlines, effectively doubling the visual space of specific zones.

Your arrangement style should match the proportions of your room. For narrow bathrooms, placing a horizontal band of mirror stickers along the longer wall can visually push the walls outward. For bathrooms with low ceilings, a vertical column of stickers draws the eye upward, creating an illusion of greater height.
Height placement is equally important. Position the center of your primary mirror arrangement at average eye level, which is roughly 1.5 meters from the floor. If you are creating a decorative pattern, ensure the most active viewing area remains free of distracting seams so that the reflection feels natural and functional.
Opposite the Window or Primary Light Source
Positioning mirror stickers directly opposite a window is one of the most effective ways to amplify natural light. The mirror acts as a second window, capturing the incoming daylight and scattering it across the room to eliminate dark corners.
However, you must watch out for direct glare. If the sun shines directly onto the mirror at certain hours, it can create blinding reflections. To prevent this, place the stickers on a wall that receives indirect daylight, or use sheer window coverings to soften the incoming light.
If your bathroom is windowless, you can achieve a similar brightening effect by positioning the stickers opposite your primary artificial light fixtures. Placing them where they can reflect light from wall sconces or overhead LED panels will instantly make the space feel brighter and more open.
Behind the Vanity or Sink Area
The vanity or sink area is the natural focal point of any bathroom, making it an ideal location for a mirror sticker upgrade. Replacing a small, framed mirror with a larger, seamless arrangement of mirror stickers can dramatically expand the visual depth of this high-use zone.
When planning this placement, align the outer edges of the stickers with the sides of your vanity cabinet or sink basin to maintain a clean, symmetrical look. This alignment creates a sense of order and structural balance, which helps a small room feel more organized.
Because the sink is a high-moisture zone, you must maintain a safe clearance of at least 10 to 15 centimeters between the bottom of the stickers and the sink basin. This gap protects the adhesive backing from direct water splashes and soap residue, preventing premature peeling.
Creating a Focal Wall or Grid Pattern
If you have a large, empty wall, you can arrange multiple smaller mirror stickers into a decorative grid or geometric pattern. This approach not only enhances the style of your bathroom but also creates a dynamic focal wall that draws the eye and adds depth.
To achieve a professional look, establish a strict spacing rule. Leaving a consistent gap of 1 to 2 centimeters between each sticker creates a clean, intentional grid effect. Use a spirit level or a physical spacer, like a piece of thick cardboard, to ensure every gap is identical.
To prevent the grid from looking cluttered, keep the edges completely frameless and aligned. A structured layout ensures that the reflected images flow logically, enhancing the sense of space rather than fragmenting it into a confusing puzzle.
Step-by-Step Installation Guide for Mirror Stickers
Installing mirror stickers requires precision, especially in humid tropical climates where moisture can easily compromise adhesive bonds. Follow these steps to ensure a secure, long-lasting application.
First, prepare the wall surface thoroughly. Clean the target area with rubbing alcohol to remove dust, oils, and soap scum. Allow the wall to dry completely. Check the surface integrity; if the paint is peeling, chalky, or damp, the stickers will not adhere properly, and you must resolve these issues before proceeding.
Second, gather your tools. You will need a tape measure, a pencil, a spirit level, painter’s tape, and a soft squeegee or microfiber cloth. Use the painter’s tape to outline the exact boundaries of your layout on the wall, checking your lines with the spirit level to ensure they are perfectly straight.
Third, apply the stickers using a controlled technique. For larger sheets, use the hinge method: tape the top edge of the sticker to the wall, peel away a small section of the backing from the top, and press it onto the wall. Slowly pull the remaining backing downward while using your squeegee to smooth the sticker from the center outward, pushing out any air bubbles. For smaller tiles, peel and apply them individually, checking alignment with your level at every step.
Stop the installation immediately if you encounter a damp wall, heavily textured plaster, or if the paint easily lifts off when you remove painter’s tape. In these conditions, standard adhesive backing will fail, and you should consult the manufacturer for alternative mounting solutions.
Common Placement and Installation Mistakes to Avoid
One of the most common mistakes is placing mirror stickers where they reflect unappealing views. If your mirror directly reflects a toilet bowl, a cluttered laundry hamper, or exposed under-sink plumbing, it will amplify the visual clutter. Always stand in different areas of the bathroom and check the reflection angles before committing to a permanent spot.
Another frequent error is ignoring moisture barriers in high-splash zones. In the Philippines, high indoor humidity is a constant factor. Installing mirror stickers directly inside a shower enclosure or right next to a hot shower stream without a proper moisture-resistant seal will cause the adhesive to degrade rapidly, leading to peeling and warping.
Finally, avoid misaligning multiple pieces in a grid. Even a tiny misalignment of one or two millimeters can distort the reflected image, creating a disjointed look. Take your time during the layout phase and use a level to keep every piece perfectly aligned.
Maintenance and Cleaning Tips for Bathroom Mirrors
Proper maintenance is key to keeping your mirror stickers clear and securely attached in a humid bathroom environment. Because many mirror stickers are made of acrylic or vinyl rather than glass, they require gentler care to prevent scratching.
Avoid harsh chemical cleaners, ammonia-based sprays, or abrasive scrubbing pads, which can scratch the reflective surface and degrade the adhesive along the edges. Instead, use a soft microfiber cloth slightly dampened with water or a highly diluted, pH-neutral glass cleaner.
When cleaning, always wipe from the center of the sticker outward toward the edges. Avoid pushing moisture under the seams, as trapped liquid can weaken the adhesive backing and cause the edges to lift over time. Dry the edges thoroughly with a clean, dry microfiber cloth.
Regularly inspect the edges of your stickers for any signs of lifting or peeling. If you notice a corner starting to pull away, do not pull on it. Consult the manufacturer’s instructions for safe re-adhesion methods, or replace the affected tile promptly.
Frequently Asked Questions (FAQ)
Can I apply mirror stickers directly over bathroom tiles?
Yes, you can apply mirror stickers over bathroom tiles, provided the tiles are smooth, flat, and thoroughly cleaned. However, you must avoid placing the stickers directly over grout lines. The hollow space of a grout line traps moisture and prevents the adhesive from making full contact, which can cause the sticker to warp, distort the reflection, or fall off. Ensure the tiles are completely free of soap scum, oils, and moisture before application. Heavily textured, embossed, or highly porous tiles are not suitable for mirror stickers.
How do I remove mirror stickers without damaging the bathroom paint?
To remove mirror stickers safely without peeling off your bathroom paint, use a hairdryer on a low-heat setting to gently warm the sticker. The heat softens the adhesive backing, making it pliable. Start at one corner and slowly peel the sticker back at a 45-degree angle, applying continuous gentle heat as you go. Avoid pulling the sticker straight outward, as this can tear the paint or drywall. Once the sticker is removed, clean any remaining sticky residue with rubbing alcohol, a mild adhesive remover, or warm soapy water, taking care not to saturate the wall.

Community discussion
Share your experience or ask a question. Comments are reviewed before publication.