
Placing mirror wall stickers strategically is an effective, budget-friendly way to transform a cramped, dim room into a bright and seemingly expansive sanctuary. Unlike heavy, traditional glass mirrors that require drilling, wall anchors, and professional installation, lightweight adhesive mirror sheets offer a flexible alternative. They save you from damaging your walls or spending thousands of ₱ on heavy hardware. However, simply scattering these reflective decals across any blank wall will not automatically double your visual space. To truly open up a small room, you must understand how light, angles, and reflections interact with your specific layout.
In tropical environments like the Philippines, where high humidity and intense daily sunlight are standard, choosing the right placement and adhesive strategy is critical. A poorly positioned mirror sticker can catch harsh afternoon glare, turning a cozy living room into an uncomfortable hot spot, or peel away prematurely due to moisture in the air. By mastering the art of reflective placement, you can bounce natural light into dark corners, visually push back restrictive walls, and create a sophisticated focal point that elevates your entire interior design.
Assessing Your Space and Selecting the Right Mirror Stickers
Before purchasing your mirror wall stickers, take a close look at the room you want to expand. Walk around the space and identify where your eyes naturally land when you enter. These primary sightlines are the prime real estate for your reflective accents. You should also observe how natural light moves through the room during the day, noting which corners remain perpetually in shadow and where the brightest beams fall.
Products mentioned in this guide

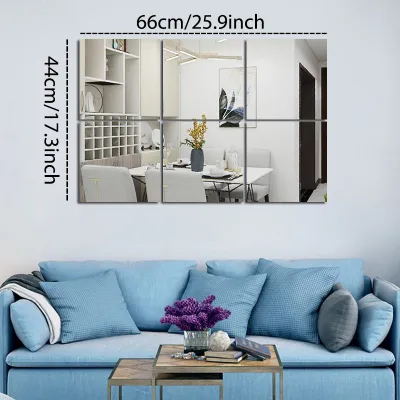
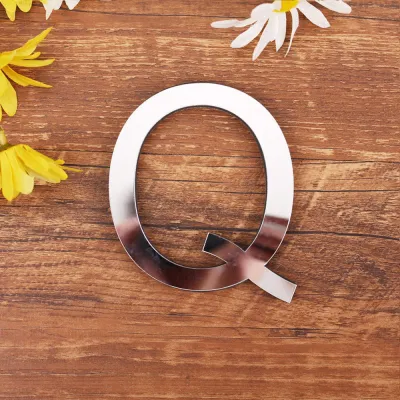
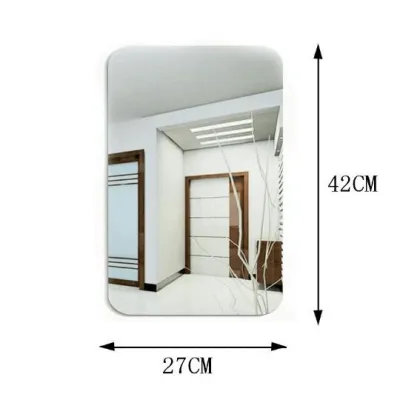
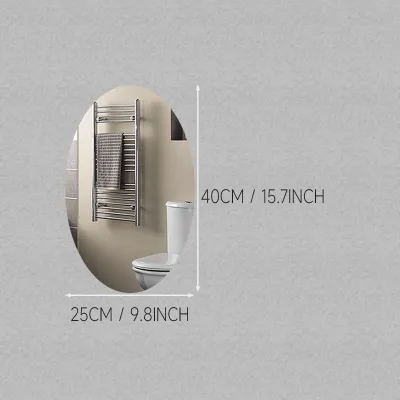
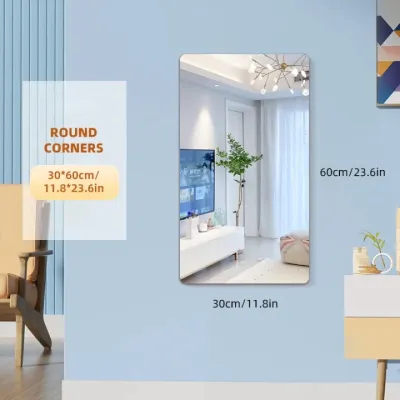
Prices are valid at publication and may change. Please refer to the product page for the latest price.
The scale of your wall should dictate the size and shape of the stickers you choose. Large, empty walls can handle expansive geometric grids or full-coverage sheets, while narrow hallways or tight corners benefit from smaller, elongated accent strips. If you mix too many different shapes in a tiny room, you risk creating visual clutter, which actually makes the space feel smaller and more chaotic.
Material selection is another critical factor that directly impacts the quality of your reflection. Acrylic mirror stickers are highly popular because they are shatterproof, lightweight, and incredibly easy to handle. However, very thin acrylic sheets are highly flexible and will warp if applied to even slightly uneven walls, resulting in a distorted reflection that can make a room feel disorienting. If you want a perfectly crisp, true-to-life reflection, look for thicker acrylic options (at least 2mm to 3mm) or opt for thin, lightweight real glass mirror tiles, provided your wall can support the slight increase in weight.
Finally, verify that your target wall is completely compatible with adhesive backing. The ideal surface is smooth, flat, non-porous, and fully dry. If your home features textured plaster, rough concrete, or damp-prone walls common in humid coastal areas, the stickers may struggle to bond securely, leading to lifting edges and distorted reflections over time.
Strategic Placement Techniques to Expand Visual Space
The primary goal of using mirror wall stickers is to trick the brain into perceiving depth where a solid wall actually exists. To achieve this illusion, you must position the stickers so they interact dynamically with the room’s existing architectural features and light sources. Instead of using mirrors to hide wall flaws, use them to highlight the room’s strengths and draw the eye outward.

A balanced arrangement is key to maintaining a sense of calm and openness. If you place mirror stickers directly opposite a cluttered bookshelf or a busy wardrobe, you will simply double the visual noise in the room. Instead, aim to reflect clean, open areas, minimalist decor, or natural elements to foster a serene, spacious atmosphere.
Reflecting Natural Light and Outdoor Views
To maximize the brightness of a small room, position your mirror wall stickers on the wall directly opposite or adjacent to your main window. This placement allows the stickers to capture incoming daylight and bounce it deep into the interior, instantly making the entire space feel larger and more inviting. It essentially acts as an extra window, tricking the eye into seeing another source of light.
However, be mindful of the sun’s path throughout the day. In tropical climates, placing reflective surfaces where they receive direct, intense midday or afternoon sunlight can create blinding glare and uncomfortable hot spots. Over time, extreme heat from direct sunlight can also degrade the adhesive backing, causing the stickers to warp or fall off. Position them just out of the direct path of intense sunbeams, where they can still catch and scatter ambient daylight.
If your window looks out onto a pleasant view, such as a garden, potted balcony plants, or a clear sky, angle your mirror stickers to capture that specific reflection. Bringing elements of nature indoors creates a psychological connection to the outdoors, which instantly breaks down the feeling of being enclosed in a small room.
Creating Depth and Focal Points
Grouping your mirror stickers into intentional geometric patterns, such as a clean grid, a herringbone design, or a sleek diamond layout, creates a stylish feature wall that anchors the room. This structured approach provides a clear focal point, drawing attention away from the room’s limited square footage and directing it toward the artistic arrangement.
For the greatest spatial impact, place the stickers at eye level or slightly above. Positioning them behind low-profile furniture, such as a low-backed sofa, a platform bed, or a minimalist console table, helps ground the arrangement and visually extends the floor line. When the reflection starts just above the furniture, it creates the illusion that the room continues into another space behind the pieces.
You must also decide between a continuous, seamless mirror arrangement and a scattered, decorative layout. A continuous arrangement of tightly fitted square tiles mimics a solid glass wall, which is highly effective for making a narrow hallway or small bedroom feel twice its actual size. On the other hand, scattered hexagonal or round stickers serve as beautiful decorative accents that add movement and light play without overwhelming a highly functional workspace.
Step-by-Step Installation Guide for a Seamless Finish
Achieving a professional, bubble-free finish requires patience and meticulous preparation. Follow these steps to ensure your mirror wall stickers remain securely attached and perfectly flat:
- Prepare the Wall Surface: Begin by wiping down the target area with a dry microfiber cloth to remove dust, cobwebs, and loose particles. If there is grease or stubborn dirt, clean the wall with a mild soap solution, then wipe it dry and allow it to air dry completely for at least 24 hours. If the wall has been recently painted, wait at least three to four weeks for the paint to fully cure before applying any adhesive.
- Plan Your Layout: Do not rely on guesswork. Lay your mirror stickers out on the floor or a large table to finalize your pattern. Use painter's tape or paper templates cut to the size of your stickers to map out the exact arrangement on the wall. Use a spirit level and a pencil to draw faint guide lines, ensuring your grid or pattern is perfectly straight.
- Apply the Stickers Carefully: Peel a small portion of the adhesive backing from the first sticker. Align it carefully with your pencil guides. Slowly press the sticker onto the wall, working from one edge to the other to prevent air bubbles from getting trapped underneath. Use a soft microfiber cloth or a plastic squeegee wrapped in a soft cloth to firmly press the sticker down, ensuring complete contact with the wall.
- Trim and Adjust: If you need to fit stickers around light switches, outlets, or wall corners, measure twice and trim them carefully using a utility knife and a metal ruler before peeling the backing. Always turn off the power at the circuit breaker if you are working closely around exposed electrical outlets or light fixtures to ensure your safety. If you are working at height to place stickers near the ceiling, use a stable step ladder and have someone assist you to prevent falls.
- Remove the Protective Film: Most mirror wall stickers come with a thin, cloudy protective film on the front surface to prevent scratches during shipping and installation. Once all your stickers are securely mounted and you have wiped away any fingerprints, gently peel off this protective film to reveal the brilliant, clear reflective surface beneath.
Common Placement and Installation Mistakes to Avoid
One of the most common mistakes is applying mirror stickers to textured walls, damp surfaces, or peeling paint. The uneven texture prevents the adhesive from bonding fully, which not only causes the stickers to fall off but also bends the flexible acrylic material, creating highly distorted, unflattering reflections. If your walls are rough, consider mounting the stickers onto a smooth plywood or MDF board first, then hanging the board securely on the wall.
Another frequent error is creating chaotic reflections. Avoid placing mirror stickers directly opposite cluttered areas, laundry baskets, or unshielded light bulbs. Reflecting a bare, bright bulb can create harsh, uncomfortable glare that strains your eyes and makes the room feel clinical rather than cozy.
Using cheap, ultra-thin stickers is a major pitfall. While they may seem like a bargain, thin sheets warp easily under temperature changes and humidity, ruining the illusion of depth. Investing in slightly thicker, high-quality stickers ensures a flat, clear reflection that truly mimics real glass.
Finally, many people damage their walls when trying to remove or reposition stickers. Ripping them off forcefully can tear the drywall paper or peel away layers of paint. Always take your time during removal to protect your home’s surfaces.
Maintenance and Cleaning for Lasting Clarity
To keep your mirror wall stickers looking pristine and highly reflective, regular, gentle maintenance is essential. Dust and fingerprints can quickly dull the surface, reducing its ability to bounce light effectively. Use a clean, dry microfiber cloth to gently wipe away dust once a week.
When a deeper clean is needed, avoid harsh chemical cleaners, ammonia-based sprays, or abrasive scrubbing pads, which can easily scratch acrylic surfaces and degrade the reflective backing. Instead, lightly mist a microfiber cloth with a mixture of water and a drop of mild dish soap, or use a specialized acrylic-safe cleaner. Wipe the surface gently in circular motions, then buff it dry with a separate dry cloth to prevent water spots.
In humid areas, inspect the edges of your stickers periodically. If you notice any corners starting to lift due to moisture, gently press them back down. If the original adhesive has weakened, you can apply a small amount of wall-safe double-sided tape to secure the edge and prevent dust from accumulating underneath.
Frequently Asked Questions (FAQ)
Can mirror wall stickers be applied to textured walls or wallpaper?
No, mirror wall stickers require a completely smooth, flat surface to adhere properly and provide an accurate reflection. Applying them to textured walls, such as stucco or brick, will result in poor adhesion and a highly warped, distorted reflection. Applying them to delicate wallpaper is also risky, as the strong adhesive backing can tear or ruin the wallpaper if you ever decide to remove or reposition the stickers.
How do I remove mirror wall stickers without damaging the paint?
To remove mirror wall stickers safely, use a hairdryer on a low heat setting to gently warm the sticker for a few seconds. This softens the adhesive backing, making it pliable. Slowly and gently peel the sticker away from the wall, starting from one corner. If any sticky residue remains on the wall, apply a small amount of a mild, wall-safe adhesive remover or eucalyptus oil to a cloth, test it on a hidden area first, and gently wipe the residue away.
Do mirror wall stickers work in rooms with no windows?
Yes, mirror wall stickers are highly effective in windowless spaces like bathrooms, basements, or interior hallways. Instead of reflecting natural light, position them to capture and bounce artificial light from floor lamps, wall sconces, or overhead fixtures. Placing stickers behind or adjacent to a warm light source helps scatter the illumination, softening shadows and making the windowless room feel significantly brighter and more open.

Community discussion
Share your experience or ask a question. Comments are reviewed before publication.