
Placing sticker mirrors strategically is one of the most accessible ways to transform a cramped room into an open, airy sanctuary. Unlike heavy glass mirrors that require drilling and wall anchors, lightweight adhesive mirror sheets offer a flexible, budget-friendly alternative for renters and homeowners alike. By understanding how light behaves and how the human eye perceives depth, you can use these reflective panels to create convincing optical illusions of expanded space. Whether you are decorating a compact studio condominium or a windowless hallway, the key lies in thoughtful placement, precise alignment, and a clear understanding of your room’s unique layout. When positioned correctly, they can mimic the appearance of an extra window, double the visual length of a short wall, or lift a low ceiling.
To achieve the desired spatial effect, you must treat the mirror stickers as active design elements that interact with your existing decor. They do not simply sit on the wall; they capture, redirect, and multiply the light and colors already present in your home. This interaction is what ultimately creates the convincing illusion of a larger, more open living space.
Assess Your Room's Light and Wall Space
Before peeling off the adhesive backing, a thorough assessment of your room’s physical characteristics is essential. Start by identifying the primary light sources in the space. Note where natural sunlight enters through windows or glass doors at different times of the day, as well as the positioning of artificial fixtures like ceiling lights, floor lamps, and wall sconces. To maximize the room’s brightness, position your sticker mirrors where they can catch this incoming light and bounce it deep into darker corners.
Products mentioned in this guide
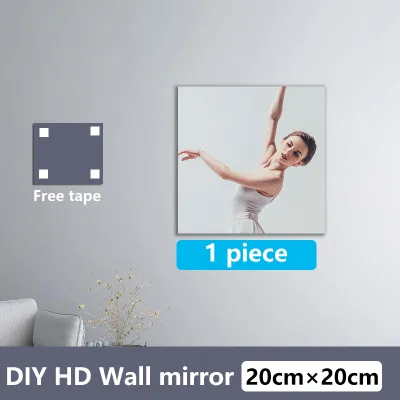

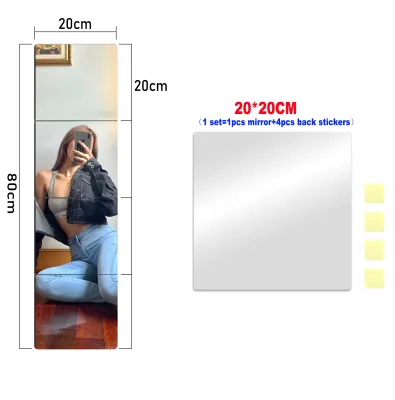
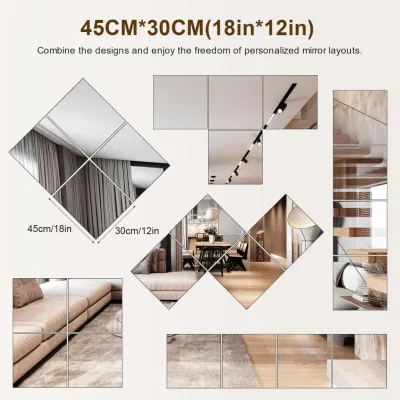
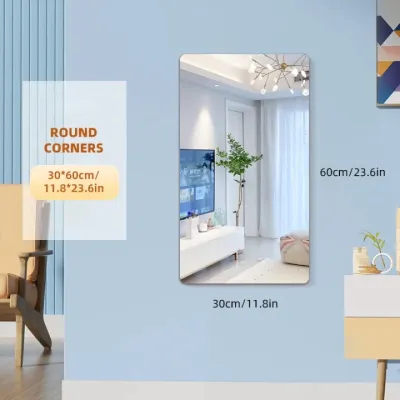
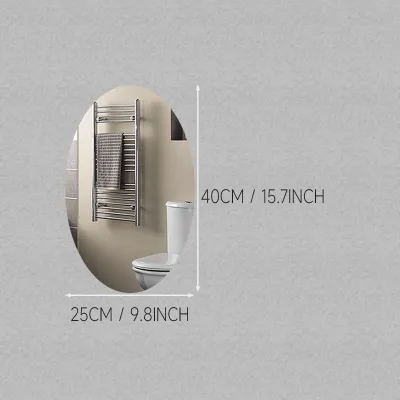
Prices are valid at publication and may change. Please refer to the product page for the latest price.
Next, examine the condition of your walls, which is particularly important in tropical climates where humidity levels fluctuate. Sticker mirrors require a clean, flat, and completely smooth surface to adhere properly and provide an undistorted reflection. Run your hand over the wall to check for bumps, texture, or peeling paint. Standard acrylic or PET mirror stickers conform to the shape of the surface beneath them; any wall imperfections, such as rough plaster or orange-peel texture, will result in a warped, funhouse-mirror effect. If your walls are concrete—a common construction material in the Philippines—ensure they are sealed and painted with a smooth, non-porous finish.
Finally, measure the available wall space to plan the scale and proportion of your arrangement. Use a tape measure to determine the exact width and height of the area you wish to cover. It is helpful to sketch your ideas on paper or use painter’s tape to outline the planned layout directly on the wall. This step allows you to visualize how the mirrors will relate to nearby furniture, ensuring the final installation looks intentional rather than cluttered.
Best Placement Patterns to Expand Visual Space
The arrangement pattern you choose determines how the human eye navigates the room. A structured grid pattern is highly effective for creating a modern, architectural look. By arranging square or rectangular mirror stickers in a precise grid with small, uniform gaps between them, you can mimic the appearance of a multi-pane window. This pattern breaks up the solid mass of a blank wall, drawing the eye outward and creating a sense of structured depth that makes the entire room feel more organized and spacious.

For a more dynamic and contemporary feel, consider arranging the stickers in scattered or organic clusters. Hexagonal, diamond, or circular mirror stickers work exceptionally well for this approach. By clustering them densely in one area and letting them scatter outward across the wall, you create a sense of movement. This layout draws the eye diagonally across the space, which naturally distracts from the physical boundaries of a small room and emphasizes its width.
If your primary challenge is a low ceiling, vertical lines are your best solution. Aligning long, narrow mirror stickers vertically from near the floor up toward the ceiling draws the gaze upward. This vertical emphasis tricks the brain into perceiving greater height, making a standard room feel loftier. For the best results, keep the vertical columns thin and space them evenly across a single accent wall.
Positioning your mirror stickers directly opposite or adjacent to windows is another powerful technique. When placed opposite a window, the mirrors capture the outdoor view—whether it is a garden, a city skyline, or the sky—and bring it inside. This effectively creates a “second window,” doubling the visual interest and flooding the room with natural light. If placing them directly opposite is not possible due to furniture layout, an adjacent wall can still catch and redirect light at an angle, brightening up dim corners.
Step-by-Step Installation for a Flawless Finish
Achieving a professional, bubble-free finish with sticker mirrors requires patience and systematic preparation. Begin by cleaning the wall surface thoroughly to remove dust, grease, and oils. Dampen a microfiber cloth with a mixture of water and a mild dish soap, or use rubbing alcohol if your paint type permits. Wipe the area clean and allow it to dry completely. In humid environments, ensure there is no lingering moisture on the wall, as dampness will severely compromise the adhesive bond over time.
Once the wall is dry, use a spirit level, a measuring tape, and a pencil to map out your layout. Lightly draw horizontal and vertical guidelines directly onto the wall. Having these reference lines is crucial because even a millimeter of misalignment can ruin the geometric pattern and cause the reflected image to look disjointed. If you are working near fixed electrical wiring, light switches, or wall outlets, exercise caution and avoid applying stickers directly over these fixtures.
When you are ready to apply the stickers, peel a small portion of the protective backing from the first mirror sheet. Align the edge of the sticker with your pencil guidelines. Slowly press the sticker onto the wall, using a squeegee, a plastic scraper, or a soft cloth to smooth it down. Work from the center of the sticker outward to the edges to push out any trapped air bubbles. If you encounter a stubborn bubble, gently peel the sticker back to that point and reapply it, smoothing it firmly as you go.
After all the panels are in place, go over the entire arrangement once more, paying close attention to the edges and corners. Press firmly along the perimeter of each sticker to ensure a secure, long-lasting bond. If you are installing these in a high-humidity area like a bathroom or a kitchen near a sink, verify that the manufacturer approves the adhesive for damp environments. For installations at height or near delicate furniture, double-check that the panels are lightweight and securely fastened to prevent them from falling.
Common Placement Mistakes That Shrink Your Room
While sticker mirrors are excellent tools for visual expansion, improper placement can have the opposite effect, making a small room feel chaotic and cramped. One of the most common mistakes is reflecting cluttered or unappealing areas. If your mirror stickers face an open wardrobe, a storage rack, or a busy patterned accent wall, they will simply double the visual noise. Instead, ensure the mirrors reflect clean lines, minimalist furniture, or a source of light.
Another frequent error is mounting the mirrors at an incorrect height. Placing the center of your mirror arrangement too high or too low disrupts the natural viewing angle. As a general rule, the center of the primary reflective area should sit at average eye level, which is approximately 1.5 meters from the floor. If the mirrors are placed too high, they will only reflect the ceiling and upper walls, failing to connect with the living space below and making the room feel disjointed.
Improper spacing and overlapping can also ruin the spatial illusion. If you are creating a grid, leaving uneven gaps between the panels or allowing them to overlap slightly will distort the reflection. This fragmented, broken image can cause visual fatigue and make the wall feel like it is closing in on you. Take the time to measure and maintain consistent spacing between every single panel.
Finally, do not rush the installation on unsuitable surfaces. Applying sticker mirrors to freshly painted walls that have not cured for at least two to three weeks will cause the adhesive to fail as the paint outgasses. Similarly, avoid applying them to damp exterior walls, especially during the rainy season, as moisture seeping through concrete can destroy the adhesive backing, leading to peeling and wall damage.
Maintaining Clarity and Wall Adhesion
To keep your sticker mirrors looking sharp and performing their light-reflecting duties, regular maintenance is required. Unlike traditional glass, many sticker mirrors are made from acrylic or PET materials, which are softer and more prone to scratching. Avoid using harsh chemical cleaners, ammonia-based glass sprays, or abrasive scrubbing pads. Instead, opt for a mild, highly diluted soapy water solution or a specialized cleaner designed specifically for acrylic surfaces.
When wiping the mirrors, always use a clean, dry microfiber cloth. Wipe gently in circular motions to remove dust, fingerprints, and water spots without leaving lint or scratches behind. In tropical regions where dust and humidity can combine to form a sticky film, a regular weekly dusting will prevent buildup and maintain the clarity of the reflection.
Periodically inspect the edges of your mirror stickers for any signs of lifting, particularly during the humid summer months. If you notice an edge beginning to peel away from the wall, press it down firmly with a warm, dry cloth to reactivate the adhesive. If the built-in adhesive has weakened permanently, you can carefully apply a small piece of thin, wall-safe double-sided mounting tape to the affected corner to restore a flush, secure fit.
Frequently Asked Questions (FAQ)
Can I apply sticker mirrors on textured or wallpapered walls?
Sticker mirrors require a completely flat, smooth surface to function correctly. Applying them directly to textured plaster, brick, or heavily embossed wallpaper is not recommended. The uneven surface will cause the flexible mirror sheets to bend, resulting in a highly distorted, wavy reflection that can make the room feel dizzying rather than spacious. Additionally, the adhesive will not bond securely to the recessed areas of a textured wall, leading to premature peeling. If you must use them on a textured wall, consider mounting the stickers onto a smooth backing board first, such as a thin sheet of plywood or MDF, and then hanging the board on the wall using standard picture-hanging hardware.
Will removing sticker mirrors damage my wall paint?
Removing adhesive mirror stickers can sometimes pull up wall paint or leave a sticky residue, especially if they have been in place for a long time. To minimize the risk of damage, do not rip them off quickly. Instead, use a hairdryer on a low or medium heat setting to gently warm the surface of the mirror sticker. The heat will soften the adhesive backing, making it pliable. Once warmed, slowly and carefully peel the sticker away from the wall at a sharp angle, starting from one corner. If any adhesive residue remains on the wall, wipe it away gently using a mild adhesive remover or a cloth dampened with warm, soapy water, taking care not to scrub the paint too aggressively.
Community discussion
Share your experience or ask a question. Comments are reviewed before publication.