
Creating a beautiful gallery wall in a condominium or rental home is an exciting way to personalize your living space, but the fear of leaving a trail of unnecessary holes in the wall often holds people back. In many modern developments, walls are made of tough concrete or delicate drywall, making accidental drill marks or hammer slips difficult and expensive to repair. The key to achieving a professional-looking gallery wall without the stress is a systematic, damage-free planning process. By mapping out your frames on the floor, creating exact paper templates, and testing the arrangement on your wall with temporary adhesives, you can visualize the final result before making any permanent changes. This method allows you to experiment with different configurations, ensure precise alignment, and preserve your security deposit or wall integrity.
Gather Your Tools and Materials for a Damage-Free Layout
To begin your gallery wall project, assemble a reliable set of tools that allow you to measure, mark, and test your layout without damaging your paint or plaster. Start with a high-quality metal measuring tape to capture precise dimensions of both your wall space and your frames. A spirit level is indispensable for ensuring every frame hangs straight, as even a minor tilt can disrupt the visual harmony of the entire arrangement. For marking, keep a standard pencil nearby to make light, easily erasable marks on your paper templates rather than directly on the wall.
Next, gather your template materials. You do not need expensive drafting paper; rolls of brown kraft paper, old newspapers, or the blank reverse side of inexpensive wrapping paper work well. These materials are sturdy enough to hold their shape when cut but light enough to hang on the wall with minimal adhesive.
Products mentioned in this guide
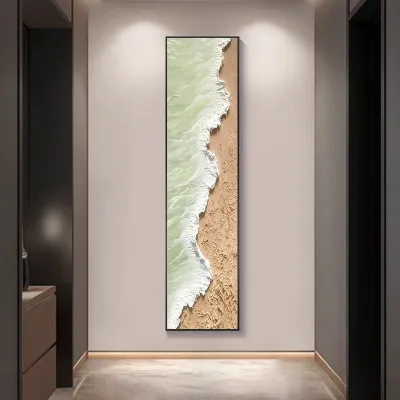
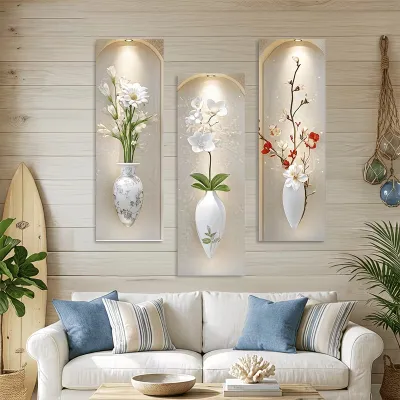
134 Lazada user ratings
💰Price:ok maganfa design 🎨Design:very nice designs 💯 good 🛡️Safety:safety safety safety safety 🦺🦺 🔍Quality:nice matibay matibay maganda design
nkaka disappoint sobra liit pala ang naka picture kasi saxophone sa sala set un wall decor scam pala. Sana maging totoo nmn kayo.
ang cute ang ganda at ang bilis niya dumating salamat seller sa uulitin medyo Malaki na maliit pang tlga yang na order ko ngayon
mqbilis ang delivery. maganda xa . sulit ang pera. highly recommend this product qnd seller. definitely, we'll order again
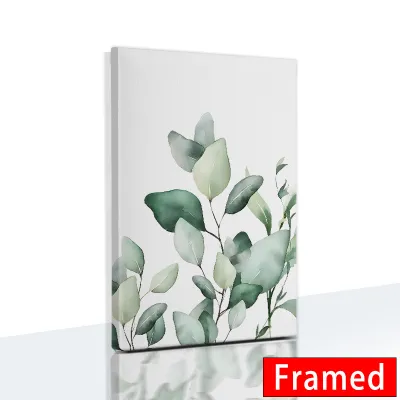
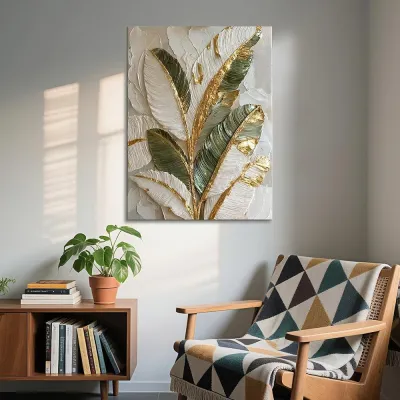
21 Lazada user ratings
it's not same with the picture,may pingas at damage p...excited to see p nman .a bit disappointed,even the color is different..but any way p…Read full reviewShow less
it's not same with the picture,may pingas at damage p...excited to see p nman .a bit disappointed,even the color is different..but any way pede n pag tyagaan..syang nman...
It looks fine. can be used as decor.
for me..satisfied aq very nice
nice, thanks
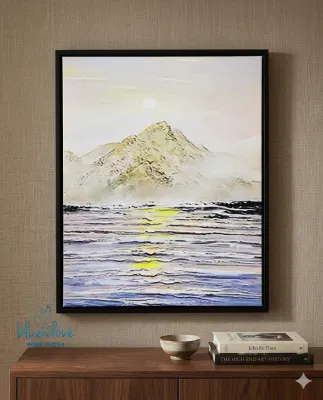
87 Lazada user ratings
at first I thought it's a legit painting. but it's an abstract image printed on the canvas (thus the low price) then some paint (white) and …Read full reviewShow less
at first I thought it's a legit painting. but it's an abstract image printed on the canvas (thus the low price) then some paint (white) and glittered glue added to it for it to have a texture. it now appears like a real hand painted art. nevertheless, I am happy with the purchase.☺️
thank you po. nabaliktad ko ang pagkakabit instead white sa taas, e blue ang sa taas. tutal abstract naman ok nayan at maganda naman tingnan…Read full reviewShow less
thank you po. nabaliktad ko ang pagkakabit instead white sa taas, e blue ang sa taas. tutal abstract naman ok nayan at maganda naman tingnan kahit sang anggulo. thanks po.
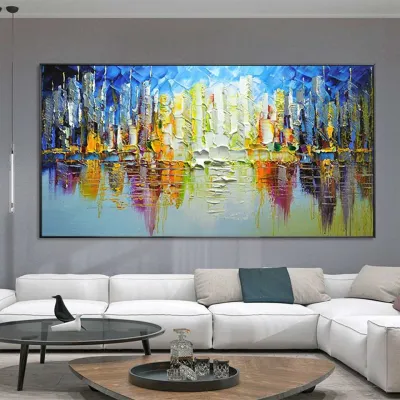
5 Lazada user ratings
The painting was not HD. Ordinary painting
Perfect for living room,
Prices are valid at publication and may change. Please refer to the product page for the latest price.
For temporary mounting, select a low-tack painter’s tape, which is designed to hold paper securely to painted walls without peeling away the paint or leaving sticky residue when removed. Reusable mounting putty is also excellent for holding lightweight templates in place. If you plan to use damage-free hanging methods for the final installation, gather removable adhesive strips or adhesive hooks, ensuring you select products rated for the specific weights of your frames.
Select a Gallery Wall Arrangement That Fits Your Space
Before cutting any paper or moving furniture, decide on a visual structure that complements the architecture of your condo. A structured grid layout is ideal for identical frame sizes and cohesive artwork, offering a clean, symmetrical, and modern aesthetic. If you have an assortment of different frame styles, sizes, and art mediums, a relaxed salon or eclectic mix allows for an organic, evolving display. For hallways or narrow dining areas, a linear horizontal row can make the space feel longer and more open. Alternatively, you can choose a central anchor arrangement, where one large, eye-catching piece is placed in the middle, surrounded by smaller, supporting frames.
To ensure your gallery wall looks intentional, measure the available wall space and consider how it interacts with your furniture. If you are hanging the display above a sofa, console table, or bed, the overall width of the gallery wall should ideally span about two-thirds to three-quarters of the width of the furniture below it. This proportion anchors the display visually, preventing the frames from looking lost on a massive wall or overwhelming a smaller piece of furniture.
Maintaining consistent spacing between your frames is crucial for a polished look. A standard gap of five to eight centimeters (about two to three inches) between each frame is generally recommended. Closer spacing works well for tight, grid-like arrangements, while wider spacing suits larger, eclectic displays. Keeping this distance uniform across the entire layout prevents the arrangement from looking cluttered or disorganized.
Map Out the Design Using Paper Templates
The core of a damage-free planning process lies in creating physical paper templates that act as stand-ins for your actual frames. Place your chosen paper flat on a clean floor or a large table. Lay each frame face down on the paper and use your pencil to trace its outer perimeter carefully. Once traced, use scissors to cut out each paper replica, ensuring the edges are straight and match the frame dimensions exactly.
To keep your planning organized, label each paper template clearly. Write the name of the artwork, the frame color, or a simple number on the front of the paper. Additionally, indicate whether the frame is oriented vertically (portrait) or horizontally (landscape). This labeling prevents confusion later when you are deciding which physical frame goes where on the wall.
Before moving to the wall, arrange your paper templates on the floor in front of your target wall. This step allows you to experiment with different compositions without experiencing arm fatigue or marking your walls prematurely. Pay close attention to visual balance; distribute darker frames, heavier mats, and bolder artwork evenly throughout the layout so one side does not feel visually heavier than the other. Take a photo of your preferred floor arrangements on your phone so you can easily compare different options.
Test the Layout on the Wall Before Committing
Once you are satisfied with the floor arrangement, it is time to transfer the design to the wall using your paper templates. Roll small pieces of low-tack painter’s tape or use small dabs of reusable mounting putty on the back of each paper cutout. Gently press the templates onto the wall, starting with your central anchor piece or the middle row, and work your way outward according to your floor plan photo.
With the templates temporarily secured, use your spirit level and measuring tape to verify the alignment. Place the level along the top edges of the templates to ensure they are horizontal. Measure the gaps between the templates to confirm that your planned spacing remains consistent across the entire display. Because you are only moving paper, you can easily reposition any template that looks slightly crooked or off-center.
After securing all the templates, step back to the opposite side of the room to evaluate the layout. View the arrangement from different angles, such as from the entryway or while sitting on your sofa. Observe how the natural and artificial light in your condo hits the display at different times of the day, checking for glare or shadows. This step gives you a realistic preview of the final installation, allowing you to make adjustments before committing to any permanent hanging method.
Hang Your Frames Using Condo-Friendly Methods
With your paper templates accurately positioned on the wall, you can transition to the final installation with confidence. Begin by weighing each of your physical frames, including the glass and backing. If you plan to use non-damaging adhesive strips, check the manufacturer’s weight limits printed on the packaging. These adhesive products are highly effective for lightweight plastic, composite, or thin wood frames, but they must be applied to clean, dry walls and pressed firmly according to the package instructions to ensure a secure bond.
Before using any hanging hardware that requires drilling or nailing, review your condominium’s lease agreement or building management guidelines. Some properties have strict rules regarding wall modifications, especially on shared structural walls or concrete partitions. If drilling is permitted, using the paper templates makes the process incredibly precise. You can mark the exact spot where the nail or wall anchor needs to go directly onto the paper template, drill through the paper, and then tear the paper away once the hardware is secure.
For frames that require traditional hooks, measure the distance from the top of the frame to the hanging bracket or wire on the back. Mark this exact measurement down from the top edge of your paper template on the wall. Drive your nail, screw, or adhesive hook directly into that marked spot. Once all hooks are installed, carefully peel the paper templates off the wall and hang your frames, using your spirit level one final time to ensure everything is straight.
Frequently Asked Questions (FAQ)
How do I hang heavy mirrors or large frames without drilling?
Hanging heavy mirrors or oversized, solid wood frames without drilling is generally not recommended due to safety risks. While high-strength adhesive strips exist, they are subject to environmental factors like humidity and paint adhesion quality, which can cause them to fail over time under heavy loads. A falling mirror or heavy frame can cause serious personal injury or significant property damage. If your condo guidelines prohibit drilling, or if you are dealing with solid concrete walls, consult your building management or a professional installer to discuss approved heavy-duty hanging systems, such as picture rail moldings or specialized concrete anchors that minimize structural impact.
What is the best height to hang a gallery wall?
The standard guideline for hanging art is to position the center of the overall gallery wall arrangement at average eye level, which is approximately 140 to 150 centimeters (57 to 60 inches) from the floor. If you are hanging the gallery wall above a piece of furniture, such as a sofa or a console table, adjust the height so that the bottom edges of the lowest frames sit about 15 to 20 centimeters (6 to 8 inches) above the top of the furniture. This spacing keeps the artwork visually connected to the furniture below it, creating a cohesive design rather than letting the frames appear to float aimlessly on the wall.

Community discussion
Share your experience or ask a question. Comments are reviewed before publication.