
Arranging miniature 2R photo albums or individual 2R frames on a gallery wall requires a deliberate strategy to ensure these small-scale pieces do not get lost on a large vertical surface. Measuring approximately 2.5 by 3.5 inches, a 2R photo is highly personal and detailed, meaning viewers must stand close to appreciate the image. To create an impactful display, you must group these compact items tightly, establish a clear visual anchor, and use precise spacing that guides the eye naturally across the collection. By treating multiple small frames as a single, cohesive design unit, you can transform a scattered collection of memories into a sophisticated focal point.
Assessing Your Space and Preparing the 2R Albums
Before driving any nails or applying adhesives, you must thoroughly evaluate the physical conditions of your chosen wall. In tropical environments, indoor humidity levels fluctuate significantly, which can cause paper-based photo albums, cardboard backings, and standard adhesives to warp or degrade over time. Examine the wall surface to determine if it is smooth drywall, textured plaster, or solid painted concrete, as each material demands a different mounting approach. Additionally, observe how natural light enters the room throughout the day; direct sunlight can rapidly fade delicate 2R prints, so positioning your gallery wall in a well-lit area away from harsh, direct UV rays is highly recommended.
Once you have selected the ideal wall, prepare your 2R albums or frames by cleaning their surfaces with a dry microfiber cloth to remove dust and oils. Inspect the back of each item to verify that all built-in hanging brackets, loops, or standbacks are secure and flush against the frame. If you plan to combine these lightweight albums with heavier decorative elements, such as wooden ledges or metal wall art, use a stud finder to locate the underlying wooden or metal studs. For solid concrete walls, which are common in many residential structures, prepare to use masonry anchors rather than standard nails to ensure a permanent, secure hold that can withstand ambient vibrations.
Products mentioned in this guide
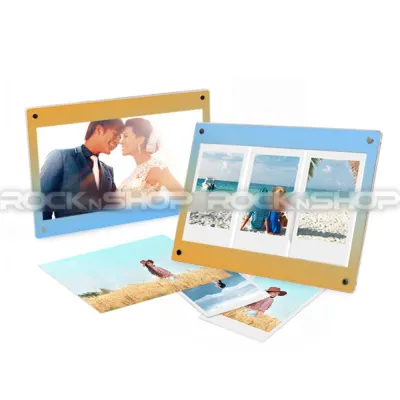
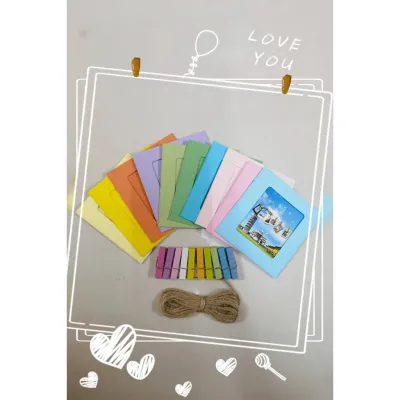
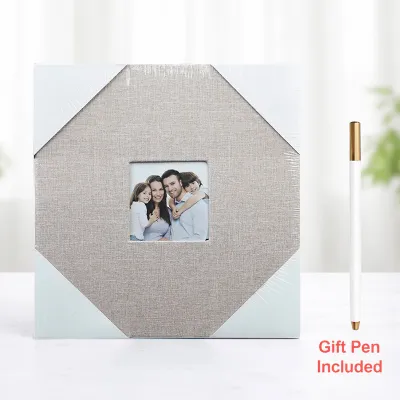
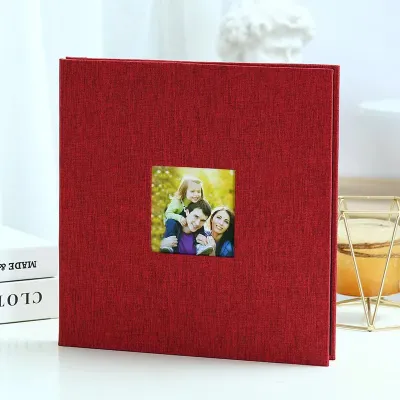
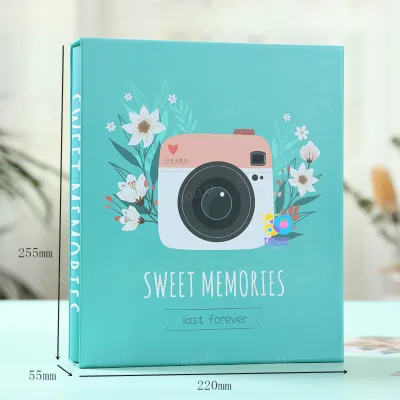
Prices are valid at publication and may change. Please refer to the product page for the latest price.
Selecting the Best Layout Pattern for Small Sizes
Because 2R photos are exceptionally small, scattering them across a wide wall will make the arrangement look cluttered and unfinished. A structured grid layout is one of the most effective patterns for small frames, as it organizes the items into clean, horizontal and vertical rows. This geometric symmetry creates a sense of order and allows the viewer to scan the photos like pages in a book. To execute a successful grid, ensure that every frame is identical in size, color, and depth, which reinforces the unified, clean-lined aesthetic.

If you prefer a more dynamic and organic feel, a salon-style cluster is an excellent alternative. This method involves grouping your 2R albums tightly together around a central point, creating a single, large visual block on the wall. The outer edges of the cluster can be irregular, but the tight spacing between the individual frames keeps the overall composition looking intentional rather than chaotic. This pattern is highly adaptable and allows you to expand the gallery wall over time as you collect more memories.
To add depth and prevent visual fatigue, consider mixing your 2R frames with larger framed art or mirrors. Using a larger piece as a central anchor provides a resting place for the eyes and establishes a clear hierarchy within the display. You can then flank this central anchor with your smaller 2R albums, creating a pleasing contrast in scale that highlights the delicate nature of the miniature photos while maintaining a balanced, professional look.
Step-by-Step Mapping and Spacing Guide
To avoid turning your wall into a Swiss cheese of mistaken drill holes, always map out your layout on a flat surface first. Clear a large table or a section of the floor and arrange your 2R albums in your desired pattern, experimenting with different configurations until the visual flow feels balanced. Take a photograph of the finalized floor arrangement from directly above so you have a reliable visual reference during the installation process.
Next, translate this floor layout to the wall using lightweight kraft paper templates. Trace the outline of each 2R frame onto the paper, cut out the shapes, and label them so you know which photo goes where. Use low-tack painter’s tape to stick these paper templates onto the wall, allowing you to step back and assess the height, alignment, and overall impact of the arrangement from various angles in the room.
Maintaining a consistent gap between each piece is the secret to a polished gallery wall. For small 2R frames, a tight spacing of 1.5 to 2 inches (approximately 3.8 to 5 centimeters) is ideal; wider gaps will make the individual photos look disconnected. Use a physical spacer, such as a small block of wood or a cut piece of cardboard of the exact desired width, to ensure the distance between every single frame remains perfectly uniform across the entire grid or cluster.
Once the paper templates are perfectly positioned, use a spirit level and a measuring tape to mark the exact hanging points. Measure the distance from the top of each frame to its hanging hardware on the back, and transfer this measurement precisely onto the corresponding paper template on the wall. Double-check all alignments with your level before making any permanent marks or drilling holes, ensuring that your horizontal lines are perfectly flat and your vertical lines are completely plumb.
Hanging and Securing the Display Safely
Selecting the correct mounting hardware is critical for protecting both your walls and your cherished photo collection. For lightweight 2R frames mounted on drywall, high-quality adhesive strips can be a convenient option that avoids wall damage. However, you must carefully read the manufacturer’s packaging to verify the weight limits and surface compatibility, keeping in mind that high humidity can compromise adhesive bonds over time. Ensure the wall is thoroughly cleaned with isopropyl alcohol and allowed to dry completely before applying any adhesive.
If you are mounting your display on concrete, brick, or plaster walls, you will need to use a drill with a masonry bit to create precise pilot holes. Insert plastic wall plugs or anchors into the drilled holes before inserting screws, as this provides the necessary expansion grip to hold the weight securely. Always wear protective eyewear when drilling into masonry to shield your eyes from flying dust and debris.
Safety must always be your top priority during any home improvement project. Before drilling into any wall, use a multi-purpose wall scanner to check for hidden electrical wiring, water pipes, or structural steel. If you encounter unexpected resistance, hear unusual sounds, or suspect that a utility line runs behind your chosen layout area, stop working immediately and consult a qualified professional electrician or contractor to prevent hazardous accidents or costly structural damage.
Styling for Visual Balance and Cohesion
Achieving a cohesive look with small 2R photo albums depends heavily on your choice of framing and styling materials. Using matching frame colors—such as all matte black, clean white, or natural light oak—instantly unifies the diverse images inside the frames. If you prefer to mix different frame styles, maintain cohesion by using identical matting boards inside the frames, which provides a consistent border of white space around each tiny 2R photo and makes them stand out clearly.
Visual weight is another crucial design element to balance across your gallery wall. Darker frames, high-contrast photos, and thicker borders naturally carry more visual weight and draw the eye first. Distribute these heavier elements evenly throughout your layout rather than clustering them all on one side, which would make the arrangement look lopsided. Aim to intersperse lighter, softer images and delicate frames to create a harmonious rhythm that guides the viewer’s gaze smoothly across the entire display.
Finally, do not hesitate to break up the repetition of a strict photo grid by integrating small, non-photo decorative elements. A tiny wall-mounted vase with a single air plant, a small brass plaque, or a minimalist geometric wood carving can add rich texture and depth to the arrangement. These three-dimensional accents complement the flat surfaces of the 2R photos, transforming your gallery wall into a dynamic, curated art installation that reflects your personal style.
Frequently Asked Questions (FAQ)
Can I use adhesive hooks for 2R photo albums?
Yes, you can use adhesive hooks or strips for lightweight 2R photo albums and frames, provided you strictly follow the manufacturer’s weight limits and surface guidelines. However, adhesive performance can be highly sensitive to environmental conditions; high humidity, textured plaster, and freshly painted walls often cause adhesives to fail over time. To ensure a secure bond, clean the wall surface thoroughly with rubbing alcohol, let it dry completely, and press the adhesive firmly against the wall for the recommended duration. When removing the hooks, pull the adhesive tab slowly and straight down along the wall to prevent peeling off the paint or damaging the underlying plaster.
How high should the center of the gallery wall be?
The general standard for art galleries is to position the center of the overall arrangement at eye level, which is approximately 57 to 60 inches (145 to 152 centimeters) from the floor. If you are hanging the gallery wall above a piece of furniture, such as a sofa, console table, or sideboard, position the bottom edge of the lowest frames about 6 to 8 inches (15 to 20 centimeters) above the top of the furniture. This spacing ensures that the display feels visually connected to the room’s layout rather than floating awkwardly in isolation. Adjust these measurements slightly to match the average eye level of your household members for the most comfortable viewing experience.
What is the best way to clean 2R photo albums on the wall?
To clean your wall-mounted 2R photo albums and frames safely, use a soft, dry microfiber cloth or a static duster to gently remove surface dust without scratching the glass or frame materials. Always check the manufacturer’s care instructions before using any liquid cleaners, as harsh chemicals can strip protective finishes or seep into the frames. If a damp cloth is necessary to remove stubborn smudges, spray a tiny amount of water or specialized glass cleaner directly onto the cloth rather than spraying the frame itself. Avoid excess moisture at all costs, as liquid can easily seep behind the glass, warping the delicate 2R paper prints and damaging the wall’s paint.

Community discussion
Share your experience or ask a question. Comments are reviewed before publication.