
Arranging multiple 1000-piece puzzle frames into a cohesive gallery wall is an excellent way to transform your completed achievements into personalized home decor. Because 1000-piece puzzles are relatively large and heavy, hanging several of them together requires careful structural planning, precise measurements, and a clear layout strategy. By taking the time to plan your arrangement on the floor, create paper templates, and select the correct hardware for your wall type, you can create a secure, visually balanced display that enhances your living space.
To achieve a professional look, you must balance the visual weight of your puzzles, maintain consistent spacing, and ensure that each frame is mounted securely enough to withstand environmental factors like humidity and vibrations. Whether you prefer a clean, symmetrical grid or a more relaxed, organic arrangement, following a systematic installation process will protect your hard work and keep your walls looking beautiful.
Gather Your Tools and Measure Your Frames
Before you begin driving screws into your walls, you must gather the necessary tools and establish the exact dimensions of your framed puzzles. Having the right equipment on hand prevents mid-project delays and ensures your measurements remain precise throughout the installation process.
Products mentioned in this guide

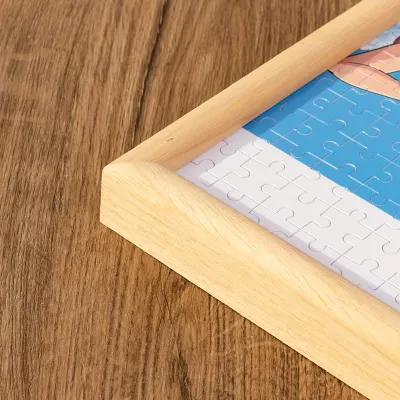

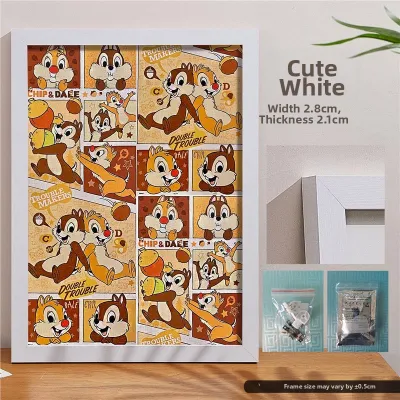
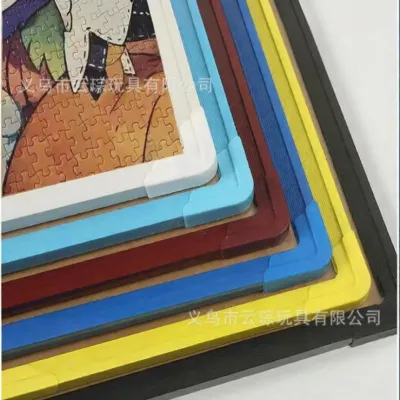
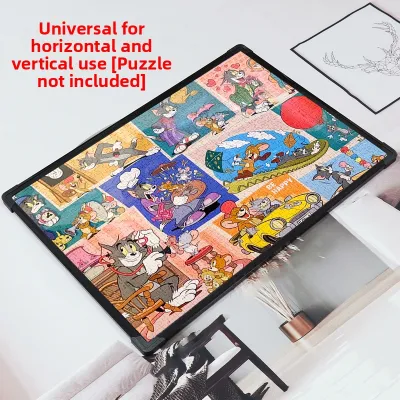
Prices are valid at publication and may change. Please refer to the product page for the latest price.
To complete this project, you will need the following essential tools:
- A metal measuring tape for precise dimensions
- A spirit level (at least 60 centimeters long) to ensure straight lines
- Low-tack painter's tape to mark boundaries without damaging paint
- A pencil for marking drill points
- Heavy-duty wall anchors and matching screws
- A power drill with drill bits matching your wall type
- Kraft paper, newspaper, or wrapping paper to create templates
- Scissors to cut out your templates
Once your tools are ready, measure the outer dimensions of each frame. Do not rely on the puzzle size listed on the box, as frame borders can add several centimeters to the overall width and height. Write down the exact height, width, and depth of each framed puzzle. Because 1000-piece puzzle frames can vary significantly by manufacturer, even frames designed for the same puzzle size may have slightly different outer dimensions.
Next, weigh each framed puzzle using a digital scale. The weight of the frame dictates the type of hanging hardware and wall anchors you must use. Glass-fronted frames are significantly heavier than those with acrylic or plastic fronts and require robust mounting solutions. Additionally, if you live in a tropical climate with high humidity, such as the Philippines, paper puzzles can absorb moisture over time, slightly increasing their weight and making them prone to warping if not sealed tightly. Ensure your frames have sturdy backing boards and consider adding a moisture-resistant backing seal to protect your puzzles from damp air.
Choose a Gallery Wall Layout Style
Selecting the right layout style depends on the number of puzzles you have, their orientations (portrait or landscape), and the overall aesthetic of your room. A well-chosen layout creates visual harmony and prevents the large frames from overwhelming your furniture.

For frames of identical sizes and orientations, a structured grid layout offers a clean, modern, and sophisticated look. This style works exceptionally well in formal dining rooms, hallways, or above symmetrical furniture arrangements. A grid layout requires absolute precision, as even a millimeter of misalignment will be highly visible. If you choose this style, aim for a consistent gap of 5 to 8 centimeters between each frame to keep the arrangement cohesive without looking cramped.
If your 1000-piece puzzles are a mix of horizontal and vertical orientations, or if you are using different frame styles, an organic or salon-style layout is more appropriate. This approach allows you to arrange frames of varying dimensions around a central focal point. To maintain balance in an organic layout, place the largest or visually heaviest puzzle near the center of the arrangement at eye level, then work outward with smaller or lighter frames. Keep the spacing between all frames relatively consistent to prevent the wall from looking cluttered.
When planning your layout, consider the room’s existing furniture and natural sightlines. The overall width of your gallery wall should generally not exceed two-thirds to three-quarters of the width of the furniture below it, such as a sofa or console table. This boundary ensures the arrangement feels anchored to the room rather than floating aimlessly on the wall.
Plan the Arrangement on the Floor
Testing your layout on the floor is a crucial step that allows you to experiment with different compositions without drilling unnecessary holes in your wall. This step helps you visualize the final look and make adjustments to the spacing and color balance.
Clear a large floor space that roughly matches the dimensions of your target wall. If you have hard floors, lay down a clean blanket or bedsheet to protect your frames from scratches. Arrange your physical frames on the floor, moving them around to find the most pleasing composition. Pay close attention to the colors and themes of the puzzles; avoid clustering dark, high-contrast images on one side, as this can make the gallery wall feel lopsided. Instead, distribute vibrant and muted puzzles evenly across the layout.
Because lifting and moving heavy, glass-fronted 1000-piece frames repeatedly can be tiring and carries a risk of accidental damage, you can use paper templates for the planning phase. Trace the outline of each frame onto kraft paper or newspaper and cut them out. Write the name or a quick description of the puzzle on each paper template so you can easily identify them. You can then arrange these lightweight paper sheets on the floor, adjusting their positions until you achieve a perfectly balanced design.
Take a photograph of your finalized floor arrangement from a high angle. This photo will serve as your visual reference guide when you begin transferring the layout to the wall.
Transfer the Layout to the Wall
With your floor plan finalized, you can now transfer the arrangement to the wall surface using your paper templates and temporary markers. This step ensures that your physical frames will hang exactly where you planned.
Start by establishing a horizontal baseline or a center anchor point on the wall. Use your measuring tape to find the center of the wall space or the center of the furniture below. Mark this point lightly with a pencil. Next, use your spirit level and a long strip of painter’s tape to project a perfectly straight horizontal line across the wall. This line will serve as your guide to keep the entire arrangement level.
Take your paper templates and locate the hanging hardware on the back of each corresponding frame. Measure the distance from the top edge of the frame to the exact point where the nail or screw will catch the hanger (such as the apex of a hanging wire, a D-ring, or a sawtooth hanger). Mark this exact hanging point on your paper template. This step is critical, as hanging hardware is rarely aligned perfectly with the top of the frame.
Using low-tack painter’s tape, stick your paper templates to the wall, aligning them with your baseline and maintaining your planned spacing. Step back several meters to evaluate the arrangement from different angles in the room. Check that the templates are level and that the overall composition feels balanced in relation to the surrounding furniture and lighting. Once you are completely satisfied with the placement, use a pencil to mark the drill points directly through the hanging marks you made on the paper templates.
Hang the Frames Safely and Securely
Mounting heavy 1000-piece puzzle frames securely is essential for safety, especially in high-traffic areas or regions prone to environmental vibrations. Choosing the correct hardware for your specific wall material is the key to a long-lasting installation.
Identify your wall material before drilling. In many homes, interior walls are constructed from solid concrete, hollow concrete blocks, or plaster over brick. In newer condominiums, drywall is also common. For concrete or masonry walls, you must use a hammer drill with a masonry drill bit, insert plastic wall plugs (often referred to locally as tox plugs), and drive sturdy screws into the plugs. For drywall, use heavy-duty toggle bolts or threaded drywall anchors that can support the verified weight of your frames. Investing a few ₱ in high-quality, weight-rated anchors is a small price to pay to prevent a heavy frame from falling and shattering.
When you are ready to install the hardware, drill pilot holes at your marked pencil points. Always wear safety goggles to protect your eyes from dust and debris. If you encounter unexpected resistance while drilling, or if you are working near light switches, electrical outlets, or plumbing lines, stop immediately. You may have hit a structural stud, a metal plate, or utility conduit. In such cases, consult a qualified professional to ensure you do not damage your home’s electrical or plumbing systems.
Once the anchors and screws are securely installed, remove the paper templates from the wall. Carefully hang your puzzle frames onto the screws. Place your spirit level on top of each frame to verify that it is perfectly horizontal. If a frame is slightly tilted, you can make minor adjustments to the hanging wire or adjust the position of the hardware on the back of the frame until it sits perfectly level.
Frequently Asked Questions (FAQ)
How do I prevent puzzle frames from shifting or tilting over time?
To prevent your puzzle frames from shifting when doors slam or during minor household vibrations, use two hanging points instead of a single central hook. Installing two D-rings or hooks spaced evenly on the back of the frame distributes the weight more effectively and keeps the frame from pivoting. Additionally, apply small adhesive rubber bumpers or a small pea-sized amount of museum putty to the bottom two corners of each frame. This not only stabilizes the frame and keeps it perfectly level, but it also creates a small gap between the frame and the wall, which promotes air circulation and prevents moisture buildup in humid environments.
What is the ideal height to hang a gallery wall above furniture?
When hanging a gallery wall above a sofa, console table, or headboard, the bottom edge of the lowest frames should sit approximately 15 to 20 centimeters above the top of the furniture. This spacing prevents the arrangement from looking crowded and ensures that people sitting on a sofa do not accidentally bump their heads against the frames. If you are hanging the gallery wall on an open, empty wall without any furniture below it, the center of the overall arrangement should sit at average eye level, which is typically between 140 and 150 centimeters from the floor. Adjust this height slightly depending on your ceiling height and the proportions of your room.

Community discussion
Share your experience or ask a question. Comments are reviewed before publication.