
Setting up a complete gaming room ambient experience requires careful planning and execution. A 20m run of LED strip lights offers enough length to cover the entire perimeter of a standard room, but executing this layout successfully involves more than just sticking the tape to the wall. You must consider the structural layout, voltage requirements to prevent dimming, and proper installation techniques to ensure longevity. By selecting the right led lights strip light 20m and mapping your power sources, you can transform your gaming space into an immersive, responsive environment.
Assessing Your Gaming Room Perimeter for a 20m Layout
To maximize the impact of a 20m layout, start by mapping the physical boundaries of your room. A standard bedroom or dedicated gaming room in the Philippines often measures around 3 by 3 meters or 4 by 3 meters. This means a 20-meter strip is highly versatile: it can cover a complete upper ceiling perimeter (12 to 14 meters) with enough length left over to run down a corner and back-light a primary desk setup or baseboard area.
Use a physical measuring tape or a long piece of string to trace the exact path where you plan to mount the lights. Do not simply estimate the floor dimensions; you must account for vertical drops, door frames, window alcoves, and any architectural features like ceiling coves or bulkheads. If you plan to route the strip behind a wall-mounted monitor or around the edges of a custom gaming desk, measure these segments individually and add them to your total.
Products mentioned in this guide
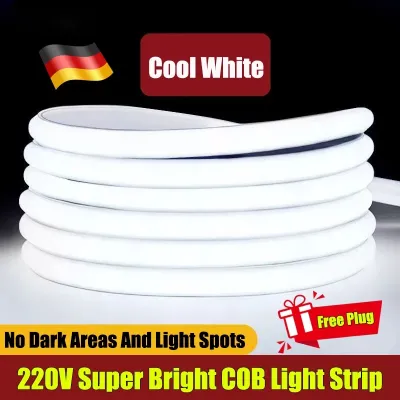
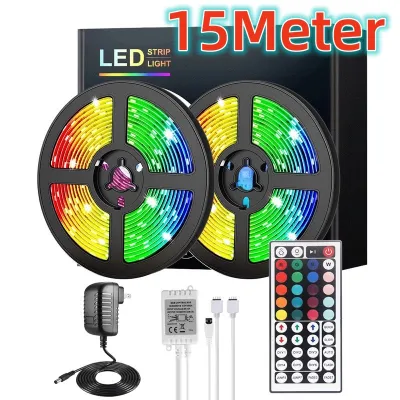
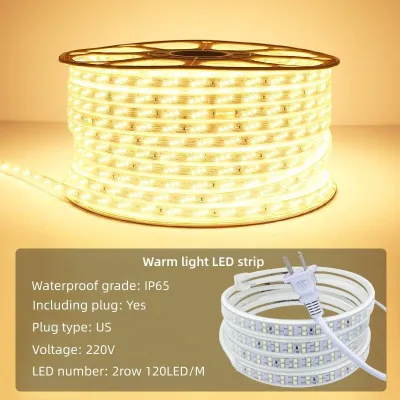

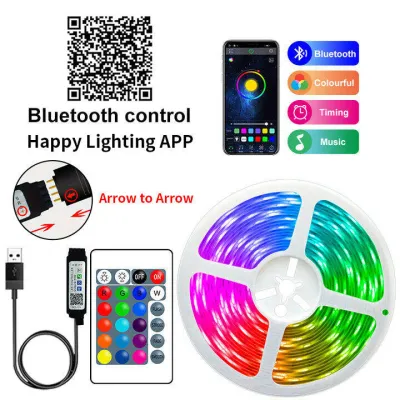
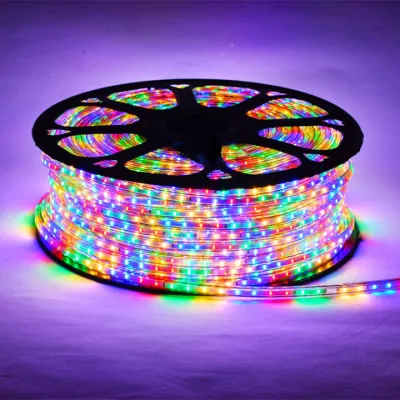
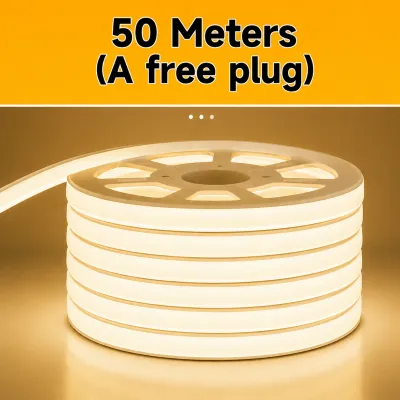
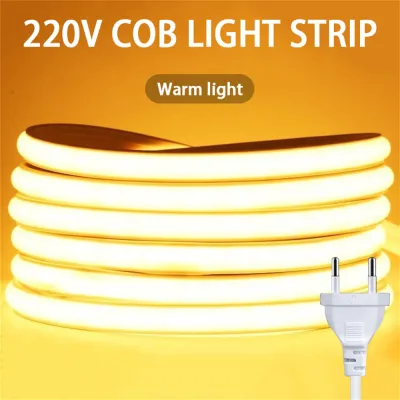
Prices are valid at publication and may change. Please refer to the product page for the latest price.
Identify the locations of your electrical outlets early in the planning stage. The start of your LED strip must connect to a controller and a power adapter, which need to plug into a wall outlet or an extension terminal. Plan your starting point so that the bulky power brick and receiver can be tucked away out of sight—such as behind a desk, inside a cable management tray, or behind a monitor mount—while remaining accessible for manual control or troubleshooting.
Always add a 10% to 15% buffer to your final measurements. When navigating 90-degree corners, routing around obstructions, or accounting for slight deviations along uneven walls, you will naturally lose some usable length. If your measured path is exactly 20 meters, a single 20m kit might fall slightly short once you account for these physical adjustments. Having a buffer ensures you can complete the run without leaving awkward, unlit gaps in your gaming setup.
Choosing the Right led lights strip light 20m for Immersive Ambiance
Selecting the appropriate hardware is critical for achieving a seamless, high-performance lighting setup over a long distance. Not all LED strips are engineered equally, and choosing the wrong specifications can lead to disappointing visual performance or electrical issues.

RGB vs. RGBIC for Multi-Zone Effects
Standard RGB strip lights connect all the light-emitting diodes in a parallel circuit, meaning the entire 20-meter length can only display one solid color at any given moment. While this is suitable for basic single-color washes, it lacks the dynamic motion required for a true gaming aesthetic. In contrast, RGBIC (also known as addressable RGB or ARGB) strips feature independent control chips embedded along the strip. This technology allows different segments of the same strip to display different colors simultaneously. For a gaming room, RGBIC is highly recommended because it enables multi-zone effects, fluid color chasing, gradient transitions, and localized reactive lighting that can sync with your gameplay or music.
12V vs. 24V Systems for Long Runs
Running low-voltage direct current over a 20-meter distance introduces a physical challenge known as voltage drop. As electrical current travels through the thin copper traces of an LED strip, the inherent resistance of the metal causes the voltage to decrease gradually. On a standard 12V system, this often manifests as noticeable dimming, flickering, or incorrect color reproduction (such as fading to a dull red or yellow) toward the far end of the 20-meter run. To prevent this, look for 24V LED strip systems. Because 24V systems operate at a higher voltage, they carry current more efficiently over longer distances, maintaining consistent brightness from the first LED to the very last. Alternatively, if you are using a 12V system, you must plan for power injection—running separate power wires from the power supply directly to both ends of the strip to balance the voltage.
Cuttable and Linkable Designs
Gaming rooms rarely consist of perfectly straight, uninterrupted walls. You will likely need to navigate around door frames, built-in closets, or sharp desk edges. Ensure your chosen kit features clearly marked cut points, which are typically indicated by copper pads and a scissor icon spaced every few centimeters. Cutting the strip anywhere else will permanently damage that segment. To bridge these cuts around obstacles, use solderless linkable connectors, such as L-shaped corner adapters or flexible gap jumpers. This allows you to maintain electrical continuity across irregular room shapes without having to solder delicate connections.
Step-by-Step Installation Guide for Full Room Coverage
Installing a comprehensive 20-meter layout requires a systematic approach to ensure the adhesive holds permanently and the electrical components remain safe. Before starting, always isolate the power by keeping the system unplugged from the wall. Read the manufacturer’s instruction manual thoroughly to verify the specific voltage limits, wattage requirements, and any environmental restrictions of your specific LED kit.
Surface Preparation
One of the most common causes of LED strip failure is adhesive peeling, which is particularly prevalent in humid tropical climates like the Philippines. Before removing the adhesive backing, clean the mounting surface thoroughly. Wipe down the walls, ceiling edges, or desk surfaces with 70% isopropyl alcohol and a lint-free cloth to remove accumulated dust, grease, and moisture. Avoid using household glass cleaners or multi-purpose sprays, as they can leave behind a thin residue that prevents the adhesive from bonding. Allow the surface to dry completely before applying the strip.
Navigating Corners
Never bend an LED strip at a sharp 90-degree angle to turn a corner. Doing so creases the flexible printed circuit board, which can sever the internal copper traces and cause the entire section beyond the bend to fail. Instead, use L-shaped solderless corner connectors to join two cleanly cut segments at a perfect right angle. If you prefer not to cut the strip, you can use a loop-back technique or a ribbon fold, where you create a loose, rounded loop at the corner to change direction without putting physical stress on the copper pads.
Power and Controller Placement
Route your extension cables carefully to keep the power adapter and control receiver hidden from view. The power brick for a 20m LED strip converts high-voltage alternating current to low-voltage direct current, a process that naturally generates heat. Mount the power supply in a well-ventilated area—never inside a sealed drawer, behind heavy curtains, or directly against soft, flammable fabrics. If you are mounting the controller behind a desk or monitor, ensure it remains within range of its wireless signal, whether that is line-of-sight infrared, Bluetooth, or Wi-Fi.
Safety Boundaries
Before powering on the system, double-check all electrical connections. Verify that the total wattage of your 20-meter LED strip does not exceed the maximum output capacity of your power supply. As a safety standard, apply the “80% rule”: the power supply’s rated wattage should exceed the strip’s total power draw by at least 20% to prevent overheating and excessive heat generation. If your installation requires working at heights to reach ceiling coves, use a stable ladder and have a second person assist you. If you plan to connect the system to fixed household wiring, always shut off the circuit breaker and consult a qualified professional.
Optimizing Lighting Effects for Gaming Setups
Once your hardware is securely installed, the next step is optimizing the placement and settings to create an immersive gaming environment without causing physical discomfort. Poorly positioned lights can degrade your gaming experience by creating distracting reflections or causing eye strain.
To prevent screen glare, avoid placing exposed LED beads directly in your line of sight or facing your monitor screen. Directly visible LEDs can reflect harshly off glossy screen coatings and cause visual fatigue during long gaming sessions. Instead, aim for indirect lighting. Position the strips facing the wall behind your desk (bias lighting) or tuck them inside a ceiling cove or behind a valance. This creates a soft, diffused glow that bounces off the walls, expanding your perceived field of view and reducing the contrast between a bright screen and a dark room.
When configuring your lighting profiles, consider matching the color temperature and hues to the genre of the game you are playing. These aesthetic pairings are highly subjective and serve as conditional personal preferences rather than absolute rules. For instance, cool blues, deep purples, and cyans can enhance the futuristic, atmospheric mood of sci-fi or horror games. Conversely, warm oranges, vibrant reds, and amber tones can complement the high-energy pacing of racing, action, or fighting games. For productivity or general PC use, a neutral white light can help maintain focus.
To maximize immersion, leverage the smart features of your lighting system to sync the LEDs with your gameplay. Many modern smart lighting ecosystems offer screen-mirroring software that analyzes the dominant colors on your monitor in real-time and projects matching hues onto the wall behind your setup. Alternatively, you can use audio-reactive modes, which utilize the controller’s built-in microphone to pulse and transition the lights in sync with game audio, explosions, or soundtrack beats.
Troubleshooting Common Long-Run LED Issues
Operating a 20-meter LED strip installation can occasionally present technical challenges due to the physical length of the circuit and environmental conditions. Knowing how to diagnose and resolve these issues will keep your gaming room looking its best.
Voltage Drop
If you notice that the LEDs at the far end of your 20-meter run are significantly dimmer or displaying a different color than the beginning of the strip, you are experiencing voltage drop. To resolve this, you can install an inline RGB/RGBIC amplifier mid-way through the run, which requires an additional power supply to boost the signal and voltage. Alternatively, you can run a parallel power cable (power injection) from the main power supply to the end of the strip, ensuring equal electrical pressure across the entire circuit.
Adhesive Failure
The high humidity levels typical in the Philippines can cause standard adhesive backings to degrade over time, leading to sagging or peeling strips. If your lights begin to pull away from the wall or ceiling, do not rely solely on the original adhesive. Secure the sagging sections using clear silicone mounting clips or heavy-duty, double-sided acrylic mounting tape designed specifically for electronics. These clips screw or stick firmly to the surface, providing physical support that resists humidity and temperature fluctuations.
Connection Errors
If a segment of your strip fails to light up or displays incorrect colors after you have cut and reconnected it, the issue is likely a pin alignment error. Inspect the solderless connectors and ensure that the positive voltage channel (marked as +12V or +24V) on one segment aligns perfectly with the positive channel on the adjacent segment. If the arrows on the connector do not match the voltage indicators on the strip, the circuit will fail to complete, resulting in dead zones or erratic color behavior.
Frequently Asked Questions (FAQ)
Can I connect two 10m LED strips together to reach 20m?
You can connect two 10m LED strips together only if your controller and power supply are specifically rated to handle the combined electrical load. Connecting two strips in a single continuous line (daisy-chaining) increases the current draw. If the power supply is only rated for a single 10m strip, overloading it can cause the adapter to overheat, fail, or pose a fire hazard. Always check the manufacturer’s specifications for maximum continuous run limits and total wattage capacity before joining multiple strips.
Will a 20m LED strip significantly increase my electricity bill?
Modern LED strip lights are highly energy-efficient compared to traditional incandescent or fluorescent lighting. To understand the impact on your electricity bill, you can calculate the consumption using a simple framework. A typical 20-meter LED strip consumes approximately 100 watts of power at maximum brightness. If you operate the lights for 5 hours a day, the daily consumption is 0.5 kilowatt-hours (kWh). Based on typical utility rates in the Philippines, such as Meralco’s average rate of approximately ₱11 to ₱12 per kWh, running your gaming lights daily will cost roughly ₱5.50 to ₱6.00 per day. This equates to less than ₱180 per month, making it an affordable way to maintain a premium gaming ambiance.
Community discussion
Share your experience or ask a question. Comments are reviewed before publication.