
Planning ambient lighting for a space-constrained condo gaming room requires balancing visual impact with practical limitations like power access, heat dissipation, and cable management. By carefully measuring your setup, choosing the correct voltage, and preparing your surfaces, you can achieve a clean, immersive gaming environment. This guide walks you through the essential steps to plan, select, and install LED strip lights safely and effectively in your compact space.
Assessing Your Gaming Room Layout and Power Access
Before purchasing any lighting equipment, you must evaluate the physical layout of your condo gaming room. Space is often at a premium in high-rise units, meaning every centimeter of your desk, monitor setup, and shelving must be accounted for. Use a flexible measuring tape to determine the exact perimeter of your gaming desk, the back edges of your monitors, and any display shelves where you want to add accent lighting. Sum these measurements to find the total length of LED strips required, keeping in mind that buying slightly more than needed is safer than running short.
Next, map out your power sources. Condo rooms frequently have limited wall outlets, which may already be crowded with your gaming PC, console, and monitors. Identify where the nearest available outlet is located and plan how you will route the power cables. You will need to allocate space behind your desk or inside a cable management box to hide bulky power adapters and controllers.
Products mentioned in this guide
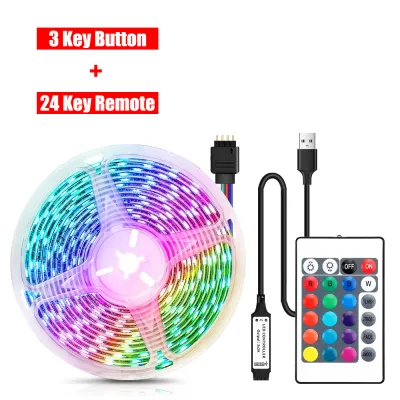
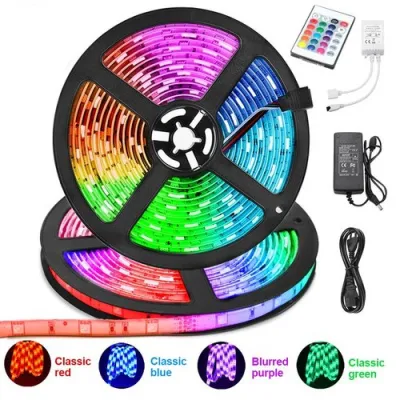
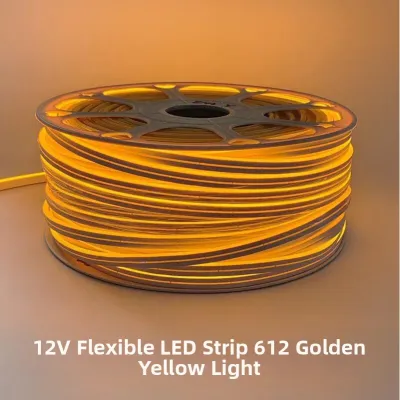
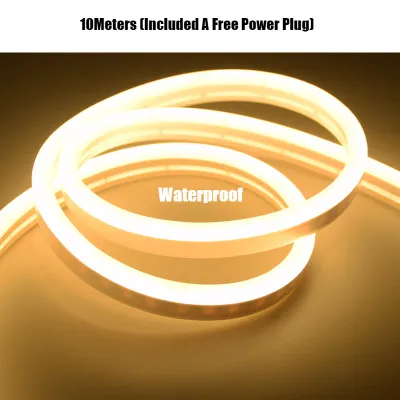
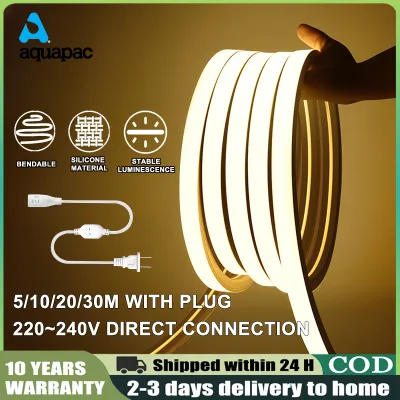
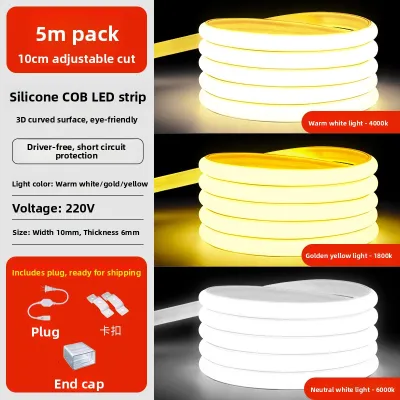

Prices are valid at publication and may change. Please refer to the product page for the latest price.
Finally, inspect the surfaces where you plan to mount the lights. Adhesive backings require smooth, non-porous surfaces like finished wood, metal, or plastic to bond securely. If your condo features textured concrete walls, matte paint, or unfinished wood, the adhesive may fail over time, especially in warm, humid tropical climates. Identifying these surface limitations early allows you to plan for alternative mounting solutions.
Choosing the Right LED Strip Lights for a Compact Setup
Selecting the right LED strip lights involves understanding key technical specifications to ensure compatibility with your space and electrical setup. A primary decision is choosing between standard RGB and addressable RGBIC options. Standard RGB strips light up the entire strip in a single color at a time, which is excellent for uniform backlighting. In contrast, RGBIC strips feature independent control zones, allowing multiple colors to run along the same strip simultaneously. This dynamic zoning adds significant visual depth, making small gaming setups feel much larger and more immersive.

You must also verify the voltage requirements of your chosen lights. Low-voltage options typically include 5V USB-powered strips, which can plug directly into your PC or monitor ports, reducing the need for an extra wall outlet. However, these are generally shorter and less bright. For longer runs or brighter illumination along desk edges, 12V or 24V adapter-powered strips are necessary. Always check the manufacturer’s product label to confirm the wattage draw and ensure your power source can safely handle the load without overloading.
For indoor condo environments, check the IP (Ingress Protection) rating on the packaging. A rating of IP20 is standard and perfectly suitable for dry, indoor gaming rooms, as it does not have heavy, heat-trapping silicone waterproofing sleeves that can degrade in warm rooms. Additionally, look for a high Color Rendering Index (CRI) of 80 or above to ensure the colors look natural, and consider how the color temperature matches your existing room decor to minimize screen glare and eye fatigue during long gaming sessions.
Essential Tools and Preparation Steps
A successful installation depends heavily on preparation. Before you begin, gather your essential tools: a measuring tape, a pair of sharp scissors, microfiber cloths, and isopropyl alcohol. Having these items on hand prevents interruptions and ensures a cleaner application.
Start by thoroughly cleaning all mounting surfaces. Dust, oils, and residues from daily use will quickly compromise the adhesive backing of your LED strips, causing them to sag or fall off. Wipe down the back of your monitors, desk edges, and shelves with a microfiber cloth dampened with isopropyl alcohol. Allow the surfaces to dry completely before proceeding.
Before peeling off any adhesive backing, temporarily lay out your LED strips along their intended paths. This dry run allows you to map out the routing of power cables and controllers, ensuring they can reach your outlets without stretching or creating visible wire clutter. It also helps you verify that the strip fits perfectly within your designated zones.
Step-by-Step Installation Guide for Gaming Zones
To achieve a professional look, break down your installation into specific functional zones. This systematic approach helps you maintain a logical workflow, prevents adhesive mistakes, and ensures that each lighting element serves its intended purpose.
Monitor and TV Backlighting
Adding backlighting behind your screens, also known as bias lighting, reduces eye strain by balancing the contrast between the bright display and the dark room. Begin by measuring the back perimeter of your monitor or TV. Ensure the planned path does not block ventilation grilles, cooling ports, or input jacks, as covering these can cause your display to overheat or restrict access to your cables.
When applying the strip, press firmly but gently along the flat surfaces. When reaching the corners, do not bend the strip at a sharp 90-degree angle, as this can crack the delicate internal copper circuitry. Instead, create a small, loose loop at each corner or use specialized corner connectors to change direction safely.
Once the strip is secured, route the power cable down the monitor stand. Use discreet adhesive clips or hook-and-loop straps to keep the cable flush against the stand, preventing it from dangling visibly behind your desk.
Desk Edges and Shelving Accents
For desk edges and display shelves, the goal is to see the light effect rather than the individual LED chips. Mounting the strips under shelf lips or beneath the back edge of your desk creates a soft, indirect glow. If your desk setup exposes the strip directly to your line of sight, consider installing aluminum diffuser channels. These channels feature frosted covers that soften the light output, protect the strip from physical damage, and assist with heat dissipation.
When trimming the strips to fit your exact desk or shelf dimensions, you must follow the manufacturer’s designated cut lines. These are clearly marked with copper pads or scissor icons along the strip. Cutting anywhere else will permanently break the electrical circuit, rendering that section of the strip useless.
Cable Management and Final Safety Checks
With the lights in place, the final phase is securing the wiring and verifying electrical safety. Use cable sleeves, plastic raceways, or adhesive wire clips to bundle and hide power cables along desk legs and baseboards. Keeping cables off the floor not only looks cleaner but also prevents accidental trips or damage from vacuum cleaners.
Next, perform a safety check. Plug in the power adapter and let the lights run for a few minutes. Touch the adapter to ensure it is not overheating; it should feel warm but never hot to the touch. Verify that the total wattage of your connected strips does not exceed the rated capacity of your power adapter or wall outlet.
Inspect all cut points to ensure they are clean and that no exposed copper contacts are touching metal desk frames, which could cause a short circuit. Finally, test your controller or smart app integration. Verify that color syncing, dimming functions, and power memory settings work correctly, allowing you to easily adjust the ambiance to match your gaming sessions.
When to Call a Professional
While installing plug-and-play LED strips is a safe and straightforward DIY project, certain scenarios require professional expertise. If your lighting plan involves altering your condo’s fixed electrical wiring, installing new hardwired wall switches, or routing cables behind drywall, you must stop and hire a licensed electrician.
Complex installations, such as integrating LED strips into ceiling cove molding or setting up high-voltage step-down transformers, also require professional handling to ensure compliance with local electrical codes. Additionally, always review your condo association’s house rules and regulations regarding electrical modifications before making any permanent changes to the property.
Frequently Asked Questions (FAQ)
Can I cut LED strip lights to fit my small desk?
Yes, you can cut LED strip lights, but you must only do so at the designated cut points. These points are typically marked with copper pads or small scissor icons spaced at regular intervals along the strip. Cutting outside of these marked zones will sever the internal electrical pathways, causing the remaining section of the strip to stop working entirely.
Will the adhesive damage my rented condo furniture or walls?
Strong adhesives, such as those found on standard LED strips, can peel paint, tear wallpaper, or damage delicate wood veneers when removed. If you are renting your condo, consider mounting the strips inside aluminum channels secured with removable mounting tape, or use light-duty adhesive clips. These alternatives provide a secure hold without risking your security deposit when it is time to move out.
Community discussion
Share your experience or ask a question. Comments are reviewed before publication.