
Achieving a clean, gallery-style look with magnetic photo display layouts requires a thoughtful balance of consistent spacing, planned alignment, and controlled visual weight. Unlike traditional framed galleries that require drilling multiple holes for every single picture, a magnetic system offers incredible flexibility to swap and rearrange memories. However, without a clear layout strategy, this flexibility can easily lead to a cluttered, disorganized appearance. By establishing a structured plan before placing your first magnet, you can transform a random collection of prints into a sophisticated, intentional design feature.
Planning Your Magnetic Gallery Wall Layout
Before purchasing materials or printing your favorite images, you must define the visual goal and assess the physical capacity of your display area. Start by measuring the exact dimensions of your magnetic board or wall panel. Every magnetic surface has a specific weight limit, which is determined by both the thickness of the metal sheet and the mounting system holding it to the wall. Overloading a weak magnetic surface with heavy glass-fronted magnetic frames can cause the entire display to slide or sag, so keeping the weight of your display elements in mind from the start is essential.
Your choice of gallery style should complement the overall design of the room. A structured grid layout, featuring identical photo sizes aligned in perfect rows and columns, offers a modern, minimalist aesthetic that works well in formal living areas or home offices. Alternatively, an organic salon layout, which groups various photo sizes around a central focal point, provides a more relaxed, creative feel suitable for family rooms or hallways. Whichever style you prefer, treat it as a conditional design choice that should harmonize with your existing furniture and wall space.
Products mentioned in this guide
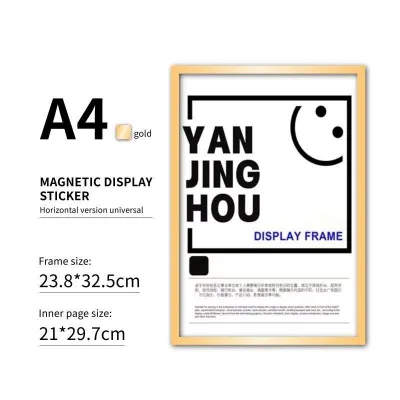
29 Lazada user ratings
price is good. the magnetic frame is surprisingly easy to use and it actually holds the photos in place within the frame because of the magn…Read full reviewShow less
price is good. the magnetic frame is surprisingly easy to use and it actually holds the photos in place within the frame because of the magnet. I will order again soon.
😍🥰😍🥰😍🥰😍🥰😍🥰😍🥰😍🥰😍🥰😍🥰not yet tried hopefully it will serves itsnpurpose.
maganda at maayos ang dikit flat sya sa wall
🔍Quality:Excellent quality
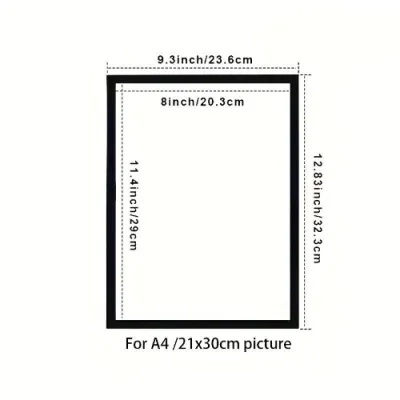
12 Lazada user ratings
💰Price:sulit 🎨Design:very nice 🛡️Safety:very safe 🔍Quality:good quality ok sya sulit sa bayad Para sa displays ng mga pictures sa wall
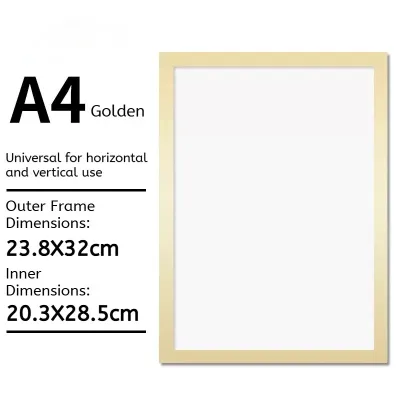
11 Lazada user ratings
Na idisplay ko din ang mga pics nila ng d nagpupukpok hehehe no need gumastos sa frame..will buy more
Suitability: Good Quality: Good Appearance: Nice The clear side is matte than glossy.
Quality: good Suitability: nice Appearance: fast ship🥰
Quality:Good Size:Good Design:Good 🎨 Design:Good
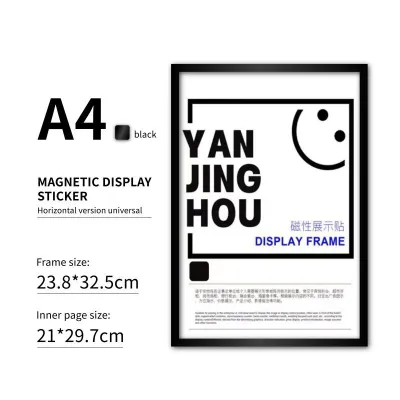
96 Lazada user ratings
No holes needed, Transparent cover,
Fast shipping, Durable material,
Strong magnet, Great for office,
🔍Quality:Clear display,
Good quality,
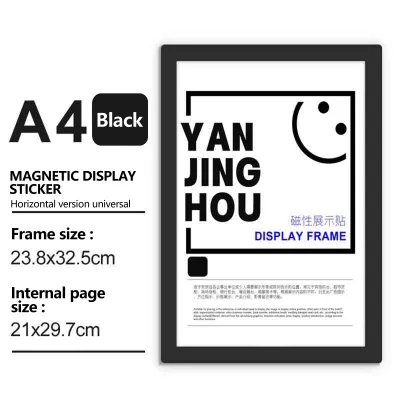
510 Lazada user ratings
Flexible design, Perfect for certificates, THANKYOUUUUU ILOVEYOUR ITEM! COMPLETE ND SECURED PACKAGING! ❤️❤️❤️❤️ Ang pagpapanatili ng kaayusan sa ka…Read full reviewShow less
Flexible design, Perfect for certificates, THANKYOUUUUU ILOVEYOUR ITEM! COMPLETE ND SECURED PACKAGING! ❤️❤️❤️❤️ Ang pagpapanatili ng kaayusan sa kalsada ay mahalaga, ngunit hindi dapat maging dahilan upang basta na lamang alisin ang mga vendor na umaasa sa pagtitinda para mabuhay. Kailangang magkaroon muna ng makatao, malinaw, at abot-kayang alternatibo bago tuluyang ipatupad ang pagbabawal.
i love this magnetic frame always need it at schoolStrong magnet, Fast shipping, No holes needed, Durable material, 💰Price: cheap 🎨Design: e…Read full reviewShow less
i love this magnetic frame always need it at schoolStrong magnet, Fast shipping, No holes needed, Durable material, 💰Price: cheap 🎨Design: estitek 🛡️Safety: 10/10 🔍Quality: 10/10
very nice. true to their words 4 plus free 1. i received 5, when i ordered 4. thank you 🔍Quality:nice 🎨Design:simple yet elegant 💰Price:is r…Read full reviewShow less
very nice. true to their words 4 plus free 1. i received 5, when i ordered 4. thank you 🔍Quality:nice 🎨Design:simple yet elegant 💰Price:is right
Flexible design, Durable material, Clear PVC cover, easy to handle worth it ang perang pinambili
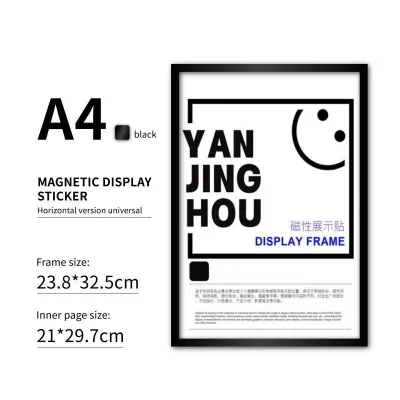
1,858 Lazada user ratings
Great for displaying photos and cards, The magnetic feature is convenient, Available in multiple attractive colors, Easy to use and install,…Read full reviewShow less
Great for displaying photos and cards, The magnetic feature is convenient, Available in multiple attractive colors, Easy to use and install, High-quality PVC material, High-quality PVC material,
Available in multiple attractive colors, Transparent pattern looks elegant, Easy to use and install, Traditional style complements any decor…Read full reviewShow less
Available in multiple attractive colors, Transparent pattern looks elegant, Easy to use and install, Traditional style complements any decor,
Versatile and stylish design, High-quality PVC material, Great for displaying photos and cards,
2,590 Lazada user ratings
I would like to preface that for its price point, it is a very good product. It came in a pouch with zero packaging and it was just stacked …Read full reviewShow less
I would like to preface that for its price point, it is a very good product. It came in a pouch with zero packaging and it was just stacked like the attached image. Luckily, there was no damage but that is most likely because I ordered 10 and 10 stacked together is hard to bend. Other people in the reviews had their item damaged. The frame itself works for its intended purpose. However, I used my own double sided tape since the free one it came with is too large and may become a mess in the future. Around 1-2 corners of each frame are oddly cut. Based on how it looks, it seems very handmade. The display image in the listing is misleading because it says buy 5 and get 1 free. I bought 10 and got nothing free. The positive note is that it does what I want it to do and the magnets work. The posters I had were A5 and the fitting was exact so their sizing is accurate. The product is cheap so quality control does not matter much.
Perfect for certificates, Photos of my kids kesa nasa album lng. magnetic frame, easy to put photos... thanks sa seller, i'll order again
Magnetic display sticker, Office or home decoration, Perfect for certificates, Perfect for certificates,
Magnetic displays sticker, Perfect for cthertificates, it's 👍 good thank u seller
Prices are valid at publication and may change. Please refer to the product page for the latest price.
Because a large magnetic board can be heavy, secure wall mounting is critical to prevent accidents. When installing the board itself, always follow the manufacturer’s instructions regarding hardware and weight capacities. For drywall installations, use a stud finder to secure the mounting brackets directly into wooden studs, or use heavy-duty toggle bolts if studs are unavailable. If you are mounting the board onto concrete or masonry walls, which are common in many homes, ensure you use appropriate masonry wall plugs and screws. Always isolate the power in the room before drilling near light switches or electrical outlets, and consult a qualified professional installer if you are working with oversized panels or are unsure of your wall’s structural integrity.
Essential Tools and Materials for Magnetic Displays
Executing a precise layout requires having the right tools on hand before you begin. For the magnetic attachments, you can choose between magnetic frames, magnetic clips, or bare heavy-duty magnets. Magnetic frames offer the cleanest look by enclosing the photo and protecting the edges from curling, while minimalist magnetic clips or small disc magnets expose the raw texture of the paper. Whichever option you select, verify that the magnet’s pull force is strong enough to hold both the weight of the photo and its backing securely against the board.

To plan and measure the layout accurately, gather a few basic drafting tools. You will need high-quality painter’s tape, which allows you to mark boundaries and alignment lines without leaving a sticky residue or damaging your walls. A reliable measuring tape and a spirit level are indispensable for ensuring your lines are perfectly horizontal and vertical. Additionally, keeping a roll of lightweight kraft paper on hand allows you to cut out full-scale templates of your photos, which can be taped to the wall to test the arrangement before handling the actual prints.
Preparing the photos themselves is just as important as choosing the right magnets. Standard photo prints can be flimsy and prone to bending, especially in humid environments. To prevent the corners from curling over time, mount your prints onto rigid, acid-free cardstock backing before displaying them. If you prefer not to mount them permanently, placing the photos inside clear, protective archival sleeves is an excellent alternative that shields the images from dust, fingerprints, and moisture while maintaining a flat, crisp appearance.
Step-by-Step Guide to Arranging Your Photos
Transforming a blank magnetic board into a curated gallery is best approached as a systematic, three-phase process. By prototyping your layout on a flat surface first, measuring precise spacing rules, and then executing the physical transfer to the wall, you eliminate guesswork and minimize the risk of damaging your prints through repeated handling.
Step 1: Map Out the Layout on the Floor
Begin by clearing a flat floor space directly in front of or near your magnetic wall. Using your painter’s tape, outline a border on the floor that matches the exact dimensions of your magnetic board’s usable surface area. This temporary floor template serves as a safe, low-risk testing ground where you can experiment with different arrangements without constantly lifting and dropping heavy magnets on the actual wall.
Lay out your photos, frames, and magnetic clips within this taped boundary to test the visual balance. Mix your portrait and landscape orientations to see how they interact, placing larger or more colorful prints near the center to anchor the design. Take your time to adjust the positions, checking that you do not have a heavy cluster of dark images in one corner or awkward, uneven gaps that disrupt the flow. Once you are satisfied with the arrangement, take a quick photograph of the floor layout from directly above to use as a visual reference during the final installation.
Step 2: Establish Alignment and Spacing Rules
To achieve a truly professional, gallery-style look, you must establish strict spacing and alignment rules. Decide on a consistent spacing metric to separate each item; a distance of 2 to 3 inches (approximately 5 to 7.5 centimeters) between frames is generally ideal for maintaining a clean look without making the display feel disconnected. Use your measuring tape to ensure this distance remains uniform between every single photo, whether they are arranged horizontally or vertically.
Next, choose an alignment anchor that fits your selected gallery style. For a structured grid, align all outer edges to form a perfect square or rectangle. For an organic salon style, establish a central horizontal or vertical axis line through the middle of the layout, and align the inner edges of your photos to this line. Once your spacing and alignment are perfected on the floor, place strips of painter’s tape across the floor layout to lock the positions in place and serve as a physical guide for the transfer process.
Step 3: Transfer and Attach to the Magnetic Wall
With your floor plan finalized, it is time to transfer the arrangement to the magnetic board. Use your spirit level and measuring tape to find the exact center of your magnetic board, and mark this starting anchor point lightly with a small piece of painter’s tape. If you are using a top-line or bottom-line alignment strategy, use the level to run a straight horizontal line of painter’s tape across the board to act as your visual guide.
Begin transferring the photos from the floor to the wall, working systematically from the center outward or from the top down. This method ensures that any minor measuring discrepancies are pushed to the outer edges where they are less noticeable, rather than accumulating in the middle of the display. As you place each photo, verify its alignment with your spirit level and double-check the spacing using a pre-cut cardboard spacer that matches your chosen spacing metric.
During this transfer process, closely monitor how the magnets behave on the metal surface. If a frame slides, tilts, or sags even slightly, the magnetic hold is insufficient. If this occurs, stop immediately and either upgrade to stronger neodymium magnets or transfer the photo to a lighter, minimalist frame. Forcing a weak magnet to hold a heavy item risks scratched surfaces and damaged prints if the item falls.
Design Techniques for a Cohesive, Mess-Free Look
An exceptional magnetic gallery wall does more than just hold photos; it curates them into a cohesive visual story. One of the most effective styling techniques is to balance the visual weight of your images. Visual weight is determined by size, color contrast, and subject matter. A large, dark, high-contrast black-and-white photograph feels visually heavier than a small, pastel-toned landscape. Distribute these high-contrast and larger images evenly across the board rather than clustering them together, which prevents the display from looking lopsided or visually overwhelming.
Using uniform mounting hardware is another powerful way to unify a diverse collection of photos. If your prints vary widely in size, color, and paper type, placing them in identical magnetic frames or using the exact same style of matte black magnetic clips will instantly tie the collection together. This repetition of materials creates a clean, predictable rhythm that allows the viewer’s eyes to focus on the images themselves rather than the clutter of mismatched mounting accessories.
Finally, do not underestimate the power of negative space. It can be tempting to fill every square inch of a magnetic board, but leaving empty metal space around your photos is an active, intentional design choice. Negative space acts as a visual buffer, giving each photograph room to breathe and preventing the entire display from looking like a chaotic bulletin board. Aim to leave at least twenty to thirty percent of the magnetic surface exposed to maintain a sophisticated, gallery-like atmosphere.
Maintaining and Updating Your Magnetic Photo Display
Keeping your magnetic photo display looking pristine requires minimal but consistent maintenance. Dust can accumulate quickly on flat surfaces and the tops of frames, dulling the appearance of your prints. Gently wipe down the frames, magnets, and the exposed board surface using a dry, lint-free microfiber cloth. Avoid using liquid cleaners or wet wipes directly on or near the display, as moisture can seep behind the frames and permanently damage paper prints.
In humid climates, such as in the Philippines, moisture in the air can cause paper to warp, soften, or stick to protective covers over time. Periodically check the condition of your prints and the strength of your magnets, as moisture can also lead to minor surface oxidation on low-grade metal boards. If you notice any signs of paper curling, consider adding a stiffer backing board or moving the display to a well-ventilated room away from direct sunlight and air conditioning vents.
One of the greatest advantages of a magnetic display is the ability to update your photos easily. To preserve the underlying structure of your layout during an update, swap out individual photos one at a time rather than dismantling the entire board. Simply remove the old photo from its frame or clip, insert the new print, and place it back in the exact same position. This simple habit allows you to refresh your display seasonally or celebrate new milestones while keeping your carefully planned, clean gallery layout perfectly intact.

Community discussion
Share your experience or ask a question. Comments are reviewed before publication.