
To plan track light placement and spacing on a ceiling, you must position the track 2 to 3 feet (60 to 90 cm) away from the walls for accent lighting, space individual light fixtures 1.5 to 3 feet (45 to 90 cm) apart depending on their beam angles, and ensure the total wattage remains below 80% of the circuit’s safe capacity. Selecting and installing the right lights for ceiling setups requires balancing room dimensions, architectural features, and electrical safety parameters.
By taking a systematic approach to layout planning, you can avoid common lighting mistakes such as harsh glare, dark corners, and overloaded electrical circuits. This guide details the essential steps, math, and safety boundaries needed to design a highly functional ceiling track lighting system.
Understanding Track Lighting Layout Basics
Before measuring your space, you must define what you want the illumination to achieve. Professional lighting design relies on three distinct layers: ambient (general baseline illumination), task (focused light for work surfaces), and accent (directional light highlighting art or architectural details). Track lighting is uniquely versatile because a single track can support fixtures dedicated to all three layers simultaneously, provided you select the appropriate light heads and aim them correctly.
Products mentioned in this guide


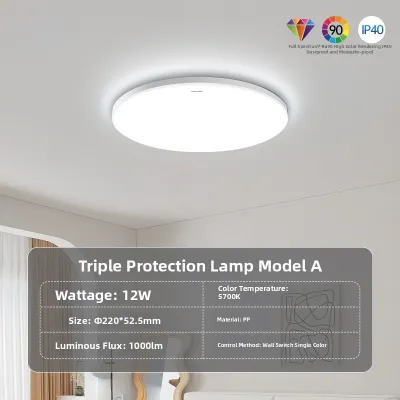
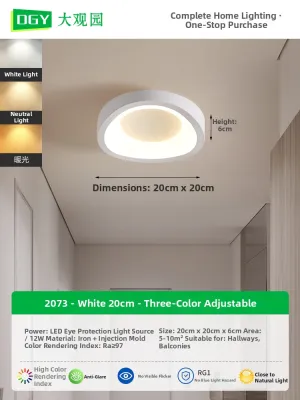
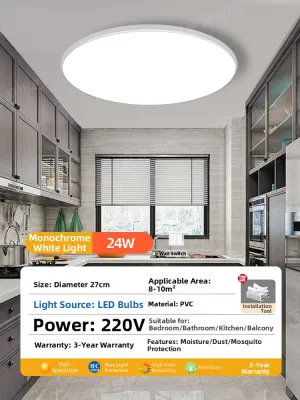
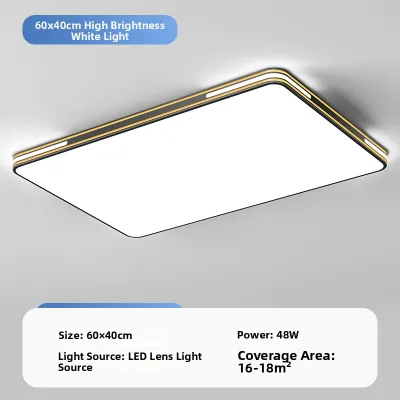
Prices are valid at publication and may change. Please refer to the product page for the latest price.
Your planning must also account for the specific track system standard you intend to install. The industry standard systems are H-type (Halo), J-type (Juno), and L-type (Lightolier). These track profiles feature different physical dimensions and internal busbar configurations, meaning an H-type light head will not physically fit or connect to a J-type or L-type track. Additionally, modern magnetic track systems operate on low-voltage direct current (typically 24V or 48V DC) and require a dedicated external driver or transformer, which must be housed in an accessible, well-ventilated area.
Setting clear goals early prevents common post-installation issues. Inadequate spacing leads to dark spots and uneven pools of light, while placing fixtures too close to seating areas can cause blinding glare. Furthermore, in tropical climates with high ambient temperatures, planning proper fixture distribution prevents localized heat buildup and protects the delicate electronic drivers inside LED light heads from premature failure.
Tools Needed for Ceiling Light Planning
Mapping out a precise layout requires a few basic tools to ensure accuracy before purchasing any materials. Gather a steel measuring tape or a high-precision laser distance measurer to capture the room’s dimensions. You will also need graph paper or a digital room-planning application to draw the ceiling footprint to scale, along with a pencil, an eraser, and a sturdy step ladder to inspect the ceiling surface directly.

These tools are strictly for the measurement and layout design phase. Do not attempt to mount tracks or run electrical wires using basic hand tools alone; actual installation requires specialized equipment and safety gear.
Before finalizing your paper layout, obtain the manufacturer’s specification sheets for both the track rails and the individual light heads. These documents contain critical data, including the fixture’s exact beam angle, lumen output, physical dimensions, heat dissipation requirements, and electrical wattage. Having these specifications on hand allows you to calculate the precise coverage and electrical load of your planned system.
Determining Track Layout and Wall Distance for Lights for Ceiling
When positioning the physical track on the ceiling, the distance between the track and the wall is your most critical measurement. For standard ceiling heights of 8 to 9 feet (2.4 to 2.7 meters), the optimal distance for placing tracks parallel to walls is 2 to 3 feet (60 to 90 cm). Placing the track closer than 2 feet causes the light to strike the wall at a very steep angle, creating harsh, narrow hot spots and deep shadows. Placing it further than 3 feet projects the light too far into the room, risking direct glare in the eyes of anyone sitting or standing nearby.
Your track layout should align naturally with the room’s architectural flow and furniture arrangements. For instance, in a kitchen, a straight track run should be centered directly over the workspace or island to prevent your body from casting shadows on the countertop. In long hallways or open-concept living rooms, L-shaped or U-shaped track configurations can follow the natural paths of foot traffic, defining distinct functional zones within a single large area.
Always inspect the ceiling for physical obstructions before finalizing the track paths. In tropical regions, ceiling fans are common fixtures; a track placed too close to a fan will suffer from a highly disorienting strobe effect as the blades pass through the light beams. Verify the clearance of exposed structural beams, air conditioning vents, split-type indoor units, and smoke detectors to ensure the light paths remain completely unobstructed.
Finally, locate the structural ceiling joists and the existing electrical junction box. Track rails must be anchored securely to structural framing members rather than thin drywall or plasterboard alone. If your desired track position does not align with the existing junction box, you must plan for a canopy feed or a surface-mounted conduit. Keep in mind that relocating an internal junction box or running new hidden wiring requires professional electrical work to comply with the Philippine Electrical Code (PEC).
Calculating Fixture Spacing and Quantity
To achieve even illumination without dark gaps, you must calculate the relationship between ceiling height and the beam angle of your light heads. The beam angle determines how wide the light spreads as it travels from the ceiling to the floor. A narrow spot beam (15 to 24 degrees) concentrates light into a tight, intense circle, which is ideal for high ceilings or precise accenting. A wide flood beam (36 to 60 degrees) spreads the light over a larger area, making it the preferred choice for general ambient lighting.
To establish symmetrical spacing along a single track, use a simple division formula. First, determine the number of fixtures ($N$) you need based on the total light output required for the space. To find the spacing between fixtures, divide the total length of the track by the number of fixtures plus one:
$$\text{Spacing} = \frac{\text{Total Track Length}}{N + 1}$$
To ensure the ends of the track do not fade into darkness, position the first and last fixtures at half the calculated spacing distance from the respective ends of the rail. For example, on an 8-foot track with three fixtures, the spacing between heads should be 2 feet, with the outer fixtures positioned 1 foot away from each end of the track.
Calculating the total electrical load is a vital safety step. The combined wattage of all planned fixtures on a single track run must not exceed 80% of the track’s maximum rated capacity or the capacity of the branch circuit. In the Philippines, residential electrical systems operate on 220V-240V AC at 60Hz. If a track is rated for 10 amps at 220V, its theoretical maximum capacity is 2,200 watts. Applying the 80% continuous load safety margin limits the safe operating capacity to 1,760 watts. While modern LED fixtures draw very low wattage (typically 7W to 15W per head), always verify the total load, especially if you plan to use high-output commercial fixtures.
Always consult the manufacturer’s manual for minimum physical spacing requirements between light heads. Even high-efficiency LEDs generate heat at their aluminum heat sinks. Grouping fixtures too closely together can cause heat to trap, which degrades the internal electronic components and shortens the operational lifespan of the lights.
Adjusting Spacing for Specific Lighting Goals
Your spacing strategy must adapt to the specific lighting task you want to achieve in each section of the room. Mixing different lighting goals on a single track is highly effective, but it requires careful zoning and precise aiming of individual fixtures.
Wall Washing
To create a smooth, gentle gradient of light across an entire wall—ideal for highlighting textured concrete, wood paneling, or a collection of framed photos—you must space the fixtures evenly. Use wide flood light heads and space them at a 1:1 ratio. This means if your track is 3 feet away from the wall, the individual fixtures should be spaced exactly 3 feet apart along the track. This precise ratio allows the edges of the light beams to overlap seamlessly, preventing distracting, uneven light patterns known as scalloping.
Accent Lighting
Highlighting specific objects like sculptures, paintings, or decorative shelving requires a targeted approach. Position the track so the light strikes the object at a 30-degree angle from the vertical. This specific angle is steep enough to prevent the fixture from casting long, distracting shadows behind the object, yet shallow enough to avoid reflecting glare directly into a viewer’s eyes. Instead of even spacing, cluster two or three narrow-beam spot fixtures together and aim them at the target from different angles to add depth and eliminate harsh shadows.
General Ambient Lighting
For overall room illumination, space wide-angle flood fixtures (50 to 60 degrees) evenly at wider intervals, typically 3 to 4 feet (90 to 120 cm) apart. Aim the fixtures downward or slightly toward light-colored walls or floors. Bouncing the light off these light-colored surfaces diffuses the beams, creating a soft, glare-free baseline level of light that fills the entire volume of the room.
Safety, Electrical, and Installation Boundaries
Before undertaking any physical inspection, planning, or installation steps, you must turn off the power supply at the main circuit breaker panel. Use a reliable, non-contact voltage tester directly on the wires at the ceiling junction box to verify that the circuit is completely dead before touching any electrical components.
Circuit capacity is a strict safety limit. If your calculated track lighting load exceeds the available capacity of the existing lighting circuit, you must not proceed with the installation. Overloading a circuit will cause frequent breaker trips and poses a serious fire hazard. In such cases, a new, dedicated electrical line must be run from the main distribution board.
Structural integrity is equally important. The ceiling material must be strong enough to support the combined weight of the track rails, internal copper busbars, mounting hardware, and multiple light heads. Standard gypsum board ceilings require heavy-duty toggle bolts or direct anchoring into the underlying metal furring channels. For solid concrete ceilings, which are common in modern high-rise condominiums and residential homes in the Philippines, you must use specialized masonry drill bits and high-quality concrete expansion anchors to prevent the track from falling.
In humid or coastal tropical environments, moisture can quickly corrode electrical connections and cause short circuits. If you are planning track lighting for semi-outdoor spaces like dirty kitchens, covered patios, lanais, or high-humidity bathrooms, you must select tracks and fixtures specifically rated for damp locations, featuring rust-resistant finishes and appropriate Ingress Protection (IP) ratings. Any complex wiring, installation of new breakers, running of conduit through concrete slabs, or mounting in damp environments must be performed by a licensed professional electrician to guarantee compliance with the Philippine Electrical Code and local building regulations.
Frequently Asked Questions (FAQ)
Can I add more lights to an existing track later?
Yes, track lighting systems are highly modular, allowing you to clip additional light heads onto an active rail. However, you must first verify that the combined wattage of all fixtures, including the new additions, does not exceed 80% of the track’s rated electrical capacity or the limit of the branch circuit breaker. You must also ensure that any new light heads use the exact same mounting standard (H, J, L, or proprietary magnetic system) as your existing track, as mismatched standards will not lock in or connect to the internal copper conductors.
Does ceiling height change how far apart track lights should be?
Yes, ceiling height directly impacts your spacing layout. As ceiling height increases, the light beams spread wider and lose intensity by the time they reach the floor or work surfaces. For ceilings higher than 9 feet (2.7 meters), spacing fixtures too close together with wide-angle beams can cause excessive overlap and glare. Instead, you should use fixtures with higher lumen outputs and narrower, more concentrated beam angles (15 to 24 degrees), spacing them slightly further apart to maintain precise target illumination without creating a washed-out environment.
Community discussion
Share your experience or ask a question. Comments are reviewed before publication.