
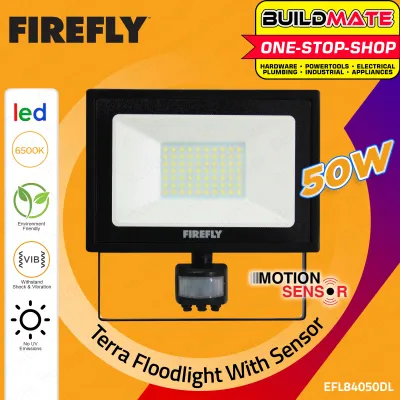
To position a Firefly Terra floodlight on a small condo balcony for warm, glare-free ambient lighting, you must avoid pointing the beam directly at seating areas or glass doors. Instead, mount the fixture at a low or high angle and direct the light toward a textured wall, ceiling, or dense foliage to bounce and diffuse the illumination. This technique, known as wall-washing or indirect lighting, transforms a potentially harsh floodlight into a soft, inviting glow that enhances your outdoor living space.
In compact condominium layouts, managing light direction is crucial. Because balconies are close to living rooms and neighboring units, an unshielded floodlight can easily cause blinding glare or unwanted light spill. By understanding how to position, angle, and shield your fixture, you can enjoy a cozy evening retreat without compromising comfort or neighborly relations.
Let’s look at how to plan, install, and adjust your balcony lighting setup to achieve the perfect balance of warmth and visual comfort.
Products mentioned in this guide

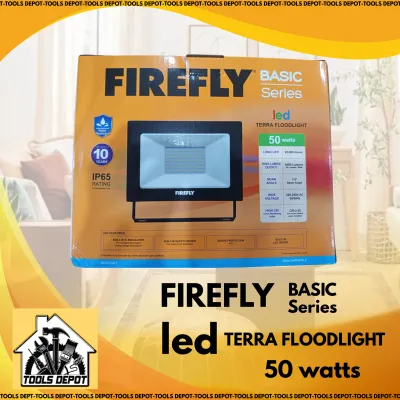
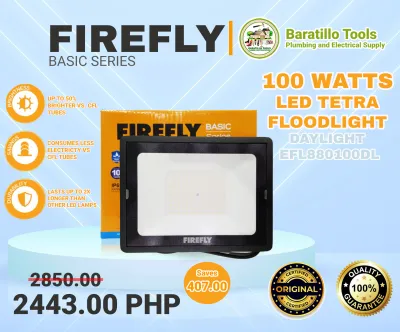

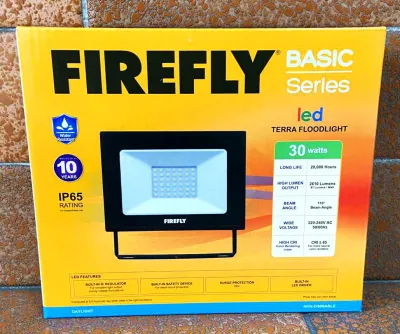

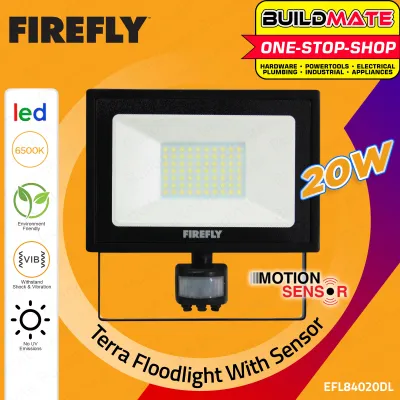
Prices are valid at publication and may change. Please refer to the product page for the latest price.
Assess Your Balcony Space and Lighting Goals
Before mounting any hardware, take a close look at the physical layout of your balcony. Compact condo balconies in tropical urban areas often feature concrete walls, metal railings, and large glass sliding doors that connect the outdoor space to the main living area. These glass surfaces act like mirrors at night, reflecting any direct light source back into your home and creating distracting double-images and glare.
Measure the usable floor area and identify where you plan to place your outdoor seating, such as a small bistro set or a cozy bench. The primary goal is to keep the direct light source completely out of the line of sight of anyone sitting or standing on the balcony. Mark these seating zones clearly so you can plan your light paths around them.
Take note of the materials on your balcony. Glossy floor tiles, polished metal railings, and painted concrete walls all interact with light differently. Matte, textured surfaces like rough concrete, brick, or wooden privacy screens are excellent for absorbing and softly scattering light, whereas smooth, glossy surfaces will bounce sharp, concentrated beams. Identifying these architectural features early allows you to use them as natural diffusers.
Choose the Right Mounting Location
Selecting where to place your floodlight determines how effectively you can hide the bare light source. On a small balcony, wall-mounting and corner placement are the two most practical options. Wall-mounting the fixture high up, near the ceiling, allows you to cast light downward, while a low corner placement can wash light upward along a wall or through potted plants.

Using natural baffles is one of the easiest ways to block direct glare. If you have large potted plants like palms or snake plants, place the floodlight behind them. The foliage acts as an organic screen, breaking up the intense beam and casting beautiful, soft shadow patterns across your balcony floor and walls. Alternatively, you can mount the light behind a wooden privacy trellis or a decorative outdoor screen.
Be extremely careful with the placement relative to your indoor glass doors. If you mount the floodlight directly opposite your living room window, the light will shine straight through the glass, ruining the indoor ambiance and creating a fishbowl effect. Position the fixture on the same wall as the glass door, pointing away from the interior, or place it in a far corner angled parallel to the window pane to minimize indoor reflections.
Angle and Direct the Light for Ambient Glow
The secret to turning a powerful floodlight into a soft ambient light source lies in the angle of the beam. Instead of pointing the light downward into the center of the balcony, aim it directly at a vertical surface. This technique, called wall-washing, bounces the light off the wall, scattering the rays and creating a gentle, indirect glow that illuminates the entire space without a visible hot spot.
If your balcony has a concrete ceiling or overhang, you can also angle the floodlight upward. Bouncing the light off the ceiling mimics natural daylight and provides a very even, glare-free distribution of light. When adjusting the tilt of your fixture, ensure the bare LED face is angled away from the natural seated sightline. If you sit down and can see the bright light source directly, the angle is too flat; tilt it further upward or downward until the source is hidden.
Aiming the beam toward dark corners or dense foliage adds depth to a small space, making the balcony feel larger than it actually is. By highlighting the perimeter of the balcony rather than the center, you create a cozy, layered effect. This contrast between soft light and gentle shadows is much more relaxing to the eyes than uniform, bright illumination.
Manage Glare and Light Spill
Even with careful angling, some light may spill over the edges of your balcony. To manage this, check if your specific fixture model supports external accessories like visors, hoods, or barn doors. These attachments clip onto the frame of the floodlight to physically block light from traveling in unwanted directions, allowing you to shape the beam and keep it strictly within your balcony’s boundaries.
Controlling the overall brightness is another key factor in managing glare on a compact balcony. Because the space is small, you do not need high-wattage illumination. If your fixture supports dimming controls, adjust the output to a lower level that matches the intimate scale of the space. If it is a non-dimmable model, verify the wattage on the product label before installation to ensure it is appropriate for close-range use.
Always be mindful of light trespass, which occurs when your light shines into neighboring balconies, shared corridors, or the street below. In high-density condo buildings, a poorly aimed floodlight can easily disturb your neighbors or violate building association guidelines. Step outside your unit and look back at your balcony from different angles to confirm that no harsh light is shining directly into other people’s windows.
Installation Safety and Electrical Checks
Before mounting or wiring your floodlight, you must perform essential safety and electrical checks. First, verify the fixture’s outdoor ingress protection (IP) rating and voltage compatibility directly on the product label. Balconies in tropical climates are exposed to high humidity, heavy rain, and wind-driven moisture, so the light must have an appropriate weatherproof rating to operate safely outdoors.
Always enforce strict safety protocols during installation. Turn off the power at the main circuit breaker before handling any wires, mounting brackets, or electrical connections. Never rely solely on a wall switch to isolate the power. Use a non-contact voltage tester to verify that the wires are completely dead before you begin working on them.
Know your limits when it comes to electrical work. While mounting a plug-and-play fixture to a wall bracket is a straightforward task, fixed wiring, connecting to high-voltage lines, working at heights, or installing lights in highly damp locations require professional expertise. If your balcony does not have an existing outdoor outlet or if you need to run new electrical lines through concrete walls, stop and hire a licensed electrician to ensure the installation complies with local electrical codes.
Fine-Tuning and Nighttime Testing
Once your floodlight is securely mounted, wait until complete darkness to perform a thorough nighttime test. Sit in every chair, walk along the paths, and look out from your living room to check for any residual glare. If you spot a harsh glare point, slightly adjust the tilt or rotation of the fixture until the bright light source is completely shielded from view.
Observe the shadow patterns cast by your plants and furniture. If the shadows look too harsh or sterile, try adjusting the distance between the light source and the objects casting the shadows. Moving a plant closer to the light will enlarge its shadow, while moving it further away will soften the effect. The goal is to create a warm, inviting atmosphere that feels balanced and comfortable.
Keep in mind that your balcony is a dynamic space. As your potted plants grow, their foliage may block more light, or you might decide to rearrange your outdoor furniture for different seasons. Periodically check your lighting setup and make minor adjustments to the fixture’s angle to maintain the perfect, glare-free ambient glow year-round.
Frequently Asked Questions (FAQ)
Can I use a floodlight on a balcony without annoying my neighbors?
Yes, you can easily use a floodlight on a balcony without disturbing your neighbors by directing the light beam inward and downward. Avoid pointing the fixture outward toward neighboring units or the street. Using physical barriers like tall potted plants, privacy screens, or custom light hoods will help contain the light within your own space. Additionally, setting a timer or turning off the light during late-night hours shows respect for your community and prevents light pollution.
What is the best color temperature for warm balcony ambiance?
For a cozy, relaxing balcony ambiance, a warm white color temperature between 2700K and 3000K is highly recommended. This range produces a soft, golden glow that mimics candlelight and promotes relaxation, making it perfect for evening wind-downs. Before purchasing or installing your fixture, check the product specifications or packaging to verify the built-in LED color temperature or bulb compatibility to ensure it delivers the warm tone you desire.
Community discussion
Share your experience or ask a question. Comments are reviewed before publication.