
Working long hours in front of a computer screen can take a heavy toll on your eyes, especially in home offices where lighting is often an afterthought. Whether you are navigating late-night remote work shifts, studying, or gaming, proper desk illumination is essential for maintaining focus and comfort. A monitor lightbar offers a space-saving, elegant solution to workspace lighting, but simply clipping it onto your screen is not enough. To truly prevent eye strain, you must position and adjust the lightbar with precision.
Correctly setting up your monitor lightbar involves understanding how its light interacts with your screen, your desk surface, and your eyes. By aligning the physical angle, balancing the brightness with your room’s ambient light, and selecting the right color temperature, you can eliminate distracting reflections and create a comfortable visual environment. This guide walks you through the exact steps to position, adjust, and verify your monitor lightbar setup for optimal eye comfort.
Understanding How Monitor Lightbars Reduce Glare
To appreciate why positioning matters, it helps to understand how a monitor lightbar operates. Traditional desk lamps disperse light in a wide, symmetrical cone. When placed near a computer, this light inevitably strikes the glass surface of the monitor, bouncing directly into your eyes as veiling glare. This glare washes out screen contrast, making text harder to read and forcing your eyes to work harder to focus, which quickly leads to fatigue and headaches.
Products mentioned in this guide
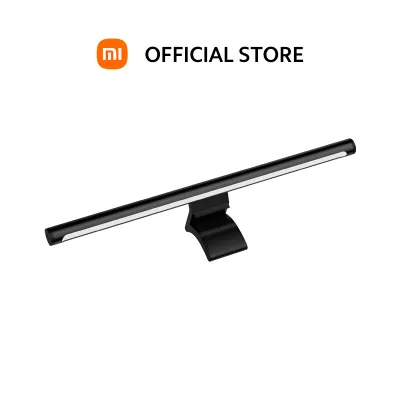
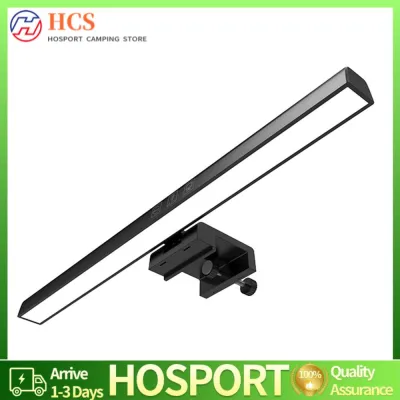
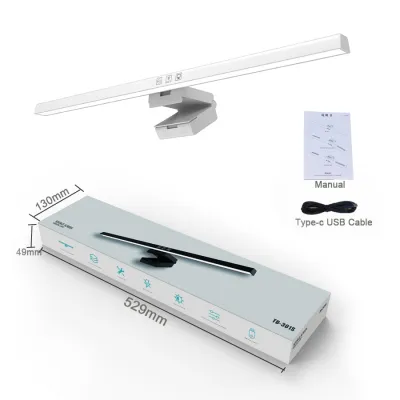
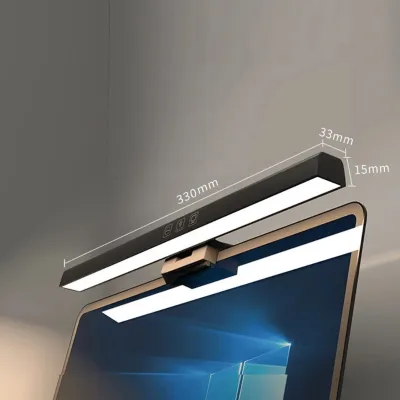
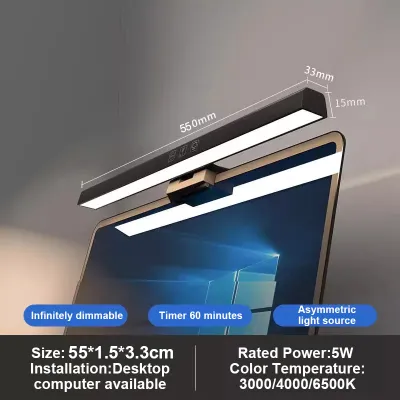
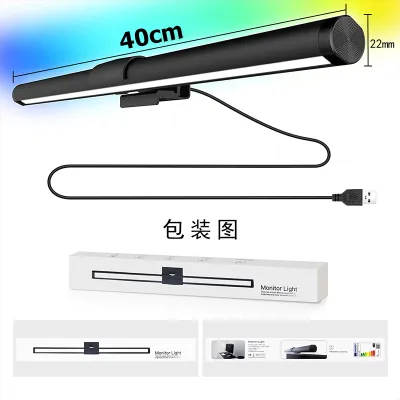
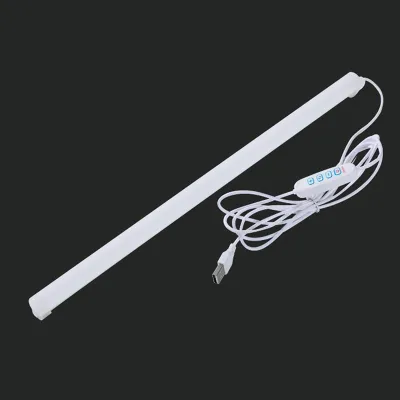
Prices are valid at publication and may change. Please refer to the product page for the latest price.
A high-quality monitor lightbar solves this problem through an asymmetrical optical design. Instead of casting light in all directions, the internal reflector or lens directs the light beam downward and slightly forward at a precise angle. This creates a sharp cutoff line, ensuring that the light illuminates your keyboard and desk space while leaving the monitor screen completely in the dark. This targeted illumination prevents light from bouncing off the screen glass and entering your eyes.
Another critical factor in eye strain is contrast strain. When you view a bright monitor in a dark room, your pupils must constantly dilate and constrict as your gaze shifts between the screen and the surrounding darkness. This rapid adjustment leads to physical fatigue in the muscles of your eyes. A lightbar provides localized ambient light on your desk, softening the harsh transition between the bright display and the dark room, which significantly reduces pupillary fatigue.
Furthermore, proper desk illumination helps reduce dry eyes, a common issue in air-conditioned home offices. When the workspace is poorly lit, users tend to lean closer to the screen and blink less frequently. By creating a well-lit, comfortable environment, a monitor lightbar encourages better posture and more natural blinking patterns, helping to keep your eyes comfortable during long sessions.
Positioning and Angling the Lightbar for Zero Screen Reflection
Achieving zero screen reflection requires careful physical installation and precise angle adjustment. Begin by centering the lightbar on the top bezel of your monitor. Most lightbars use a gravity-based counterweight or a spring-loaded clamp to stay in place. When mounting the device, ensure the clamp sits securely on the bezel without applying direct pressure to the delicate liquid crystal display panel. Excessive pressure on the screen edge can cause permanent backlight bleeding or physical damage to the display.

Once the lightbar is physically mounted, you must adjust the rotating tube to set the correct light path. Sit in your normal working position, keeping your eyes at the standard viewing height and distance from the screen. Slowly rotate the lightbar tube within its holder while watching the light beam as it projects onto your desk.
The goal is to position the light cutoff line so that it falls exactly at the front edge of your desk or keyboard tray. The light should illuminate your hands and keyboard, but it must not shine directly into your eyes or wash down the surface of the monitor. If you can see the light source itself—the LEDs inside the tube—when sitting normally, the lightbar is tilted too far back. Tilt it forward until the LEDs are hidden from your direct line of sight.
You must also account for physical obstructions on your monitor’s top bezel. Many modern setups include webcams, external microphones, or screen sensors. If your webcam sits in the center of the monitor, check if your lightbar model includes a webcam adapter or clearance space. Placing a webcam directly on top of a lightbar can sometimes cause the camera to capture a hazy image due to light leakage, or it may block the lightbar’s own ambient light sensor. If necessary, offset the webcam slightly to one side or use a dedicated mini-tripod behind the monitor.
Additionally, consider the thickness of your monitor’s bezel. Ultra-thin bezels require extra care, as the front lip of the lightbar mount might overlap with the actual screen area. If the mount obstructs your view or presses against the active pixels, look for a lightbar that includes adjustable padding or a specialized adapter designed for thin-bezel displays to distribute the clamping force safely.
Adjusting Brightness and Color Temperature for Visual Comfort
Once your lightbar is physically aligned, the next step is to calibrate its light output. The most common mistake is setting the lightbar to maximum brightness, which can create a harsh, over-illuminated workspace. Your desk surface should match the relative brightness of your monitor screen. If you have a highly reflective desk surface—such as polished wood, glass, or a white laminate desktop—excessive lightbar brightness will cause secondary glare to bounce off the desk and into your eyes.
To find the right balance, adjust the lightbar’s brightness so that it complements, rather than overpowers, the ambient light in your room. If your room is brightly lit by natural daylight, you may need to increase the lightbar’s brightness slightly to maintain clear contrast on your desk. Conversely, during evening hours or in a dimly lit room, lower the brightness to a soft, comfortable level that prevents your eyes from feeling overwhelmed.
Color temperature plays an equally important role in visual comfort and circadian health. Most monitor lightbars offer adjustable color temperatures, typically ranging from cool white to warm yellow. These settings should be adjusted based on the time of day and your current task to support your body’s natural rhythms.
During the daytime, especially when you need to focus on complex tasks or during gloomy, rainy afternoons, set the lightbar to a cooler color temperature. Cooler light mimics natural daylight, promoting alertness and helping you stay focused. It provides a crisp, clean light that is ideal for reading documents and typing.
As evening approaches, transition the lightbar to a warmer color temperature. Warm, amber light is much gentler on the eyes in low-light environments. It reduces exposure to high-energy blue light, which can interfere with your body’s natural production of melatonin, helping you wind down more easily after a long day of work.
Many modern lightbars feature an auto-dimming function powered by a built-in ambient light sensor. While convenient, these sensors can sometimes be fooled by nearby light sources, such as a window or a bright keyboard backlight. If you find the auto-dimming level uncomfortable, switch to manual control. Take a few moments to fine-tune the brightness and color temperature manually until your eyes feel completely relaxed.
Verifying Your Setup and Troubleshooting Eye Fatigue
After positioning and adjusting your lightbar, it is important to verify the setup to ensure it is performing as intended. You can perform a simple visual check using a blank sheet of white printer paper. Place the paper on your primary keyboard area and look for even light distribution. The paper should be clearly illuminated without any harsh hot spots, dark shadows, or distracting reflections.
If you continue to experience eye strain or notice reflections on your screen, you may need to troubleshoot the setup. Turn off all other lights in the room and look at your monitor while it is turned off. If you see a faint glow or a distinct line of light reflecting on the glass, your lightbar is angled too far backward. Tilt the lightbar slightly forward, away from the screen, until the reflection completely disappears.
Keep in mind that a monitor lightbar is designed to provide localized task lighting, not to illuminate your entire room. If the rest of your home office is pitch black, the extreme contrast between your illuminated desk and the dark room can still cause visual fatigue over time. The lightbar works best when integrated into a broader, balanced lighting scheme.
To resolve this, consider adding soft, indirect ambient lighting to your room. Placing a low-wattage LED strip behind your monitor (often called bias lighting) or using a warm floor lamp in the corner of the room can help balance the overall spatial brightness. This combination of localized task lighting from the lightbar and soft ambient lighting in the room creates the most comfortable environment for extended screen use.
Finally, always verify the electrical setup of your lightbar. Most lightbars are powered via a USB cable. Ensure you connect the cable to a certified, stable power source, such as a USB port on your computer that meets the manufacturer’s specified voltage and current requirements (typically 5V/1A or 5V/2A). Using an underpowered USB port or an uncertified wall adapter can cause the lightbar to flicker, which is a major, often unnoticed cause of rapid eye strain.
Frequently Asked Questions (FAQ)
Can I use a monitor lightbar on a curved monitor?
Yes, you can use a monitor lightbar on a curved monitor, but you must verify compatibility before installation. Curved monitors present unique challenges because a straight lightbar can sometimes cast light onto the curved edges of the screen, causing glare or uneven illumination.
Before purchasing or installing, check the manufacturer’s specifications to ensure the mounting clamp is compatible with curved screens. Some lightbars are specifically designed with a wider arc or a specialized mounting bracket that projects the light forward and clear of the curved panel. If you are using a standard straight lightbar on a curved screen, you may need to adjust the mounting angle more carefully, tilting it slightly further forward to ensure the light cutoff line clears the curved edges of the display.
Does a monitor lightbar replace the need for a desk lamp?
A monitor lightbar is an excellent, space-saving solution for computer-centric tasks, but it does not entirely replace a traditional desk lamp for all activities. The lightbar’s illumination is highly localized, focusing primarily on the area directly in front of your monitor to keep your screen clear of glare.
If your daily routine involves physical tasks that require a wider or more flexible spread of light—such as reading large textbooks, sketching, writing on paper, or performing intricate handiwork on the side of your desk—a dedicated desk lamp with an adjustable arm is still highly beneficial. For a hybrid workspace, you can use both: the monitor lightbar for screen-based work to keep your desk clutter-free, and an adjustable desk lamp when you need targeted, high-intensity illumination for off-screen physical tasks.
Community discussion
Share your experience or ask a question. Comments are reviewed before publication.