
Replacing a lamp shade is one of the easiest ways to refresh your interior decor, but finding a beautiful new shade only to realize its mounting mechanism does not match your lamp base can be frustrating. Fortunately, you do not need to discard either piece. Swapping a lamp shade with a different fitting type is entirely possible by using simple adapters, adding a harp system, or adjusting the bulb attachment. By identifying the mechanics of your current lamp base and matching them to the new shade, you can safely modify the hardware to achieve a secure, stable fit.
In the Philippines, where high relative humidity can affect both the heat dissipation of light fixtures and the integrity of metal components over time, choosing the right conversion method is essential. Whether you are dealing with a spider, Uno, or clip-on mechanism, understanding how these systems interface with your light bulb socket prevents safety hazards and ensures your lighting remains stable. With a few basic tools and the correct hardware, you can successfully complete this transformation at home.
Identify Your Current Lamp Base and New Shade Fittings
Before purchasing any replacement hardware, you must accurately diagnose the mounting mechanism of your current lamp base and compare it to the structure of your new lamp shade. Lamp shades are not universal; they rely on three distinct configurations to remain suspended over the light source. Misidentifying these components often leads to purchasing incompatible parts or assembling an unstable fixture.
Products mentioned in this guide
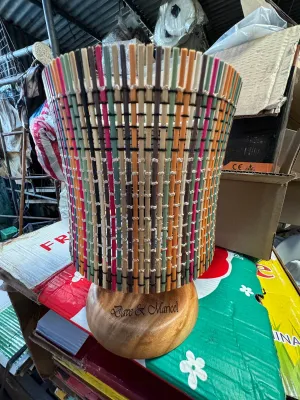
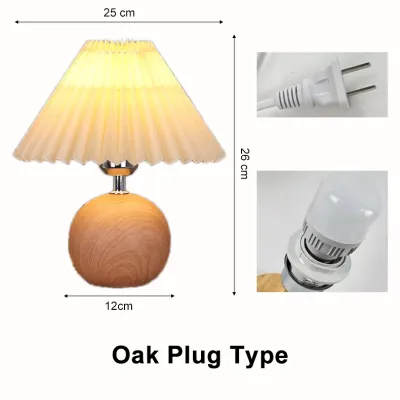
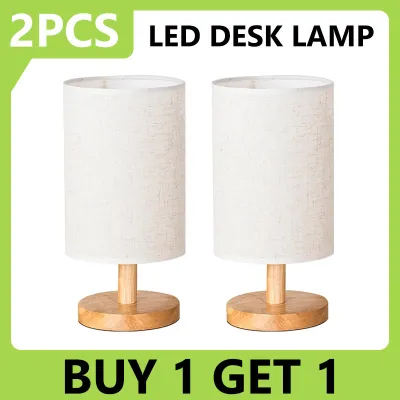
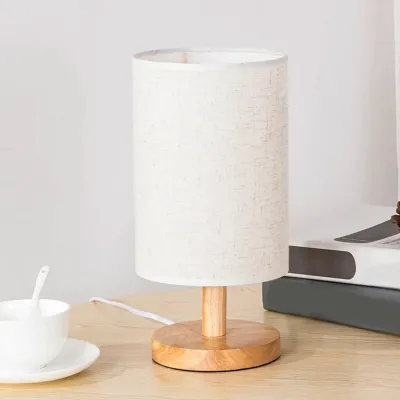
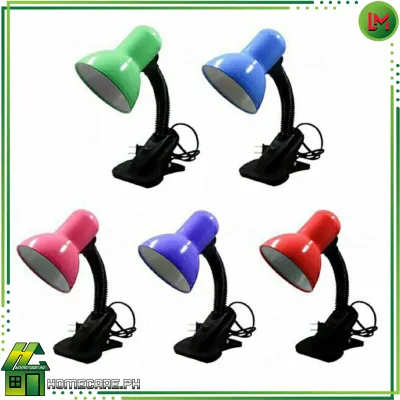
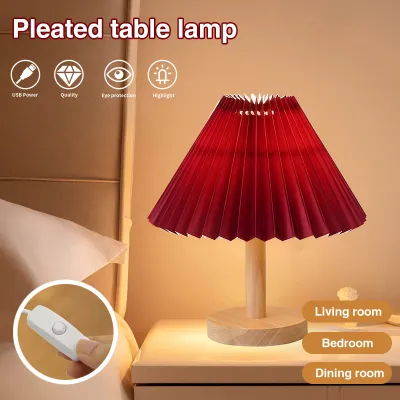
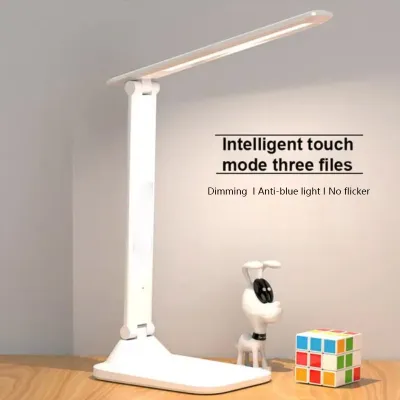
Prices are valid at publication and may change. Please refer to the product page for the latest price.
The first and most common type is the spider fitting. This style features a metal wire frame inside the top of the shade that resembles a wheel with spokes, meeting at a small central ring. A spider shade cannot stand on its own; it requires a metal wire support called a harp, which rises from the base of the lamp, and a decorative nut called a finial to secure the shade to the top of the harp.
The second type is the Uno fitting. This mechanism features a larger, threaded central ring built directly into the inner wire frame of the shade. Instead of resting on a harp, an Uno shade threads directly onto the light bulb socket itself. You will typically find these on bedside lamps, reading lights, or downward-pointing wall sconces.
The third type is the clip-on fitting. This is the simplest configuration, featuring two flexible metal loops extending from the top wire frame of the shade. These loops are designed to squeeze directly onto the glass body of the light bulb. Clip-on fittings are generally reserved for small accent lamps, chandeliers, or lightweight decorative shades.
To inspect your current lamp base, remove the existing shade and look closely at the socket area. If you see a metal saddle bracket cradling the socket and a wire frame rising up around the bulb, you have a harp system designed for a spider shade. If you see a bare socket with external threads or a threaded plastic collar, it is designed for an Uno shade. If there is simply a bare, smooth socket with no additional brackets or threads, the lamp likely relied on a clip-on shade or a specialized shade ring.
To verify the fitting of your new shade, look inside its frame. A small central hole (usually around 1/4 inch to 1/2 inch in diameter) at the top of a cross-wire frame indicates a spider fitting. A larger ring (typically 1-1/4 inches or 1-1/2 inches in diameter) indicates an Uno fitting. Two rounded wire loops positioned near the top indicate a clip-on fitting. Identifying these differences allows you to determine exactly which adapter or hardware modification is required to bridge the gap.
Tools and Materials Needed
Having the correct tools and hardware prepared beforehand ensures a smooth conversion process without mid-project interruptions. Because you may be working near electrical components, safety and precision are paramount.

Gather the following basic hand tools:
- Needle-nose pliers: Useful for adjusting metal clips, tightening small nuts, or squeezing harp wires into place.
- Screwdriver (flathead or Phillips): Required if you need to loosen or adjust the socket shell to install a new harp saddle.
Depending on the specific conversion scenario, you will need one or more of these hardware components:
- Harp saddle: The metal base plate that sits beneath the socket shell to hold a harp.
- Replacement harp: A U-shaped metal wire frame, available in various heights (typically 6 to 10 inches) to position the shade at the correct level.
- Finial: A decorative screw cap used to lock a spider shade onto a harp.
- Slip-Uno adapter ring: A metal adapter that sits over a standard socket, allowing an Uno shade to mount onto a lamp base without threads.
- Spider-to-Uno adapter: A specialized reducer ring or bracket that allows a spider shade to sit securely on an Uno threaded socket.
Additionally, ensure you have your new lamp shade and a compatible light bulb. In tropical climates like the Philippines, LED bulbs are highly recommended over traditional incandescent or halogen bulbs. LEDs emit significantly less heat, which prevents high ambient temperatures from building up inside the shade, protecting both the shade material and the electrical socket from thermal degradation.
Finally, prepare a clean, soft workspace. Laying a thick towel or a soft mat on your worktable allows you to rest the lamp on its side without scratching the ceramic, wood, or metal base during assembly.
Step-by-Step Guide to Swapping the Lamp Shade
Before touching any hardware, performing adjustments, or handling electrical sockets, you must prioritize physical safety. Always unplug the lamp’s power cord from the wall outlet. In the Philippines, residential electrical systems operate at 220V, which poses a severe shock hazard if live components are accidentally touched. Never rely solely on the lamp’s inline switch; physically disconnect the plug from the wall.
Once the power is completely isolated, you can proceed with the physical installation. The conversion steps differ significantly depending on the fitting type of your new shade. Select the scenario below that matches your target setup.
Scenario A: Switching to a Spider Fitting
If your new shade has a spider fitting but your lamp base currently lacks a harp system, you must install a harp saddle and a matching harp to support the shade.
- Install the harp saddle: The saddle is a flat, wing-shaped metal bracket that sits directly beneath the light bulb socket. To install it, first remove the light bulb. Inspect the socket shell. If your lamp has a two-part metal socket, gently slide the outer metal sleeve upward to expose the base. Loosen the small screws anchoring the socket shell to the lamp pipe just enough to slide the fork of the harp saddle underneath the socket base. Do not pull, twist, or disconnect any internal copper wires. Once the saddle is positioned flat against the base, re-tighten the screws and slide the outer sleeve back down into place.
- Attach the harp: Take your replacement harp and locate the two flexible bottom legs. Squeeze these legs inward toward each other. Insert the bottom tips of the legs into the two matching slots on the harp saddle. Release the pressure so the legs snap outward into the slots, then slide the small metal caps (collars) on the saddle down over the hinge points to lock the harp securely in place.
- Mount the spider shade: Lower the new spider shade over the bulb so that the central ring of its cross-wire frame rests flat on the threaded stud at the top of the harp. Ensure the shade sits level and does not tilt to one side.
- Secure the assembly: Thread your chosen finial onto the exposed stud at the top of the harp. Tighten the finial by hand in a clockwise direction. Ensure it is snug enough to prevent the shade from wobbling, but avoid over-tightening, which can strip the threads or bend the shade's wire frame. Reinstall the light bulb.
Scenario B: Switching to an Uno Fitting
Converting a lamp to accept an Uno fitting requires mounting the shade’s large central ring directly to the socket area. This can be achieved using a simple adapter or by modifying the socket itself.
- The slip-Uno adapter method: If your lamp base already has a harp installed and you do not wish to remove it, you can use a slip-Uno adapter. This metal ring sits on top of the harp's threaded stud, mimicking the position of a spider frame. The Uno shade's large central ring can then rest on or thread onto this adapter, secured by a standard finial. This is the easiest, non-invasive method for preserving your existing lamp structure.
- The direct-to-socket method: If you want the Uno shade to thread directly onto the socket as originally intended, the socket must feature external threads and a matching threaded collar. If your current socket is smooth and lacks threads, you cannot thread an Uno shade onto it directly.
- Electrical safety boundary: If your lamp lacks a threaded socket and you wish to install one, please note that replacing a light socket involves disconnecting and re-terminating active electrical wires. If you are not experienced with home electrical wiring, do not attempt to replace the socket yourself. Improperly wired sockets can lead to short circuits, electrical fires, or shock hazards. Instead, consult a qualified electrician or purchase a pre-wired lamp base that already features an Uno-threaded socket.
Scenario C: Switching to a Clip-On Fitting
Clip-on shades are highly convenient for smaller accent lamps, but they require removing existing hardware to ensure the shade sits correctly on the bulb.
- Remove existing hardware: If your lamp base currently has a harp and saddle, they will interfere with a clip-on shade. Remove the light bulb, slide up the locking collars on the harp saddle, squeeze the harp legs, and lift the harp away. If the saddle is removable without dismantling the socket, slide it out; otherwise, you can leave the saddle in place as long as it does not obstruct the bulb.
- Clip the shade to the bulb: Squeeze the two wire loops of the clip-on fitting slightly to open them. Align the loops with the widest part of the light bulb glass. Gently slide the loops down over the bulb until they grip the rounded sides securely. The clips should rest firmly on the bulb, holding the shade level.
- Structural limitations and warnings: Because clip-on fittings rely entirely on the light bulb for physical support, they are subject to strict weight limits. Never use heavy, large, or glass shades with a clip-on mechanism. A heavy shade can place excessive stress on the bulb socket, potentially pulling the bulb out of its socket, cracking the fragile glass of the bulb, or making the entire lamp top-heavy. Always verify that the metal clips do not press with excessive force against thin, decorative, or vintage-style bulb glass, which can shatter under pressure.
Safety Checks and Heat Clearance
Once your new shade is physically mounted, you must perform several safety inspections before operating the lamp. Modifying a lamp’s original design can alter how heat escapes, presenting potential fire or damage risks if ignored.
First, verify the maximum wattage rating printed on the light bulb socket. This rating (for example, “Max 40W” or “Max 60W”) dictates the absolute limit of thermal energy the socket and its internal wiring can safely handle. Changing the shade type—especially when moving to a smaller, narrower, or more enclosed shade—drastically restricts airflow and alters heat dissipation.
Next, perform a physical heat clearance check. Measure the distance between the outer surface of the light bulb and the inner lining of the new lamp shade. As a general safety rule:
- Maintain at least 2 to 3 inches of clear space between the bulb and the shade material for low-wattage bulbs.
- Increase this clearance to 3 to 4 inches for higher-wattage bulbs.
- If the shade material is highly flammable, such as paper, delicate silk, or untreated plastics, maximize this distance to prevent scorching or discoloration.
To significantly mitigate heat risks, always select LED bulbs when switching shade types. Traditional incandescent or halogen bulbs convert only a small fraction of energy into light, releasing the rest as intense radiant heat. In contrast, LED bulbs produce minimal heat, making them exceptionally safe for tight spaces, smaller shades, or clip-on fittings. Ensure the LED bulb is rated for enclosed fixtures if your new shade has a closed top.
Finally, conduct a post-assembly stability test. Place the lamp on a flat, level surface. Gently tap the top edge of the shade to ensure it does not wobble or tilt. Verify that the weight of the new shade has not made the lamp base top-heavy. If the lamp tips over easily when bumped, the shade is too large or heavy for that specific base, and you should select a heavier base or a lighter shade to prevent accidental falls.
Frequently Asked Questions (FAQ)
This section addresses common compatibility, safety, and hardware questions encountered when modifying lamp shade fittings.
Can I use a spider shade on a lamp designed for an Uno shade?
Yes, you can use a spider shade on an Uno-style lamp base by using a spider-to-uno adapter or by installing a temporary harp saddle. A spider-to-uno adapter is a small metal bracket that slips over the threaded socket shell and is secured by the socket’s plastic collar, providing a threaded stud at the top to mount the spider shade. Alternatively, if the socket base allows, you can slide a standard harp saddle underneath the socket shell, which lets you mount a traditional wire harp. If the socket shell is completely smooth or lacks a lip for the saddle to grip, you may need to replace the socket shell with one featuring a built-in saddle base, or opt for the adapter ring for a non-invasive solution.
What if my new lamp shade is too heavy for the clip-on fitting?
If your new lamp shade is too heavy for a clip-on fitting, do not attempt to force the installation. Heavy shades can pull the bulb out of the socket, shatter the bulb glass, or cause the entire lamp to tip over easily. Instead of relying on the bulb for support, upgrade the lamp’s hardware to a spider fitting by installing a harp saddle and a sturdy metal harp. This configuration transfers the weight of the shade directly down through the metal frame to the heavy lamp base, bypassing the fragile light bulb entirely and ensuring a stable, safe assembly.
Do I need to change the light bulb when changing the fitting type?
You will often need to change the light bulb to match the physical requirements of the new fitting. Clip-on fittings require standard A-shape (classic pear shape) or flame-shaped chandelier bulbs to provide a consistent, rounded surface for the wire loops to grip; flat-sided or spiral utility bulbs will not hold a clip-on shade securely. For Uno shades, the bulb must be small enough to pass through the threaded central ring of the shade before the shade is screwed onto the socket. Always ensure your replacement bulb complies with the socket’s maximum wattage rating, and prioritize energy-efficient LEDs to minimize heat build-up.

Community discussion
Share your experience or ask a question. Comments are reviewed before publication.