
Replacing a standard fabric or glass lampshade with a capiz shell lampshade is an excellent way to introduce natural texture, warm diffusion, and a touch of coastal elegance to your living space. Made from the translucent shells of the windowpane oyster, capiz lampshades filter light beautifully, casting a soft, pearlescent glow that instantly softens a room’s atmosphere. Whether you want to refresh an old table lamp or update a hanging pendant, this guide walks you through the entire replacement process safely and effectively.
While the warm, organic aesthetic of capiz shells is a highly sought-after design preference, ensuring the physical safety and structural compatibility of the fixture is paramount. The transition requires careful handling due to the delicate nature of the shells and the unique weight distribution of these handmade pieces. By following a systematic approach, you can successfully upgrade your lighting fixture while protecting both your new shade and your existing lamp base.
Check Compatibility Before You Start
Before purchasing or installing a new capiz lampshade, you must verify that your existing lamp base is physically and structurally compatible with the new shade. Capiz shades are often heavier and more delicate than standard paper or fabric alternatives, meaning they require specific support systems to function safely. Begin by checking the electrical certification and voltage rating of your lamp base to ensure it is in safe working condition.
Products mentioned in this guide
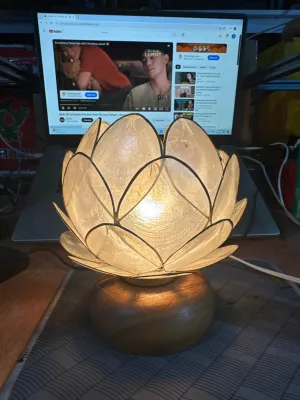
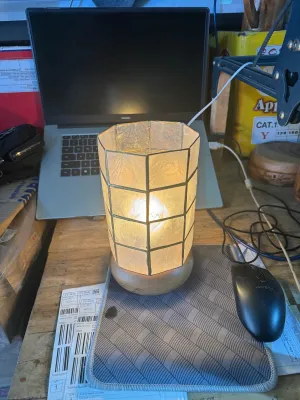
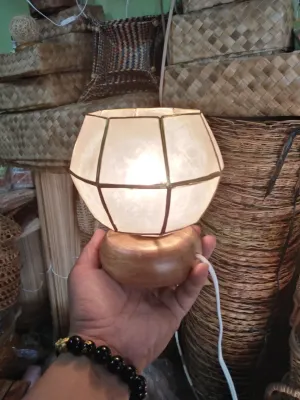
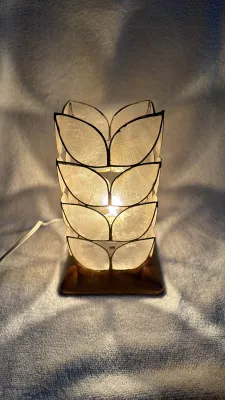
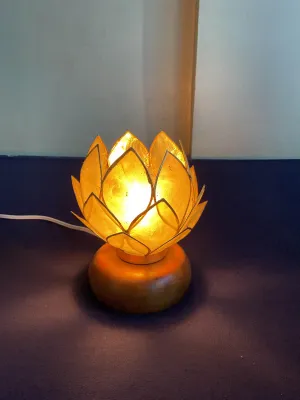
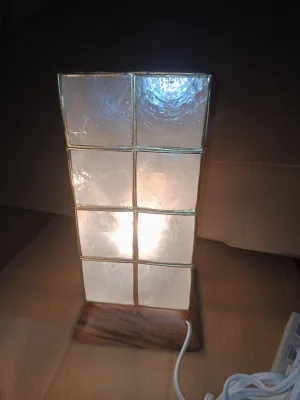
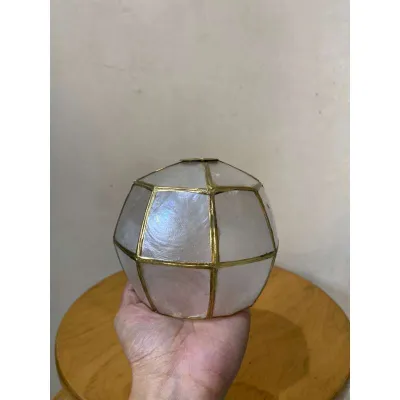
Prices are valid at publication and may change. Please refer to the product page for the latest price.
First, identify the fitter mechanism on your current lamp. The fitter is the metal part of the shade that connects it to the lamp base. The most common type is a spider fitter, which sits on top of a metal wire support called a harp and is secured by a screw-on cap called a finial. Another common type is the uno fitter, which threads directly onto the lamp socket itself. Because capiz shades are constructed with delicate metal wire frames holding the shell pieces together, they typically come with either a spider or an uno fitter. Measure the diameter of your lamp’s socket or harp interface to ensure the new shade’s fitter ring will slide on smoothly without forcing.
Next, consider the weight and balance of your lamp base. Natural capiz shells, along with the solder or wire frames that hold them, add significant weight compared to lightweight fabric shades. If your lamp base is made of thin plastic, lightweight wood, or has a narrow footprint, installing a heavy capiz shade can make the entire unit top-heavy and prone to tipping over. Ensure your lamp base is sturdy, weighted, or has a wide, stable bottom to handle the extra load safely.
Finally, check the heat and wattage limits of both your lamp socket and the capiz shade. Natural shells are sensitive to high temperatures; excessive heat from an incorrect bulb can cause the shells to dry out, warp, discolor, or even crack over time. Look for the manufacturer’s label on the lamp socket to find the maximum wattage rating, and compare it with the recommended wattage limit of your new capiz shade. Always plan to use a bulb that operates well within these safety limits.
Tools and Materials You Will Need
Having the right tools on hand ensures a smooth installation process and protects your delicate new capiz shade from accidental damage. Gather these items before you begin:

- Soft cotton gloves or a clean microfiber cloth: Natural skin oils, sweat, and moisture can leave smudges on the polished capiz shells or accelerate the tarnishing of the metal wire frames. Wearing gloves or using a cloth ensures clean handling.
- A stable step stool: If you are replacing a shade on a tall floor lamp or a hardwired ceiling pendant, a sturdy step stool is essential to reach the fixture safely without stretching or straining.
- A small flathead or Phillips screwdriver: While most lampshades can be replaced by hand, some older fixtures may have tight screws or brackets securing the harp or socket ring that require a tool to loosen.
Step-by-Step Guide to Removing the Old Lampshade
Removing your existing lampshade requires a gentle touch to avoid damaging the lamp’s electrical socket or cord. Follow these steps to clear the way for your new capiz shade.
Safety must always be your first priority when working with electrical fixtures. Before touching any part of the lamp, unplug the power cord from the wall outlet. If you are replacing a shade on a hardwired wall sconce or ceiling pendant, go to your home’s main electrical panel and switch off the circuit breaker dedicated to that room. Turn the lamp switch on and off to verify that no electrical current is flowing to the fixture. For fixed wiring installations or work in damp areas, always consult a qualified professional if you are unsure of the safety protocols.
Once the power is completely isolated, allow the existing light bulb to cool down completely if the lamp was recently in use. Once cool, gently unscrew the bulb counterclockwise and set it aside in a safe, flat area where it cannot roll off and break.
Now, detach the hardware holding the old shade in place. For lamps with a spider fitter, unscrew the decorative finial at the top of the harp by turning it counterclockwise. Once the finial is removed, carefully lift the old shade straight up and off the harp. If your lamp uses an uno fitter, look inside the shade to locate the threaded socket ring. Unscrew this ring counterclockwise to release the shade from the socket, then lift the shade away. For clip-on shades, gently pull the shade upward to release the wire clips from the bulb itself.
How to Install Your New Capiz Shell Lampshade
Installing your new capiz lampshade requires patience and care, as the individual shell panels can chip or crack if bumped against hard surfaces.
Begin by carefully unpacking your new capiz lampshade. If the shade features hanging strands of shells, they may be wrapped in protective plastic or paper; leave this protective wrapping intact until the shade is fully mounted to prevent the strands from tangling or clashing together during installation. Hold the shade firmly by its central metal frame rather than grabbing the delicate shell panels.
Gently lower the shade’s center ring onto the lamp’s mounting system. If you are using a spider fitter, align the center ring over the top screw of the harp. If you are using an uno fitter, slide the center ring over the socket. Ensure the shade sits perfectly level and does not tilt to one side, which could cause uneven weight distribution and make the lamp unstable.
Secure the shade in place by hand. For spider fitters, thread the finial back onto the top of the harp, turning it clockwise. Tighten it until it is snug, but do not overtighten, as excessive pressure can crack the natural shell panels near the top ring or strip the metal threads. For uno fitters, screw the socket ring back onto the socket thread until the shade is firmly held in place.
Once the shade is secure, carefully remove any remaining protective wrapping from the shell strands. Screw the light bulb back into the socket. Take a moment to check that the bulb is perfectly centered within the shade; it should not touch any of the capiz shells or the inner wire frame. This centering ensures even light distribution and prevents localized heat buildup on the delicate natural shells.
Caring for and Cleaning Your Capiz Lampshade
Capiz shells are natural, organic materials that require gentle maintenance to preserve their translucent beauty and pearlescent sheen over time.
For routine cleaning, dust the lampshade regularly using a soft, dry microfiber cloth, a clean feather duster, or a soft-bristled makeup brush. Gently sweep away dust from the top of the shade down to the bottom, paying close attention to the small metal rings or wires connecting the shell panels. Avoid applying heavy pressure, which can bend the wire frames or crack the shells.
Never use liquid glass cleaners, harsh chemical sprays, or abrasive scrubbing pads on your capiz lampshade. Moisture and chemicals can seep into the porous edges of the shells, causing them to delaminate, lose their luster, or turn yellow. Additionally, liquid cleaners can corrode or weaken the delicate metal solder and wire bindings that hold the shade together.
Environmental factors play a significant role in the longevity of natural shell decor. In tropical environments, high humidity and salt air can accelerate the tarnishing of metal components. Keep your lamp in a well-ventilated indoor area away from open windows where strong drafts might cause the shell strands to clatter against each other and chip. Avoid placing the lamp in direct sunlight, as prolonged exposure to ultraviolet rays can dry out the natural shells, making them brittle and prone to cracking.
Frequently Asked Questions (FAQ)
Can I use a capiz lampshade with any light bulb?
No, you should not use just any light bulb with a capiz lampshade. Because natural capiz shells are sensitive to heat, it is highly recommended to use LED bulbs rather than traditional incandescent or halogen bulbs. LED bulbs emit significantly less heat, which protects the delicate shells from drying out, warping, or discoloring over time. Always check the maximum wattage rating printed on your lamp socket and the lampshade’s label, and ensure your chosen bulb operates well below that limit.
What should I do if the capiz shade feels too heavy for my lamp base?
If your new capiz lampshade feels too heavy and makes your lamp unstable, you must address the balance to prevent tipping hazards. First, check if you can add a weighted base pad, such as a heavy felt-covered metal disc, to the bottom of your lamp base to lower its center of gravity. Alternatively, consider relocating the lamp to a lower, wider, and more stable surface, such as a sturdy sideboard or console table, away from high-traffic areas where it could easily be knocked over. If the base remains unstable, you may need to pair the capiz shade with a heavier, more robust lamp base made of ceramic, stone, or solid metal.

Community discussion
Share your experience or ask a question. Comments are reviewed before publication.