
Setting up solar Christmas lights inside a condo bedroom while keeping the solar panel outdoors is entirely achievable with the right routing strategy. By placing the solar panel on an exterior balcony railing, window sill, or air conditioner ledge, you can capture the abundant tropical sunlight of the Philippines. You then run the thin, low-voltage connecting wire through a window seal, door gap, or utility conduit into your bedroom, allowing the indoor LED string to glow without relying on an indoor electrical outlet. This setup provides an energy-efficient, cozy ambiance while keeping the power generation completely outdoors.
Assessing Your Condo Layout and Sunlight Access
Before purchasing any lighting equipment, you must analyze your condo’s physical layout and exposure to natural light. High-rise buildings in urban areas like Metro Manila often face obstruction from neighboring towers, which can block crucial sunlight. Walk out onto your balcony or look through your bedroom windows at different times of the day to identify where direct sunlight hits most consistently. A spot that receives at least four to six hours of unobstructed sunlight is ideal for keeping the solar battery fully charged. East-facing units will benefit from morning sun, while west-facing units will capture intense afternoon heat.
Next, measure the physical distance from this outdoor charging location to the exact spot in your bedroom where you want the fairy lights to begin. Do not rely on visual estimates; use a physical measuring tape to trace the path the wire will actually take. This path should follow the contours of your window frames, baseboards, or walls to keep the installation neat and prevent tripping hazards. Remember to account for vertical drops and corners, which quickly consume cable length. If you plan to drape the lights across a large headboard, add an extra meter or two of buffer to your total measurement.
Products mentioned in this guide
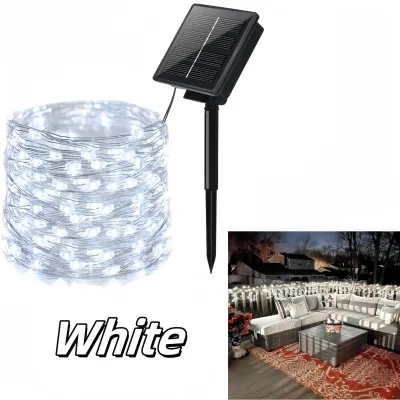
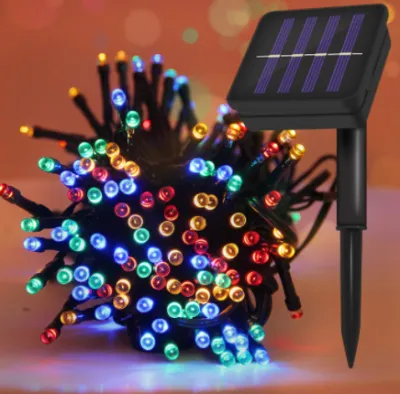
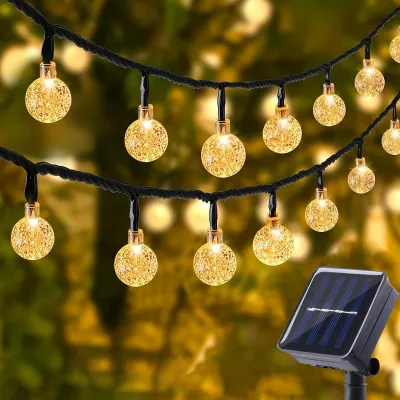
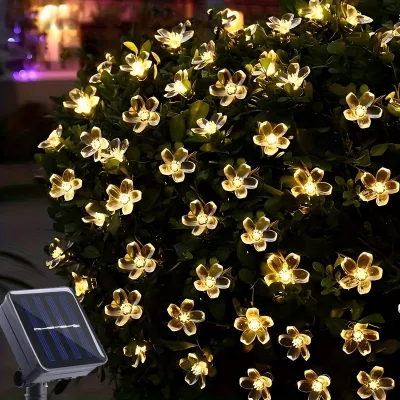
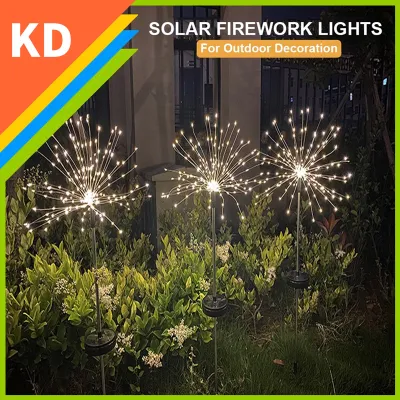
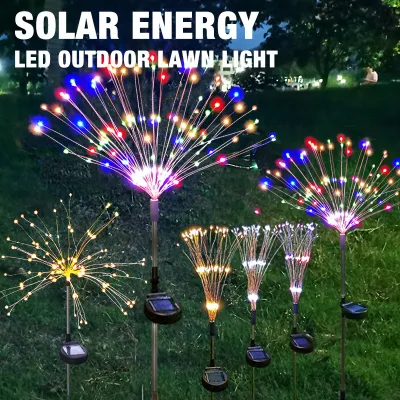
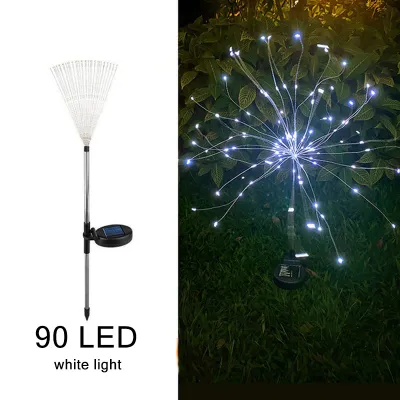
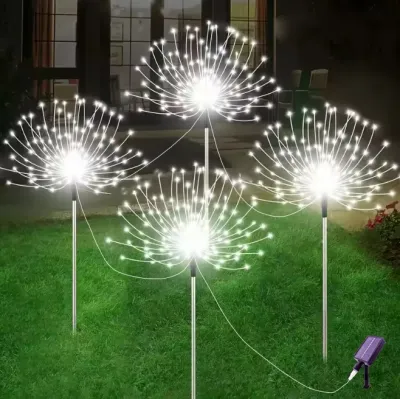
Prices are valid at publication and may change. Please refer to the product page for the latest price.
Finally, inspect the potential entry points where the cable will transition from the outdoors to the indoors. Examine the rubber seals of your sliding glass balcony doors, the gaps in your awning or sliding windows, or the utility sleeves used for split-type air conditioning units. You need to find a passage that allows the wire to enter without being crushed, crimped, or severed when the window or door is closed. If your window seals are exceptionally tight, you may need to plan for a thin flat-ribbon cable or utilize a semi-permanent opening protected by weather stripping.
Choosing the Right Separable Solar Fairy Lights
Standard solar lights often feature a short, thick wire connecting the panel directly to the first bulb, which is highly impractical for indoor-outdoor routing. When browsing local home improvement stores or online marketplaces, look specifically for “separable” or “detachable” solar string lights. These models feature a generous length of unlit lead wire—often ranging from two to five meters—between the solar panel and the first LED bulb. This lead wire acts as the bridge, allowing the panel to sit far out on a sunny balcony while the decorative lights remain entirely indoors.

The physical characteristics of the cable are critical for a successful condo installation. Opt for thin, flexible copper wire or flat-ribbon cables rather than thick, rigid rubberized cords. Thin copper wires can easily conform to the contours of window tracks and slide under door sweeps without preventing the door or window from locking securely. However, ensure the wire insulation is durable enough to withstand friction and environmental exposure.
Safety and durability certifications are paramount, especially given the tropical climate of the Philippines. The solar panel and its integrated battery housing must carry an outdoor weatherproof rating of at least IP44, though IP65 is highly recommended to survive heavy monsoon rains and high humidity. Conversely, the indoor LED bulbs should be rated for low-heat emission to ensure they remain cool to the touch, preventing any fire hazards when draped over fabrics, wooden headboards, or paper decorations. Always check the product label for recognized electrical safety certifications before finalizing your purchase.
Additionally, verify the battery specifications on the product packaging. Look for lithium-ion (Li-ion) or nickel-metal hydride (NiMH) batteries with a capacity of at least 1200mAh. This capacity ensures that even on partially cloudy days, the system can store enough energy to power your bedroom lights for several hours. Avoid unbranded, ultra-cheap options that do not list their battery capacity or voltage, as these often degrade rapidly under intense tropical heat.
Step-by-Step Installation and Cable Routing
To begin the installation, secure the solar panel in your pre-determined outdoor spot using renter-friendly, non-damaging methods. Avoid drilling into condo exterior walls, as this often violates building association guidelines and can cause water leaks during heavy downpours. Instead, use heavy-duty, UV-resistant suction cups on exterior window panes, or secure the panel to balcony railings using adjustable plastic zip ties or specialized balcony clamps. Ensure the panel is mounted tightly so it does not dislodge during strong winds or typhoons.
Once the panel is secure, carefully route the lead wire indoors. If you are routing through a sliding window, place a strip of high-density foam tape or adhesive weather stripping along the window frame where the wire passes. This foam cushions the wire, absorbing the pressure when the window is closed and preventing the metal frame from pinching or cutting the copper conductor. If your condo has a split-type air conditioner, you can sometimes feed the thin wire through the existing wall sleeve alongside the refrigerant pipes, sealing any remaining gaps with removable duct seal putty.
Inside the bedroom, secure the wire along the window frame and baseboards to keep the layout clean and safe. Use transparent, damage-free adhesive clips or removable mounting tape designed for painted walls. This prevents the wire from dangling loosely, which could lead to accidental snags or damage from pets. Keep the wire taut but not overly stretched; leaving a tiny amount of slack near joints and corners prevents tension breaks.
Before finalizing the indoor decoration, perform a physical test of your windows and doors. Slowly close and lock the window or balcony door where the wire passes, observing the cable closely. If you notice the wire flattening, stripping, or resisting the closure, reopen it immediately and adjust the cushioning. The window must be able to close and lock fully to maintain your condo’s security and air conditioning efficiency without compromising the integrity of the power line.
Maximizing Charging Efficiency and Bedroom Ambiance
To get the most out of your solar Christmas lights, you must optimize the solar panel’s angle to capture the intense tropical sun. In the Philippines, angling the panel at approximately 15 to 20 degrees facing south is generally effective for year-round sun exposure, though you should adjust this based on your specific balcony orientation. Ensure the panel is completely clear of shadows cast by overhanging building ledges, laundry racks, or neighboring structures, especially during the peak sunlight hours of 10:00 AM to 2:00 PM.
Once the power source is optimized, focus on creating a warm, relaxing bedroom ambiance. Instead of hanging the fairy lights in a harsh, direct line, drape them loosely over a wooden headboard, weave them through sheer curtain panels, or wrap them around indoor plants like snake plants or peace lilies. This diffuses the light, softening the glow and creating a serene, cozy environment perfect for winding down at the end of the day. Warm white LEDs (around 2700K to 3000K) are highly recommended over cool white or multicolored options for a calming, restful atmosphere.
To conserve the stored battery power, make full use of the solar light’s built-in control functions. Most solar panels feature an integrated light sensor (photocell) that automatically illuminates the string lights at dusk and turns them off at dawn. If your model includes a remote control or a timer function, program the lights to turn off after four to six hours of operation. This ensures you enjoy the cozy ambiance during your evening routine while conserving the battery charge for consecutive cloudy or rainy days.
Troubleshooting Common Setup Issues
If your indoor solar lights fail to illuminate or seem noticeably dimmer, start by inspecting the outdoor solar panel. In urban condo environments, construction dust, vehicle emissions, and bird droppings can quickly accumulate on the glass surface, blocking sunlight and reducing charging efficiency. Wipe the panel clean using a soft, damp microfiber cloth; avoid using abrasive scrubbers or harsh chemical cleaners that could scratch the protective coating.
Next, perform a physical inspection of the entire cable run, paying close attention to the transition point where the wire enters the room. Repeatedly opening and closing windows or doors can cause internal copper wire fractures even if the outer plastic insulation appears intact. If you suspect an internal break, gently wiggle the wire near the window frame while the lights are switched on; if the lights flicker, the cable has sustained internal damage and the set may need to be repaired or replaced.
Finally, consider the state of the rechargeable battery housed inside the solar panel assembly. New solar lights often require an initial charge of 24 to 48 hours in direct sunlight with the power switch in the “off” position to condition the battery fully. If the lights stop working after a prolonged period of rainy weather, turn the switch off for two sunny days to allow the battery to recover a deep charge without discharging nightly. If the system still fails after several years of use, check the battery compartment; most quality solar panels allow you to replace the internal rechargeable AA or AAA NiMH battery easily.
Frequently Asked Questions (FAQ)
Can I charge the solar panel through a closed glass window?
Charging a solar panel behind a closed glass window is highly inefficient and generally not recommended. Standard window glass, especially modern double-glazed, tinted, or low-emissivity (Low-E) glass commonly used in high-rise condos, filters out a significant portion of the solar spectrum required to charge the battery. This can reduce your panel’s charging efficiency by 50% or more, resulting in lights that only burn dimly for an hour or two. For reliable performance, always mount the solar panel on the exterior side of the glass where it has direct, unfiltered access to open air and sunlight.
Are solar fairy lights safe to leave on all night indoors?
Yes, quality solar-powered LED fairy lights are exceptionally safe for overnight indoor use. Because they operate on low-voltage direct current (typically 1.2V to 3.7V depending on the battery configuration), they generate virtually no heat and remain cool to the touch even after hours of continuous operation. This eliminates the fire risks associated with traditional high-voltage incandescent Christmas lights. Furthermore, because the system relies on a limited battery capacity, the lights will naturally fade and turn off on their own once the stored solar energy is depleted, preventing unnecessary wear on the components.

Community discussion
Share your experience or ask a question. Comments are reviewed before publication.