
To perform an effective wall inspection, a specialized clip-on light must feature high color rendering capabilities (ideally a Color Rendering Index of 90 or above), adjustable brightness with stepless dimming, a highly flexible and lockable arm, and a secure, non-marring clamp. These features allow you to project a low-angle “raking light” across the surface, which casts distinct shadows over imperfections like drywall seams, paint runs, and sanding marks that standard ambient lighting completely hides.
Choosing the right wall inspection light is critical for identifying subtle surface defects before final handovers, especially in tropical climates like the Philippines where high humidity can affect how plaster dries and how paint cures. Relying on basic work lights or general household lamps often leads to missed flaws, resulting in costly callbacks once the final finish is applied.
Why Generic Clip Lights Fall Short for Wall Inspection
Identifying surface defects on walls requires a specialized approach to illumination. During a typical wall inspection, you are searching for minute paint inconsistencies, drywall seam flaws, texture variations, and early signs of moisture damage. These defects are often flush with the surface or rise only a fraction of a millimeter, making them virtually invisible under standard overhead lighting.
Products mentioned in this guide
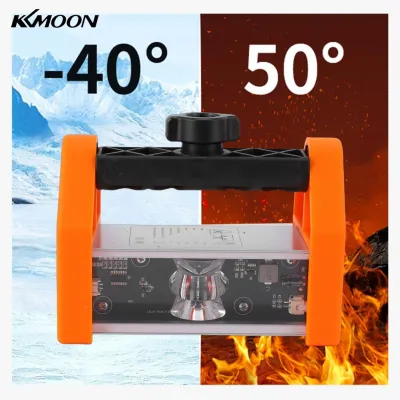
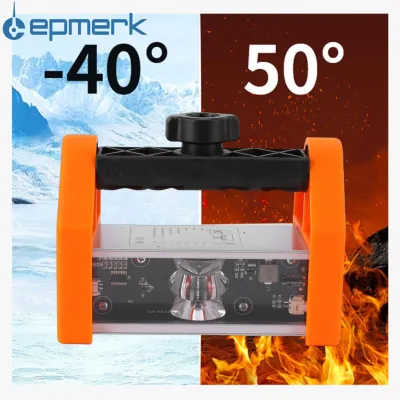
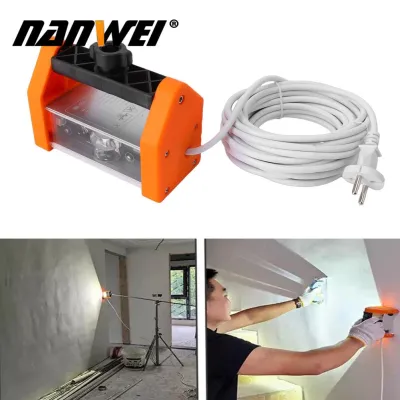
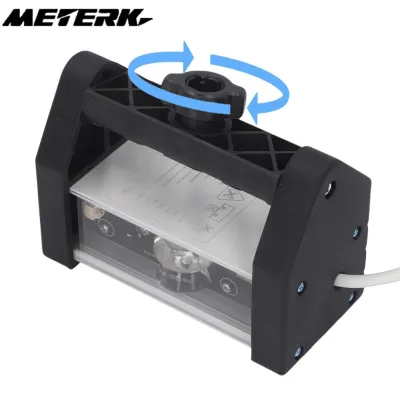
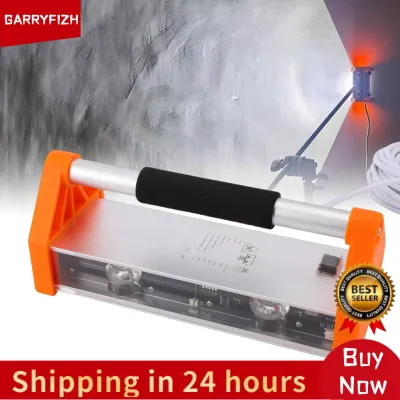
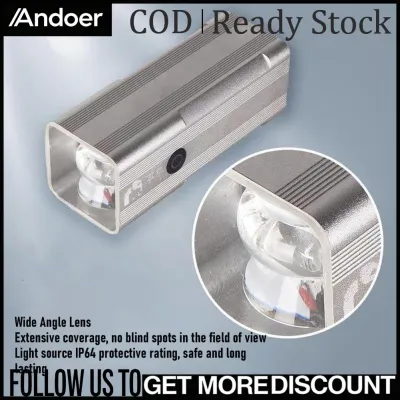
Prices are valid at publication and may change. Please refer to the product page for the latest price.
Generic clip lights, such as those designed for reading or desk work, are engineered to spread light evenly over a small, flat area. When pointed at a wall, they often produce harsh, localized hotspots that blind the inspector. This intense concentration of light washes out subtle shadows, leading to false positives or causing you to miss critical defects entirely.
Furthermore, standard utility lights lack the color accuracy needed to spot patch jobs or variations in paint sheen. General ambient illumination fills in the very crevices and texture gaps you need to analyze. To expose these flaws, you require high-contrast, directional lighting that can be precisely controlled and positioned at extreme angles.
Using an inadequate light source also increases eye strain during long inspection sessions. When a light cannot be dimmed or adjusted, your eyes must constantly adapt to glare and shadows. This fatigue makes it even more difficult to maintain the attention to detail required for professional-grade quality control.
Optical Specs a Wall Inspection Light Needs to Reveal Flaws
Brightness and Dimming Control
Adjustable lumen output is non-negotiable when evaluating wall surfaces. Overly bright lights cause intense glare, especially when shining on semi-gloss or high-gloss paint finishes. This glare masks the actual texture of the wall, making it impossible to see if the primer coat was applied evenly.

Conversely, a light that is too dim will fail to reveal subtle texture flaws and sanding scratches in drywall joint compounds. You should look for a light that offers stepless dimming or at least three distinct brightness tiers. This flexibility allows you to dial in the exact level of illumination needed for the specific paint sheen and color you are inspecting.
Color Temperature and High CRI
Color accuracy is determined by the Color Rendering Index (CRI) of the light source. A high CRI of 90 or above is essential for distinguishing subtle paint color mismatches, primer holidays, and patch jobs. Low-CRI lights tend to flatten colors, making different shades of white or beige look identical and hiding poorly blended touch-ups.
Color temperature, measured in Kelvin (K), also plays a significant role in how surface details appear. While some inspectors prefer cool daylight (5000K to 6500K) for highlighting drywall mud seams, others find that warm white (3000K) is better for spotting coverage gaps in final paint coats. Because these preferences are highly conditional and depend on the final room design, a light with adjustable color temperature offers the most versatile performance.
Beam Angle and Light Diffusion
Contrast is key when choosing between focused spot beams and wide, diffused beams. A tightly focused spot beam creates a harsh circle of light that is too intense for close-up inspections and fails to cover enough surface area. It also creates artificial shadows at the edges of the beam that can easily be mistaken for wall bulges.
Instead, look for a light that offers a moderately wide, evenly diffused beam. A built-in diffuser or frosted lens helps distribute the light smoothly across the wall surface. This even distribution prevents harsh hotspots while still allowing you to cast the clean, elongated shadows necessary for spotting uneven sanding and plaster imperfections.
Hardware and Mounting Features for Practical Job-Site Use
Clip Grip and Surface Protection
A secure mounting mechanism is vital for maintaining a consistent light angle on busy job sites. The light should feature a heavy-duty spring clamp or a mechanical screw-clamp that can grip tightly onto various surfaces. You will often need to mount the light on door frames, baseboards, window sills, or scaffolding rails.
Because you will frequently attach the light to finished or semi-finished surfaces, the clamp must include non-marring rubber or silicone pads. These pads prevent the metal or hard plastic jaws of the clamp from scratching freshly painted trim, denting drywall, or leaving scuff marks on wood finishes. A slipping clamp not only disrupts your work but can also fall and damage the floor or the light itself.
Arm Flexibility for Raking Light Angles
To perform a proper inspection, you must position the light head almost parallel to the wall surface. This technique, known as raking light, requires extreme flexibility in the light’s arm. A stiff, rigid arm will limit your mounting options and force you to hold the light by hand, reducing your efficiency.
Compare the utility of highly flexible gooseneck arms with hinged, multi-joint arms. Goosenecks offer infinite adjustability, allowing you to twist the light into tight corners. Multi-joint arms, on the other hand, often provide more stability and can be locked securely into place, ensuring the light does not sag or droop over time due to gravity or job-site vibrations.
Power Sources and Cord Management
Deciding between battery-powered and corded models depends heavily on your typical work environment. Built-in rechargeable lithium-ion batteries offer unmatched mobility, allowing you to move freely from room to room without searching for an outlet. This cordless design eliminates tripping hazards and prevents heavy cords from dragging across wet paint or delicate wall finishes.
However, corded models or those powered via continuous USB connections provide unlimited runtime, which is ideal for all-day inspections. If you choose a corded option, ensure the cord is long enough to reach your work area without tension, and look for integrated cord management clips. Keeping the cord secured prevents accidental tugs that could pull the light off its mount.
Job-Site Safety and Electrical Verification
When using electrical equipment on construction or renovation sites, safety must be your top priority. In the Philippines, the standard utility voltage is 220V at 60Hz. Before plugging in any corded inspection light or charger, verify that the device’s voltage rating matches this standard to avoid electrical hazards or equipment damage.
Always check for valid electrical certifications, such as the Philippine Standard (PS) quality mark or the Import Clearance Certificate (ICC) sticker. If your inspection involves working at heights on scaffolding, operating in damp environments like freshly plastered rooms, or handling fixed wiring, make sure to isolate the power source. Always follow the manufacturer’s installation and safety instructions, and consult a qualified professional if you encounter complex electrical setups.
Recommended Light Configurations for Different Inspection Tasks
High-CRI Rechargeable Gooseneck Lamps
This configuration is highly recommended for detailed, close-up finish work where color precision and portability are paramount. The high CRI rating ensures that you can accurately evaluate fine paint textures, detect wallpaper seam alignments, and inspect intricate trim work. Because these lamps are cordless, you can easily carry them during a final client walkthrough to spot minor blemishes.
The flexible gooseneck allows you to quickly adjust the angle of the light head with one hand while holding a pencil or inspection checklist in the other. This setup is particularly useful for punch-list inspections where you need to move rapidly from one wall section to another without being tethered to a wall outlet.
Wide-Beam Clamp Lights with Diffusers
For broad, structural surface evaluations, a wide-beam clamp light equipped with a diffuser is the most effective choice. This setup is ideal for checking large drywall expanses, verifying plaster leveling, and assessing overall sanding consistency across entire rooms. The wide beam covers a large area at once, allowing you to spot systemic issues like bowing studs or poorly blended joints quickly.
These lights typically require a continuous power source due to their higher lumen output, making them less portable but highly reliable for extended use. The built-in diffuser ensures that the light wash is soft and even, preventing the harsh glare that can hide structural depressions or bulges in the plaster.
Compact USB-Powered Clip Lights
When space is limited, compact USB-powered clip lights offer a highly practical solution. These lightweight lights are perfect for quick checks inside closets, behind bulky fixtures, or in tight corners where larger lamps cannot physically fit. Their small footprint makes them easy to toss into a tool bag or pocket.
You can conveniently power these lights using standard portable power banks, making them highly versatile on sites without active electrical mains. While they do have limitations in overall brightness and beam reach compared to larger models, their ability to illuminate hard-to-reach areas makes them an indispensable secondary tool for any inspector.
Pro Techniques for Positioning Your Clip Light on Walls
To get the most out of your inspection light, you must master the “raking light” technique. Start by clamping the light to an adjacent door frame, window sill, or a temporary support stand. Position the light head as close to the wall surface as possible, aiming the beam parallel or at a very shallow angle (typically 5 to 15 degrees) across the wall.
As the light travels across the flat plane, any protrusion—such as an un-sanded ridge of drywall compound, a paint run, or a dust speck—will block the light and cast a long, dark shadow. This shadow magnifies the size of the defect, making it easy to identify and mark for repair. If you shine the light directly at the wall from a straight-on angle, these shadows disappear, and the defects become invisible.
Adjust the distance between the light and the wall based on the texture you are inspecting. For smooth, level-five drywall finishes, keep the light very close to the surface to catch the smallest imperfections. For heavily textured walls, such as stucco or knockdown finishes, move the light slightly further away to prevent the natural texture from casting overwhelming shadows that mask actual application defects.
Always ensure the clip is secured to a stable, non-flexing surface before leaving it unattended. If you are using a high-output light, check the manufacturer’s instructions regarding heat dissipation and avoid leaving the light head resting directly against painted surfaces. Periodically check for heat buildup to protect both the light fixture and the wall finish from damage.
Frequently Asked Questions (FAQ)
Can I use a standard smartphone flashlight for wall inspection?
While a smartphone flashlight is convenient for quick checks, it is highly inadequate for professional wall inspections. Smartphone LEDs typically produce a very cool, bluish light with a low Color Rendering Index, which washes out colors and hides subtle paint mismatches. Additionally, holding a phone makes it difficult to maintain the steady, hands-free raking angle required to accurately evaluate large surface areas without dropping the device.
What is the best color temperature for checking drywall mud seams?
For checking drywall mud seams and joint compound patches, neutral to cool daylight temperatures in the 4000K to 5000K range are generally preferred. This color range provides a clean, high-contrast light that clearly highlights the subtle color differences and physical ridges between the joint compound and the surrounding drywall paper. However, because final lighting conditions vary, it is highly beneficial to verify the surface under multiple color temperatures before applying the final paint coat.
Community discussion
Share your experience or ask a question. Comments are reviewed before publication.