
A self adhesive acrylic mirror wall is an exceptional, budget-friendly solution for expanding the visual boundaries of tight quarters. In typical Philippine studio apartments, dorm rooms, and compact condominiums, floor space is at a premium. Traditional glass mirrors, while effective, are heavy, fragile, and often require drilling into walls—a major hurdle for renters who want to secure their safety deposits. Acrylic alternatives offer a lightweight, shatter-resistant, and highly customizable way to bounce light around a room and create a sense of openness.
While these modern decorative accents are highly functional, achieving a flawless look requires understanding both their benefits and their physical limitations. Because acrylic is a flexible plastic material, it behaves differently than rigid glass. To prevent warping and ensure a clear, beautiful reflection, you must choose the right layout for your specific room shape and prepare your walls with care. By selecting a strategic layout and following proper installation steps, you can transform a cramped bedroom into an airy, visually spacious retreat.
Why Choose Self-Adhesive Acrylic Mirrors for Compact Spaces
When decorating a small bedroom, weight and safety are primary concerns. Traditional glass mirrors are heavy and require robust mounting hardware, such as wall anchors or heavy-duty brackets, which can leave permanent damage on drywall or concrete walls. Self-adhesive acrylic mirrors, made from lightweight polymers, can be mounted securely using simple adhesive backings. This makes them incredibly easy to handle as a solo DIY project, allowing you to complete an entire accent wall in a single afternoon without specialized power tools.
Products mentioned in this guide
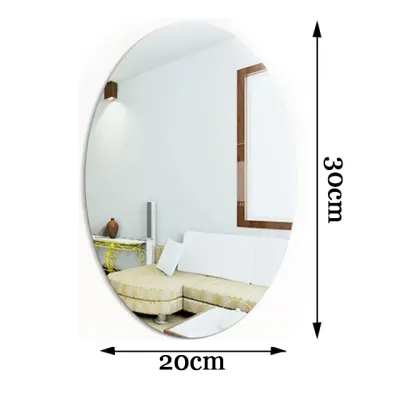
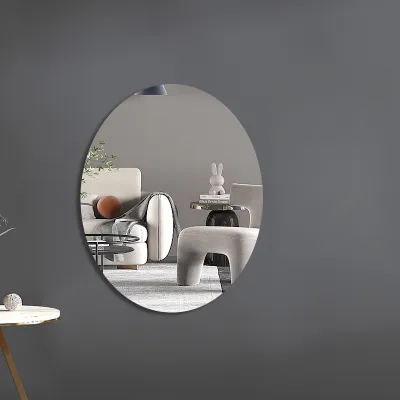
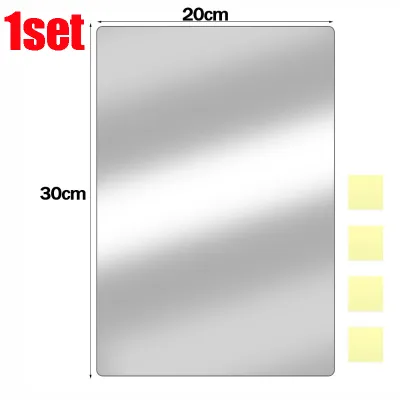

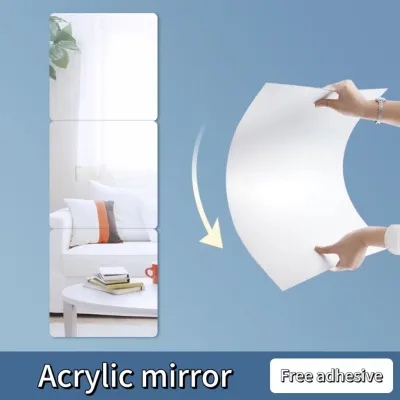
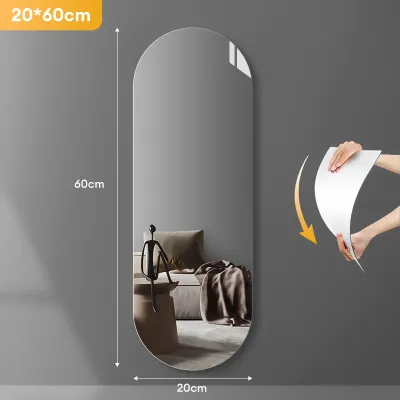
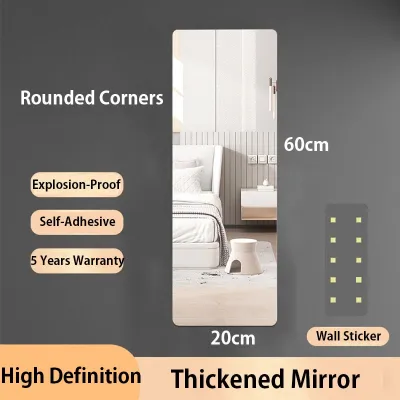
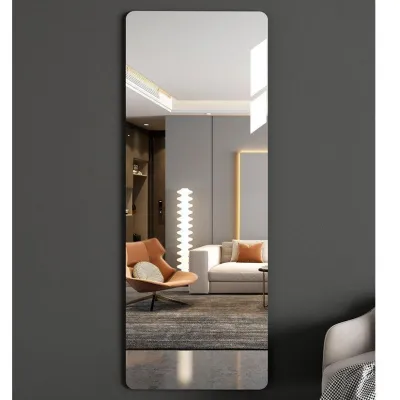
Prices are valid at publication and may change. Please refer to the product page for the latest price.
In high-traffic areas or earthquake-prone regions like the Philippines, the shatter-resistant nature of acrylic provides peace of mind. If a tile accidentally detaches or is bumped by furniture, it will not shatter into dangerous, sharp shards. This safety factor makes acrylic mirrors particularly suitable for placement above headboards, near beds, or in children’s bedrooms where glass would pose an unacceptable safety hazard.
However, managing your expectations regarding image quality is essential before purchasing. Acrylic is a flexible plastic, meaning it naturally conforms to any surface it is pressed against. If your bedroom wall has minor bumps, texture, or curves, the mirror will bend slightly, resulting in a distorted “funhouse” reflection. To enjoy a clear, true-to-life reflection, you must commit to installing these tiles on a perfectly flat, smooth surface.
Top Mirror Layouts to Maximize Space and Light
Strategic placement is the secret to making a small bedroom feel twice its actual size. Rather than hanging a single, isolated mirror, using multiple acrylic tiles allows you to design custom layouts that actively manipulate the perception of height, depth, and light. Depending on your bedroom’s specific layout and window locations, certain patterns will yield far better spatial results than others.

Vertical Stacking to Elevate Low Ceilings
Many standard condominiums and urban apartments feature relatively low ceilings that can make a small bedroom feel slightly oppressive. You can counteract this cramped feeling by arranging rectangular or square acrylic mirror tiles in a continuous vertical column. By running a sleek line of mirrors from just above your baseboard up toward the ceiling, you create a strong vertical axis that draws the eye upward, creating the illusion of a loftier space.
To achieve a polished, modern look with this layout, use temporary spacers—such as matchsticks or tile spacers—to maintain a consistent two-millimeter gap between each mirror tile. This small gap creates clean, intentional shadow lines that mimic high-end custom glass installations. Placing this vertical pillar next to a wardrobe or in an unused corner anchors the design without cluttering your main wall space.
For the best visual balance, ensure the vertical column is proportional to your furniture. If you place the column next to a bed, aligning the top of the mirror stack with the height of nearby window frames or door frames creates a sense of architectural harmony. This layout is highly effective because it utilizes narrow strips of wall space that are otherwise difficult to decorate.
Opposite-Window Placement to Amplify Natural Light
If your bedroom suffers from limited natural light or feels gloomy during the rainy season, positioning your self adhesive acrylic mirror wall opposite or adjacent to a window is highly beneficial. By catching incoming daylight, the mirrors act as secondary light sources, bouncing natural illumination deep into the darkest corners of the room. This simple trick instantly makes the entire space feel brighter, fresher, and more open.
When planning this layout, observe how daylight moves through your room at different times of the day. A large grid of square tiles placed directly opposite an east-facing window will capture beautiful, soft morning light. However, you should avoid placing mirrors where they will reflect harsh, direct afternoon sunlight onto your bed or workspace. In a tropical climate, reflecting intense direct sunlight can cause uncomfortable glare and localized heat buildup on your interior walls.
If the wall directly opposite your window is already occupied by a large wardrobe or headboard, try placing the mirror layout on an adjacent perpendicular wall. This angle still captures a significant portion of the incoming light and reflects it diagonally across the room, softening harsh shadows and creating a gentle, diffused glow throughout the day.
Geometric Grids for Narrow or Awkward Walls
Small bedrooms often feature awkward architectural details, such as narrow wall segments between a closet door and a corner, or structural pillars that break up the room. Instead of leaving these spaces blank or forcing standard artwork onto them, you can utilize smaller hexagonal, diamond, or square acrylic tiles to create a custom geometric grid. This approach turns an awkward wall into an eye-catching decorative feature.
Using shaped tiles like hexagons allows you to build organic, honeycomb-like patterns that do not require a perfectly straight border. This flexibility is ideal for distracting the eye from uneven corners or narrow wall proportions. By breaking the reflective surface into smaller, stylized segments, you add decorative depth to the room while keeping the overall aesthetic light and playful.
To prevent a geometric layout from making a small room feel cluttered, maintain plenty of negative space around the edges of your grid. Avoid running the pattern completely edge-to-edge on a narrow wall; instead, leave a generous border of painted wall visible around the mirror cluster. This negative space frames the installation, ensuring it feels like a deliberate piece of wall art rather than an overwhelming wall covering.
Wall Preparation and Safe Installation Steps
Installing self-adhesive acrylic mirrors is a straightforward DIY task, but skipping the preparation phase will inevitably lead to distorted reflections or peeling tiles. Because the acrylic material is flexible and the adhesive relies on a clean bond, taking the time to prepare your wall surface is the most critical step of the entire project.
Before beginning, check the applied product’s label and the mirror manufacturer’s specific instructions for wall compatibility. If your wall material is unidentified, or if the manufacturer’s instructions conflict with your wall type, stop and consult a qualified professional. To ensure a safe, long-lasting installation, follow these essential steps:
- Verify the Wall Surface: Ensure your target wall is completely smooth, dry, and structurally sound. Do not install acrylic mirrors over heavily textured plaster, textured wallpaper, peeling paint, or damp surfaces, as the adhesive will fail, causing the mirrors to fall and warp.
- Isolate Electrical Hazards: If your layout runs close to wall outlets, light switches, or light fixtures, isolate the power at your main breaker box before working around these areas to prevent accidental electrical contact.
- Clean the Wall Thoroughly: Wipe down the target wall area with a mild degreasing agent, such as highly diluted dishwashing soap mixed with warm water, to remove dust, skin oils, and grime. Wipe the wall again with clean water and a lint-free cloth, then allow it to dry completely for at least 24 hours to ensure no moisture is trapped behind the adhesive.
- Map Your Layout: Use a spirit level, a measuring tape, and a pencil to lightly draw your grid or column lines directly onto the wall. Having a clear visual guide ensures your tiles are perfectly straight and prevents you from having to peel and reposition tiles, which weakens the adhesive.
- Address Adhesive Risks: Many self-adhesive mirrors come with highly aggressive double-sided foam tape that can easily cure and bond permanently to standard household latex paints. If you are renting your home or want to protect your paint, test a small, hidden area of your wall first with a spare piece of adhesive tape. If the adhesive is too aggressive, consider applying high-quality painter's tape to the wall first, then sticking the mirror's adhesive to the painter's tape, or using specialized clean-removal mounting strips instead of the built-in tape.
- Apply and Secure: Peel the backing from the first tile, align it carefully with your pencil guides, and press it firmly against the wall. Apply even pressure across the entire surface of the tile, especially around the edges, for at least 30 seconds to activate the pressure-sensitive adhesive. Repeat this process for all remaining tiles, maintaining your desired spacing.
Caring for Acrylic Mirrors and Managing Limitations
Once your self-adhesive acrylic mirror wall is successfully installed, proper maintenance is key to keeping it looking pristine. Acrylic is a softer polymer than glass, meaning it is highly susceptible to fine surface scratches. Standard household cleaning habits that work well on glass can quickly ruin an acrylic surface if you are not careful.
Never use paper towels, dry rags, or abrasive kitchen sponges to dust or clean your acrylic mirrors. Paper towels contain tiny wood fibers that can leave micro-scratches on the plastic surface, dulling the reflection over time. Instead, always use a clean, high-quality, damp microfiber cloth to gently wipe away dust and fingerprints.
When it comes to cleaning agents, avoid ammonia-based glass cleaners and harsh multi-purpose sprays. These chemicals can cause a reaction known as “crazing,” which creates tiny, permanent cracks and a cloudy appearance across the surface of the plastic. Instead, use a simple solution of mild dish soap and warm water, or a specialized cleaner formulated specifically for acrylic and plastics. Always refer to the care instructions provided by your mirror’s manufacturer before applying any new cleaning product.
Finally, keep in mind that minor edge distortion is a natural physical characteristic of flexible acrylic tiles. While a perfectly flat wall minimizes this effect, you may still notice a slight warp when looking at the very edges of the tiles from a sharp angle. To manage this limitation, arrange your bedroom layout so that your primary viewing angles—such as where you stand to check your outfit or style your hair—align directly with the center of the tiles rather than the seams.
Frequently Asked Questions (FAQ)
Can I remove self-adhesive acrylic mirrors without damaging the paint?
Successful removal without damaging your wall paint depends heavily on the type of adhesive used and the condition of the underlying paint. To safely remove the mirrors, use a handheld hairdryer on a low or medium heat setting to gently warm the mirror tile. This heat softens the adhesive backing, making it more pliable.
Once the adhesive is warm, slide a piece of dental floss or a thin plastic scraper behind the mirror tile and slowly slice through the foam tape. Avoid pulling the mirror directly away from the wall, as this can rip off the paint or drywall paper. After removing the tiles, clean up any remaining sticky residue using a wall-safe adhesive remover, wiping the area gently with a microfiber cloth.
Do acrylic mirrors distort reflections compared to glass?
Yes, acrylic mirrors can exhibit more reflection distortion than traditional glass mirrors because acrylic is a flexible plastic. Glass is rigid and holds its flat shape perfectly, whereas acrylic will bend and conform to any slight imperfections, bumps, or textures on the wall behind it.
To minimize distortion and achieve a reflection that closely matches glass, you must mount the tiles on a completely flat, smooth surface like painted drywall, smooth wood paneling, or flat laminate. Avoid installing acrylic tiles over uneven surfaces, textured plaster, or grout lines, as these variations will cause noticeable warping in the reflected image.

Community discussion
Share your experience or ask a question. Comments are reviewed before publication.