
In modern Philippine residences—ranging from spacious suburban homes in Laguna to compact, high-rise condominiums in Metro Manila—multi-functional spaces are increasingly popular. A common design trend is the dual-purpose dining area, where a standard dining table doubles as a recreational game table or a conversion pool table. To make this versatile setup work, selecting and installing the right light fixture is essential. If you are planning to install a mini billiards light over your standard dining table, you must strike a careful balance between focused task lighting and comfortable ambient illumination.
To answer the core question directly: for a standard dining table, your mini billiards light should have a length that spans one-half to two-thirds of the table’s total length, and it must remain at least 12 inches narrower than the table’s width to prevent accidental head bumps. The ideal hanging height for the fixture is 30 to 36 inches from the tabletop to the bottom of the light shades. This specific height range provides optimal, shadow-free illumination for casual games while keeping the light source high enough to avoid casting harsh glare into the eyes of seated diners or blocking face-to-face conversations.
Balancing Task and Ambient Lighting for Multi-Use Tables
Billiard tables and dining tables require fundamentally different lighting profiles. A pool table demands highly focused, downward-directed task lighting. This intense illumination must be distributed evenly across the playing surface to eliminate distracting shadows around the balls and cushions, which could otherwise throw off a player’s shot. Conversely, a dining table requires soft, diffused ambient lighting. Dining spaces are meant for relaxation, long conversations, and enjoying meals, which means harsh, direct downlight can feel clinical and uncomfortable.
Products mentioned in this guide

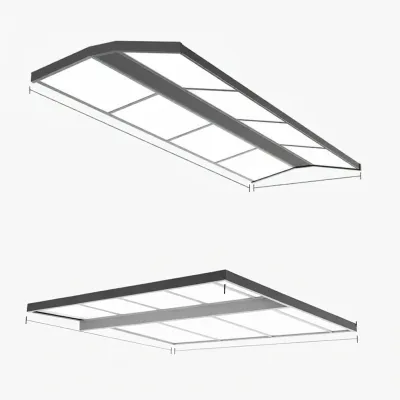
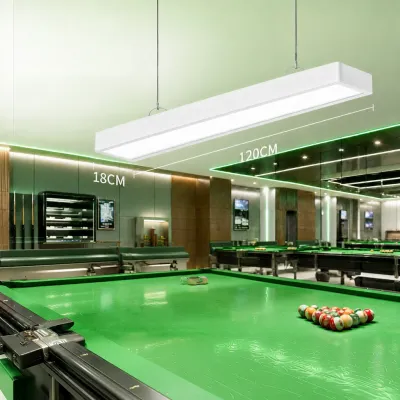
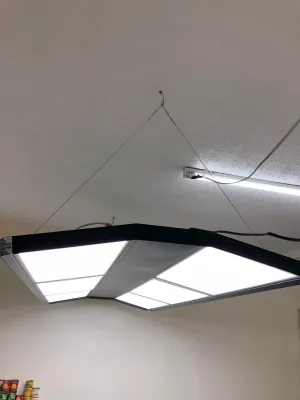
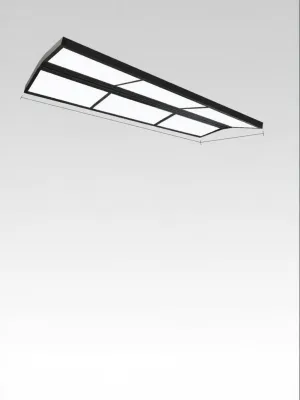
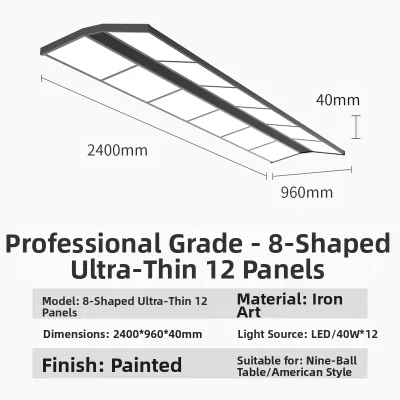
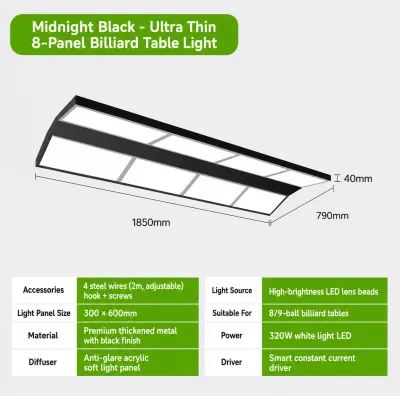
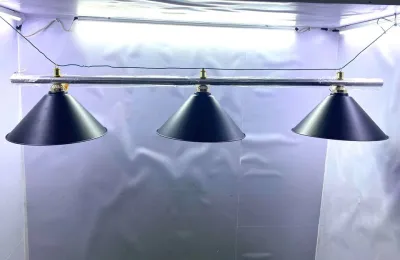
Prices are valid at publication and may change. Please refer to the product page for the latest price.
A mini billiards light, typically designed as a compact linear bar with two downward-facing shades, offers an excellent compromise for multi-use tables. Because of its structured, linear footprint, it naturally covers the elongated shape of a dining table better than a single round pendant. However, to transition this task-oriented fixture into a welcoming dining light, you must pay close attention to bulb selection and shade design.
Opt for dimmable LED bulbs that fit standard E27 screw bases, which are widely available. Frosted glass shades or fixtures with interior diffusers are highly recommended because they soften the light output, scattering it gently across the table rather than focusing it into a single blinding beam. If your fixture has solid metal shades, using lower-wattage warm-white bulbs (around 2700K to 3000K) will help create a cozy, intimate atmosphere during dinner, while still providing enough clarity when turned up to full brightness for a game of pool.
Sizing Rules: Matching Mini Billiards Light Dimensions to Your Table
To ensure your mini billiards light looks visually balanced and functions effectively, you must match its dimensions to the size of your dining table. The primary rule of thumb is the length proportion: the fixture should span approximately one-half to two-thirds of the table’s length. For example, a standard 6-foot dining table measures 72 inches in length. Applying this rule, your mini billiards light should be between 36 and 48 inches long. If you have a more compact 4-seater table that measures 60 inches (5 feet) in length, a fixture between 30 and 40 inches long will fit beautifully without dominating the room.

Equally important is the width and depth limit of the light fixture. To maintain a safe and comfortable dining environment, the fixture’s width should be at least 12 inches narrower than the width of the table. If your dining table is a standard 36 inches wide, your light fixture should not exceed 24 inches in width. This 6-inch buffer on either side is crucial; it ensures that when guests lean forward to pass a dish or stand up from the table, they do not accidentally bump their heads against the hard metal or glass shades.
Beyond pure measurements, you must also consider the visual weight of the fixture. Visual weight refers to how heavy an object appears based on its design, materials, and color. For instance, a mini billiards light crafted from solid matte black iron or heavy brass with opaque metal shades has high visual weight. It will appear larger and more dominant in your dining room. If you choose a visually heavy fixture, it is wise to lean toward the smaller end of the spectrum (closer to the one-half length rule). On the other hand, if the fixture features an open geometric wireframe, light wood accents, or clear glass shades, its visual weight is much lighter. In this scenario, you can safely select a fixture closer to the two-thirds length limit to make a stylish design statement without crowding the space.
Calculating the Ideal Hanging Height for Comfort and Play
Once you have selected the perfect size, the next step is determining how low the fixture should hang. The industry standard clearance for hanging a mini billiards light is 30 to 36 inches from the tabletop to the bottom-most edge of the fixture. This specific range is a sweet spot for dual-purpose tables. It is low enough to focus the light directly onto the tabletop, highlighting your meals or the billiard balls, yet high enough to keep the light source out of the direct line of sight of seated diners. Furthermore, if you are using a conversion table, this height provides ample clearance for players to bend over the table and swing their cues without any risk of striking the fixture on a backswing.
However, this standard clearance must be adjusted if your home features high ceilings. In many modern houses and loft apartments, ceiling heights exceed the standard 8 feet (approximately 2.4 meters). If you hang a light fixture at the standard height under a 10-foot ceiling, the long suspension cords can look awkward, and the fixture may feel disconnected from the rest of the room. To correct this, add 2 to 3 inches of hanging height for every additional foot of ceiling height above 8 feet. For a 9-foot ceiling, the ideal hanging height becomes 32 to 38 inches above the table. For a 10-foot ceiling, you should aim for 34 to 40 inches.
Before finalizing the height and cutting any suspension chains or cords, always perform a practical sightline and glare check. Have someone hold the fixture at your desired height while you sit in one of the dining chairs. Look across the table; the bottom of the light shades should sit just above your eye level, completely shielding the bright bulbs from your direct view. If you can see the bare bulb while sitting normally, the fixture is too high or the shades are too shallow, which will cause uncomfortable glare. Next, stand up and simulate a billiard shot if you plan to play. Ensure that you have comfortable physical clearance and that the light does not cast a shadow of your head or shoulders directly over the area where you would aim.
Room Proportions, Clearances, and Installation Checks
Achieving the perfect lighting setup involves looking beyond the table itself to consider the broader room layout and technical installation requirements. First, ensure that your dining table is perfectly centered under the ceiling’s electrical junction box. If your table must be offset due to room layout constraints, do not force the fixture into an awkward, off-center position. Instead, plan to use a swag hook and a decorative ceiling medallion. This allows you to chain or cord-hang the fixture from the junction box and drape it safely to a hook positioned directly over the center of the table.
Additionally, maintain proper spatial clearances around the table. To ensure comfortable movement, there should be at least 36 inches (approximately 90 centimeters) of open walkway space between the edge of the dining table and the nearest wall or piece of furniture. This clearance allows guests to pull out their chairs and walk behind seated diners without feeling squeezed. A properly sized mini billiards light helps maintain this sense of spaciousness by keeping the overhead area clear and visually aligned.
Finally, prioritize safety during the installation process. The standard electrical system in the Philippines operates on 220V at 60Hz. Before purchasing your mini billiards light, verify that the socket insulation, internal wiring, and any integrated LED drivers are fully rated for 220V operation and carry reputable safety certifications, such as the Philippine Standard (PS) mark or the Import Commodity Clearance (ICC) certificate. Because billiards lights are often constructed from heavy materials like wrought iron, thick glass, or solid brass, they can be significantly heavier than standard dining pendants. Never mount a heavy linear fixture directly to a standard plastic ceiling box. Ensure your ceiling junction box is structurally anchored to a wooden ceiling joist or concrete slab. Always isolate the power at your home’s main circuit breaker before starting any electrical work. Because this installation involves working at heights, handling heavy suspended loads, and dealing with fixed electrical wiring, it is highly recommended to follow the manufacturer’s instructions carefully and hire a qualified professional electrician to complete the job safely.
Common Sizing and Height Mistakes to Avoid
Avoiding common installation pitfalls will save you time, money, and frustration. The first frequent error is hanging the fixture too low. While a low-hanging light can create an intimate, tavern-like feel, it poses a significant physical hazard. Seated guests will find their views blocked, and anyone leaning over a conversion table to line up a pool shot runs the risk of cracking their head or cue against the fixture.
Conversely, hanging the fixture too high is another common mistake. When a mini billiards light is mounted too close to the ceiling, the light spreads too widely across the room. This excessive light spill ruins the focused task lighting needed for billiards and washes out the cozy, intimate ambiance desired for dining. It also makes the fixture look visually detached from the dining set below, disrupting the room’s design harmony.
Another major oversight is choosing an oversized fixture. It can be tempting to buy a full-sized, 3-light or 4-light professional billiards light, but these are designed for massive 8-foot or 9-foot pool tables. Placing one over a standard 6-foot dining table will overwhelm the space visually and physically, creating a cramped environment. Stick to a true “mini” linear fixture to keep the proportions correct.
Lastly, many homeowners ignore dimmer compatibility. If you install high-output LED bulbs to ensure excellent visibility during game night but do not install a compatible wall dimmer switch, your dining experience will suffer. Without the ability to lower the light intensity, your dining table will feel like a brightly lit commercial kitchen. Ensure your bulbs, fixture, and wall switch are all fully compatible with the same dimming method (such as triac or electronic low-voltage dimming) to enjoy the best of both worlds.
Frequently Asked Questions (FAQ)
Can I use a standard dining chandelier instead of a mini billiards light?
While you can physically hang a standard chandelier over a multi-use table, it is generally not ideal if you plan to play billiards. Standard dining chandeliers are designed to emit radial, multi-directional ambient light to illuminate the entire room and the faces of diners. This scattered light pattern often casts soft, distracting shadows on a pool table surface, making it difficult to judge angles and ball positions. A mini billiards light is specifically engineered with downward-facing, linear shades that direct a focused beam of light straight onto the playing surface, eliminating shadows and providing the high-contrast visibility required for cue sports.
How many bulbs should a mini billiards light have for a standard dining table?
For a standard 6-foot dining table, a mini billiards light with a 2-light or 3-light configuration is the ideal setup. This provides even, linear coverage across the entire tabletop without any dark spots. To balance brightness for both dining and playing, aim for a total light output of approximately 1,600 to 2,400 lumens. You can easily achieve this by installing two or three energy-efficient LED bulbs (around 8W to 12W each, which is equivalent to traditional 60W incandescent bulbs). Ensure the bulbs are labeled as dimmable so you can lower the brightness for dinner and raise it for games.
Do I need a special ceiling mount for a billiards light over a dining table?
Yes, structural support is highly critical. Standard dining pendants are lightweight, but mini billiards lights often feature heavy metal frames, chains, and thick glass or ceramic shades. Standard plastic junction boxes are only rated for light loads and can fail under the weight of a heavy linear fixture, posing a serious safety hazard. If your chosen fixture weighs more than 15 kilograms (around 33 pounds), you must ensure it is mounted to a heavy-duty, weight-rated metal junction box that is securely anchored directly to the ceiling’s wooden joists or concrete slab. If you are unsure about your existing ceiling box’s weight capacity, have a qualified professional electrician inspect and reinforce the support structure before mounting the light.
Community discussion
Share your experience or ask a question. Comments are reviewed before publication.