
Selecting slim downlights for low-ceiling condos in the Philippines requires balancing physical clearance with visual comfort. In typical Philippine condominium developments, ceiling heights often range between 2.4 and 2.7 meters, leaving very little vertical clearance for bulky, traditional light fixtures. Standard hanging chandeliers or deep-can recessed lights can make these compact spaces feel cramped, dark, and visually cluttered. By choosing slim downlights, you can maximize headroom, distribute light evenly across your living spaces, and create the illusion of a higher, more open ceiling.
When selecting these fixtures, you must consider the structural realities of your unit. Many local condos feature solid concrete slab ceilings that do not allow for recessed installations without a secondary drop ceiling. Understanding how to balance these structural limitations with the right optical specifications—such as beam angles, color temperatures, and glare control—is essential for achieving a bright, comfortable, and modern home environment.
Understanding Slim Downlight Profiles for Low Ceilings
To choose the right downlight profile, you must first evaluate the physical space available above your finished ceiling. Ultra-slim recessed LED panels are highly popular because they require an incredibly shallow mounting depth, often needing less than 2 centimeters of clearance. These fixtures sit completely flush with the ceiling surface, creating a clean, uninterrupted plane that visually expands the room. However, they can only be installed if you have a hollow cavity, which is typically created by installing a gypsum drop ceiling or a plasterboard ceiling suspended by metal furring channels.
Products mentioned in this guide
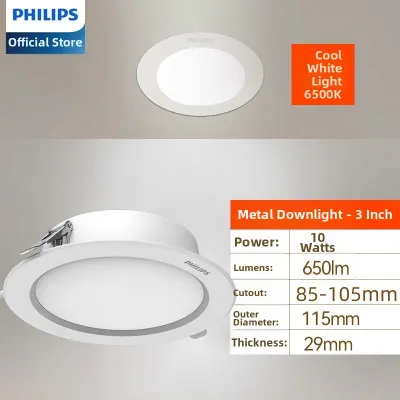
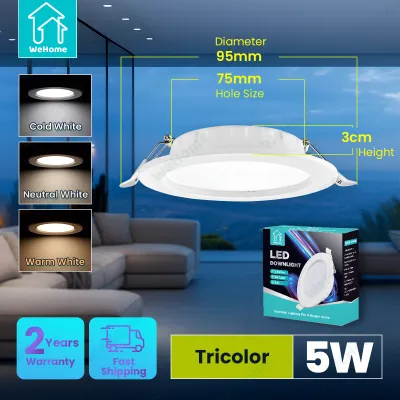
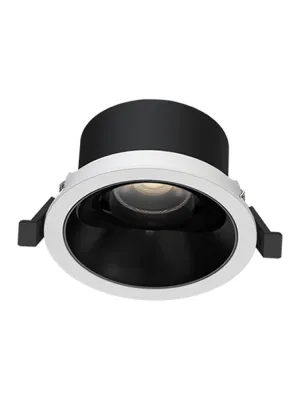
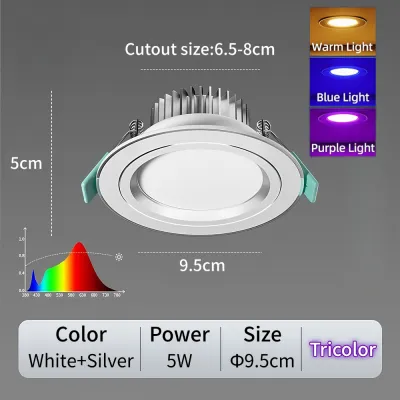
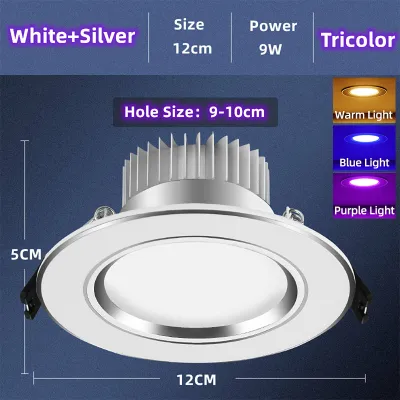
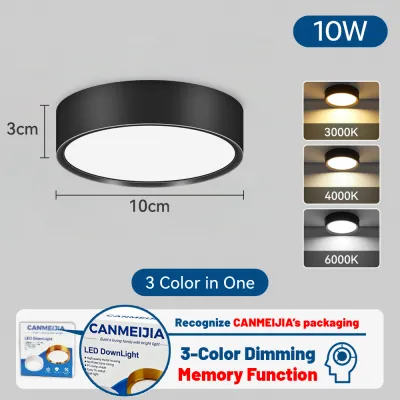
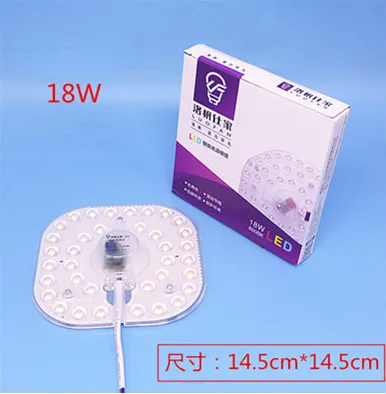

Prices are valid at publication and may change. Please refer to the product page for the latest price.
If your condo features exposed concrete slabs and you do not want to sacrifice vertical space by building a drop ceiling, surface-mounted slim cylinders or ultra-thin surface discs are a practical alternative. These fixtures mount directly to the concrete surface and extend downward by only a few centimeters. While they are visible, choosing models with a minimalist, low-profile design ensures they do not dominate the visual field or make the ceiling feel lower.
The design of the downlight’s outer frame, or bezel, also plays a significant role in spatial perception. Trimless or bezel-less downlights are plastered directly into the ceiling, eliminating the visible border entirely. This seamless integration prevents the ceiling from looking like a grid of white rings, allowing the eye to travel smoothly across the surface. If trimless options are too complex to install, choosing fixtures with ultra-thin, minimal trims in a color that matches your ceiling paint will achieve a similarly clean, spacious effect.
Matching Light Distribution to Room Dimensions
In a low-ceiling condo, the distance between the light source and the floor is significantly shorter than in a standard house. This shorter distance means that narrow beam angles (typically under 60 degrees) will project tight, intense pools of light directly onto your floor, leaving the upper portions of your walls in deep shadow. This “cave effect” makes rooms feel smaller and more confined. To prevent this, opt for slim downlights with wide beam angles, generally between 90 and 120 degrees, which distribute light broadly and wash the walls with gentle illumination.

Proper spacing is equally critical to achieving balanced light distribution without creating harsh hotspots or dark zones. A reliable guideline for low ceilings is to space your downlights approximately 1 to 1.2 meters apart. Additionally, keep the fixtures positioned about 60 centimeters away from the walls. This distance prevents the light from creating intense, distracting scallops of light on the wall surfaces while ensuring that corners remain bright and open.
Open-plan condo layouts, which are common in metropolitan developments across the Philippines, require careful zoning to remain functional and inviting. You should separate your lighting plan into distinct functional zones using dedicated switches. For instance, use brighter, more focused downlights over kitchen countertops and prep areas where task lighting is essential. In contrast, transition to softer, wider-angle downlights in the living and dining areas to foster a relaxed, comfortable atmosphere for winding down.
Choosing Optical Parameters to Enhance Spatial Depth
Color temperature, measured in Kelvin (K), directly influences how you perceive the volume and mood of a room. Cool white light (around 4000K) is highly effective for utility zones, kitchens, and bathrooms because it mimics natural daylight, making these compact areas feel crisp, clean, and visually expansive. For living rooms and bedrooms, warm white light (2700K to 3000K) is preferred by many residents. Warm light softens the edges of a room, creating a cozy, relaxing environment that makes low ceilings feel less imposing during the evening.
Because the light fixtures in a low-ceiling condo sit closer to your eyes, glare control is a vital consideration for daily comfort. Standard flat LED panels can sometimes cause visual fatigue because the light source is completely exposed. To protect your eyes, look for slim downlights with a low Unified Glare Rating (UGR) or those featuring deep-set light sources where the LED chip is recessed back into the fixture body. These designs shield the bright light source from your direct line of sight, reducing glare while maintaining excellent light output.
Integrating dimmable drivers and compatible wall switches provides versatile control for small-space living. Dimmable downlights allow you to adjust the brightness to match the time of day or your current activity, turning a bright daytime home office into a soft, ambient space for evening relaxation. When purchasing dimmable fixtures, always verify that the LED driver is compatible with your specific dimmer switch type (such as leading-edge or trailing-edge dimmers) to avoid annoying flickering or buzzing.
Navigating Condo Installation Rules and Structural Limits
Installing new lighting in a concrete condo unit requires careful planning around structural realities. Running electrical wires through solid concrete slabs is generally impossible without major structural chipping, which is strictly prohibited by building administrations due to safety risks. If you are working with a concrete ceiling, you must route your wiring through surface-mounted conduits, decorative tracks, or install a shallow false ceiling using metal furring channels to safely conceal the cables.
Before starting any electrical work or purchasing fixtures, always consult your condominium’s property management office (PMO). Most buildings have strict guidelines regarding electrical modifications, load limits, and structural alterations. You will likely need to submit an electrical plan and secure a work permit before any installation can begin. Additionally, ensure that all fixtures you purchase carry valid local electrical certifications, such as the Philippine Standard (PS) mark or Import Commodity Clearance (ICC) sticker, to guarantee they meet national safety standards.
While you can easily plan the layout and select your preferred fixtures, the actual installation of fixed wiring involves serious safety considerations. Always isolate the power at the main circuit breaker before attempting to handle any wiring or replace fixtures. For complex tasks—such as running new wiring circuits, working at heights, installing fixtures in damp areas like bathrooms, or modifying your main electrical panel—always hire a licensed electrician. A qualified professional will ensure that your new slim downlights are safely wired, properly grounded, and balanced across your home’s electrical load.
Frequently Asked Questions (FAQ)
Can I install recessed slim downlights directly into a concrete condo ceiling?
No, you cannot install recessed downlights directly into a solid concrete slab ceiling. Chipping or drilling deep cavities into structural concrete is highly dangerous, as it can weaken the building’s structure and damage embedded electrical or plumbing conduits. To use recessed slim downlights, you must first construct a shallow drop ceiling or plasterboard ceiling suspended by metal furring channels. If you do not want to lower your ceiling, you should opt for low-profile surface-mounted downlights instead.
How do I prevent slim downlights from causing harsh glare in a low room?
To prevent harsh glare in a low-ceiling room, avoid flat, completely exposed LED panels that scatter light directly into your eyes. Instead, choose downlights with deep-recessed light sources, anti-glare baffles, or low Unified Glare Rating (UGR) specifications. Additionally, avoid placing downlights directly above primary seating or sleeping areas, such as right over your sofa or bed headboard, so the light source remains out of your direct line of sight.
Community discussion
Share your experience or ask a question. Comments are reviewed before publication.