
Installing RGBIC LED strip lights in a condo room is an excellent way to elevate your living space, creating a dynamic, modern ambiance that suits everything from productive workdays to relaxed movie nights. Unlike traditional RGB strips where the entire line displays a single color at a time, RGBIC strips feature independent control chips (IC) that allow multiple colors to shine simultaneously along different segments. Achieving a clean, professional-looking installation in a typical condominium unit requires careful preparation, precise layout planning, and proper cable management. By following a systematic approach, you can secure your light strips firmly, hide unsightly wires, and configure your smart controller without damaging your walls or risking electrical issues.
Gathering Tools and Checking Specifications
Before peeling any adhesive or plugging in your new lights, you must gather the necessary tools and verify the technical specifications of your specific RGBIC kit. Having the right items on hand prevents interruptions and ensures the installation proceeds smoothly. Prepare a reliable measuring tape, a clean microfiber cloth, rubbing alcohol (preferably 70% isopropyl alcohol), and a pair of sharp household scissors. If you plan to mount the strips on rough concrete walls or areas prone to high humidity, consider adding adhesive promoter or small mounting clips to your toolkit.
Next, carefully review the manufacturer’s manual and the product labels on the power adapter. Verify the input and output voltage requirements to ensure compatibility with your condo’s electrical outlets. Most LED strip kits include a dedicated step-down transformer (power brick) that converts standard household voltage to 12V or 24V. Additionally, check the Ingress Protection (IP) rating to confirm where the strip can be safely installed, and note the maximum run length specified by the manufacturer. Attempting to daisy-chain or extend RGBIC strips beyond their rated maximum length can overload the controller or cause significant voltage drops, resulting in dimming or flickering. Finally, unroll the entire strip and inspect it for any visible physical damage, such as tears in the flexible circuit board or loose solder joints, before proceeding.
Products mentioned in this guide
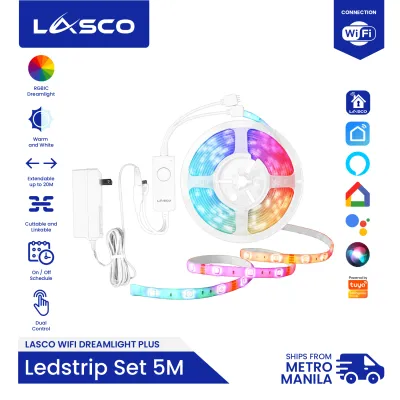
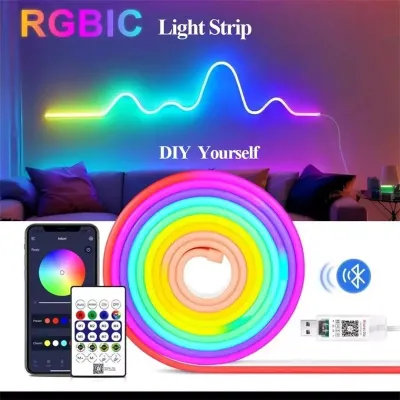
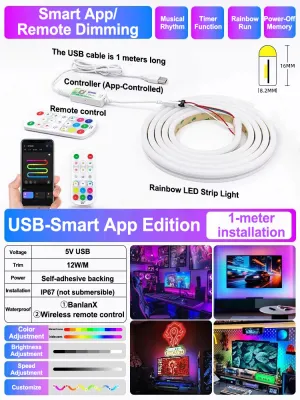
![AceDeal [Support Lalamove Bulk Orders] Neon RGBIC Light Strip 5V USB Bluetooth App Remote Control Dimming Change Color Music Sync LED Strip Light Flexible Outdoor Waterproof Neon Light Running Flow Neon Strip E-Sports Room Home Decoration](https://img.lazcdn.com/g/p/e0be7c85437dbb3401face381b6c90d3.jpg_400x400q80.jpg_.webp)
![AceDeal [Support Lalamove Bulk Orders] 5V Neon RGBIC Strip Smart Bluetooth APP Change Color Remote Control Dimmable Outdoor Waterproof Flexible Neon Light Strip Dynamic Running Flow Home Game Room Xmas Decoration](https://img.lazcdn.com/g/p/5d7ead093b27eda54735406325c111d9.jpg_400x400q80.jpg_.webp)
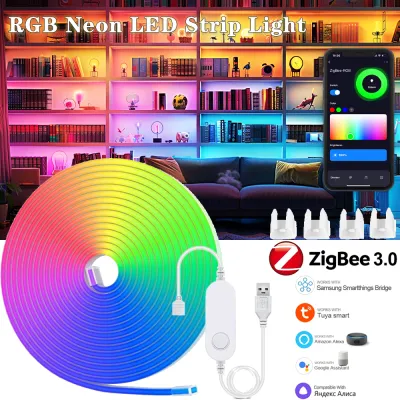
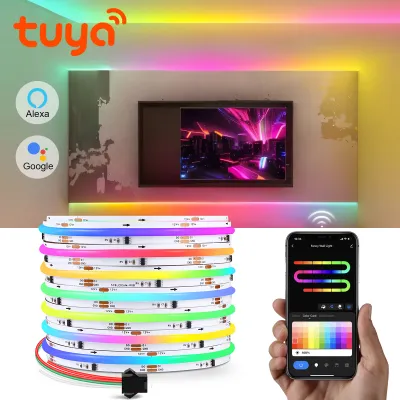
Prices are valid at publication and may change. Please refer to the product page for the latest price.
Planning the Layout and Power Source
A successful installation relies heavily on a well-thought-out layout that maximizes visual impact while keeping the hardware discreet. Begin by measuring the exact path where you intend to place the lights, whether you are highlighting ceiling coves, framing the back of a television, outlining baseboards, or illuminating under-cabinet spaces. Use your measuring tape to record these dimensions precisely, keeping in mind that RGBIC strips cannot be bent at sharp 90-degree angles without risking damage to the internal circuitry.

Identify the nearest electrical outlet along your planned path. Because condo layouts often feature concrete walls that limit where you can easily route cables, locating your power source early is critical. Plan the placement of the power adapter and the physical control box so they remain hidden from direct view but still within reach of the strip’s power lead. If the distance between your outlet and the start of the LED strip is too great, you may need to use a compatible extension cable designed for low-voltage DC power, or consider adjusting your starting point. Avoid placing power adapters in tightly enclosed, unventilated spaces, as they require adequate airflow to dissipate heat safely during operation.
Mounting the LED Strips Securely
Once your layout is planned and your tools are ready, you can transition to the physical mounting phase. Securing the LED strips properly is essential for a long-lasting setup, especially in tropical climates where high humidity can compromise standard adhesives over time. Taking the time to prepare the surface and apply the strip methodically will prevent sagging and peeling down the road.
Cleaning and Preparing the Surface
The primary reason LED strips fall off walls or furniture is poor surface preparation. Dust, oils, and microscopic debris create a barrier that prevents the adhesive backing from bonding securely to the substrate. To prevent this, pour a small amount of rubbing alcohol onto a microfiber cloth and thoroughly wipe down the entire installation path. Allow the surface to dry completely, which typically takes only a few minutes.
Be cautious about the type of surface you are preparing. Avoid mounting adhesive LED strips directly onto freshly painted walls, highly textured plaster, or peeling surfaces, as the adhesive may fail to grip or could pull the paint off entirely when removed. If your condo features textured concrete walls, which are common in many local developments, consider installing lightweight plastic or aluminum mounting channels first. These channels provide a perfectly flat, smooth surface for the adhesive and can be secured using removable mounting tape or small screws, protecting your walls from direct adhesive contact.
Cutting and Mounting the Strips
With the surface clean and dry, you can now size and apply your RGBIC strips. If your layout requires a shorter length than the full strip, locate the designated cutting points marked on the copper pads. These points are typically indicated by a small scissor icon. It is vital to cut only along these specified lines; cutting elsewhere will sever the internal integrated circuits (ICs) and permanently disable the remaining segments of the strip.
To mount the strip, peel back a small section—about 30 to 50 centimeters—of the adhesive backing at a time. Align the strip carefully with your planned path and press down firmly with your fingers, applying steady pressure for at least 10 to 15 seconds on each section. Work your way slowly along the path, smoothing out any air bubbles as you go. Avoid pulling or stretching the strip tightly, as this can strain the flexible circuit board and damage the delicate solder joints connecting the LEDs and control chips.
Connecting Power and Pairing the Controller
With the physical strip securely mounted, you can now establish the electrical and smart connections. Connect the multi-pin connector of the LED strip to the matching port on the controller box, ensuring the alignment arrows on both connectors point toward each other. Once the strip is connected to the controller, plug the power adapter into your wall outlet. It is highly recommended to use a surge protector, especially in areas prone to minor power fluctuations, to safeguard the sensitive microchips inside your RGBIC lights.
Next, download the manufacturer’s designated smart home application on your smartphone or tablet. Turn on your device’s Bluetooth and ensure you are connected to a compatible Wi-Fi network (most smart home controllers require a 2.4 GHz band rather than a 5 GHz band). Open the app, select the option to add a new device, and follow the on-screen prompts to pair your controller. If your RGBIC kit includes a physical remote control or features a built-in microphone for music synchronization, position the controller box in an accessible location where it can easily receive infrared signals or pick up ambient sound without obstruction.
Managing Cables for a Clean Setup
A professional-looking installation is defined by how well you conceal the supporting hardware. Loose, dangling wires and bulky power bricks can quickly ruin the clean aesthetic of a modern condo room. Use small, adhesive-backed cable clips to secure the power cord along the edges of your furniture, baseboards, or walls. If you have multiple cables running from the same area, bundle them neatly using zip ties or reusable hook-and-loop straps.
For a highly polished look, consider using plastic cable management channels (also known as wire raceways) that match the color of your walls. These channels can be adhered directly to the wall or baseboard, completely enclosing the wires. When securing the power adapter, place it in a discreet location, such as behind a console table, underneath a bed, or mounted to the underside of a desk. Always ensure the adapter has sufficient space around it for ventilation; wrapping it tightly in plastic or burying it under fabrics can lead to overheating and create a potential fire hazard. Additionally, avoid making sharp, tight bends in any excess low-voltage cabling, as this can pinch and damage the internal copper conductors over time.
Testing the Setup and Troubleshooting
Before declaring the project complete, perform a comprehensive test of your newly installed lighting system. Use the smartphone app to cycle through various colors, brightness levels, and dynamic lighting scenes. Because RGBIC strips feature independent zone control, pay close attention to whether all segments light up uniformly and display the correct colors. If you notice a specific section remains dark, flickers, or displays an incorrect color, turn off the power immediately and check the physical connections between the controller and the strip.
If you experience connectivity issues during the pairing process, verify that your smartphone is close enough to the controller and that your Wi-Fi router is not blocked by thick concrete walls. Many modern condos utilize heavy concrete construction, which can significantly degrade wireless signals. If the connection remains unstable, try resetting the controller according to the manufacturer’s instructions—usually by holding down the power button for a set number of seconds—and attempt the pairing process again.
Frequently Asked Questions (FAQ)
Can I remove the LED strips without damaging my condo wall paint?
Yes, you can remove adhesive LED strips safely by using a hairdryer set to low or medium heat. Gently blow warm air over a small section of the strip for 30 to 60 seconds to soften the adhesive backing before slowly peeling it away at a shallow angle. Avoid pulling the strip directly outward, as this increases the risk of tearing the paint or drywall paper. Because many condominium lease agreements contain strict clauses regarding wall damage and modifications, it is always wise to consult your property management office or review your contract before installing semi-permanent adhesives on painted surfaces.
Are RGBIC LED strips safe to use in a condo bathroom or kitchen?
Whether you can safely install your RGBIC strips in a bathroom or kitchen depends entirely on the product’s Ingress Protection (IP) rating. Standard, non-waterproof LED strips (typically rated IP20 or IP30) feature exposed circuitry and should never be installed near sinks, stoves, showers, or any area prone to high humidity and condensation, as moisture can cause short circuits or corrosion. For kitchens and bathrooms, look for strips with an IP65 or higher rating, which indicates they are coated with a protective silicone sleeve that resists splashes and moisture. Always ensure that the power adapter and controller box themselves are kept in a completely dry, well-ventilated location, as these components are rarely waterproof.
Community discussion
Share your experience or ask a question. Comments are reviewed before publication.