
Selecting the right track light configuration for your home requires matching the physical layout of your ceiling with the specific functional needs of each room. By coordinating beam angles, track types, and fixture placement, you can transform a basic ceiling light setup into a highly adaptable lighting system. The key is to balance ambient, task, and accent lighting while ensuring your ceiling infrastructure can safely support the electrical and physical load of the system.
Understanding Track Light Basics and Ceiling Compatibility
Before purchasing any fixtures, you must evaluate your ceiling’s structural and electrical capacity. Track lighting systems are not universally compatible; they generally follow specific standard formats, such as H, J, or L track standards. When planning your layout, verify that the track rails, connectors, and track heads all share the same standard to ensure secure mechanical and electrical connections. Mixing incompatible standards can lead to poor contact, flickering, or physical instability.
Next, inspect the ceiling junction box where the track will connect to your home’s electrical system. Standard junction boxes have specific weight ratings that dictate how much physical load they can support. A long track with multiple heavy fixtures can easily exceed these limits, requiring you to secure the track directly to ceiling joists or install a heavy-duty support bracket. Always check the manufacturer’s specifications for both the track system and the junction box to confirm they can handle the total weight of your planned configuration.
Products mentioned in this guide
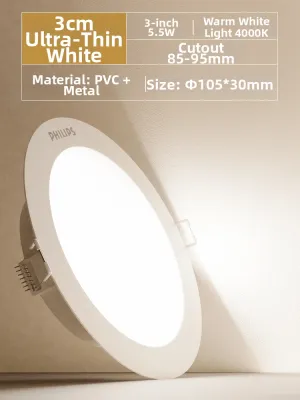
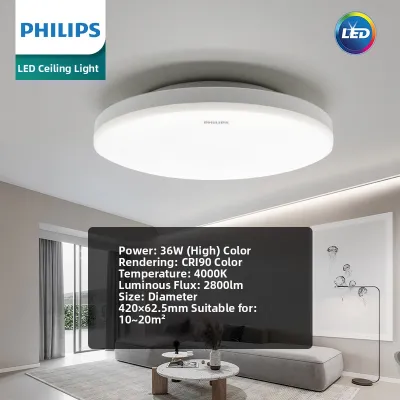
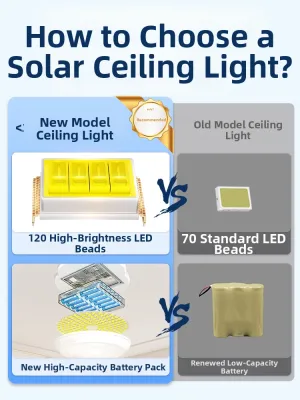
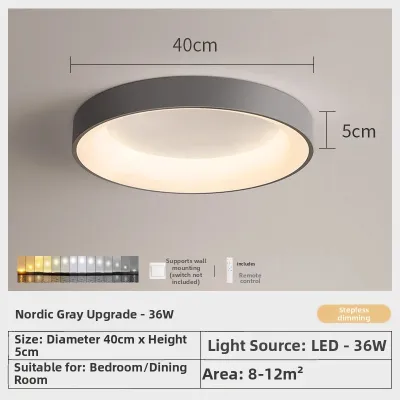

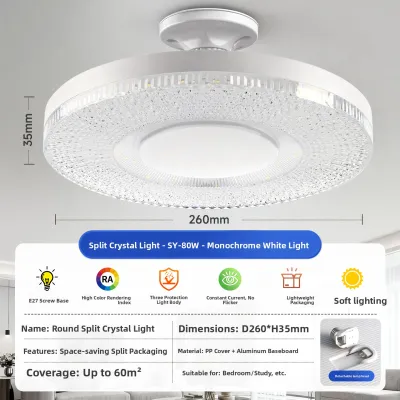
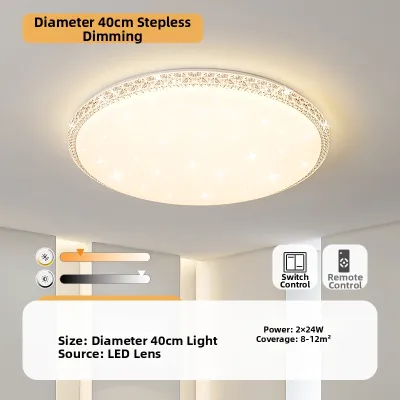
Prices are valid at publication and may change. Please refer to the product page for the latest price.
Electrical capacity is another critical factor. You must verify that your home’s circuit voltage matches the track system’s requirements and that the total wattage of all planned track heads does not overload the circuit. In the Philippines, residential electrical systems typically operate at 220V to 240V, so any imported or locally sourced track light components must be rated for this voltage range. Calculate the total wattage of your intended bulbs and ensure it remains well within the safe operating limit of the designated circuit breaker.
Finally, assess your ceiling height and surface conditions to choose the right mounting method. Standard flat ceilings are ideal for surface-mounted tracks, which attach directly to the drywall or concrete. If you have low ceilings, recessed tracks can help maintain headroom by keeping the track flush with the ceiling surface. For high or vaulted ceilings, suspended track systems using aircraft cables or stem mounts allow you to bring the light source closer to the living space, though these require careful balancing and secure structural anchoring.
Configuring Track Lights for the Living Room
The living room is a multi-functional space that demands a flexible ceiling light configuration. To achieve a balanced environment, you should layer your lighting by combining different beam angles. Use wide beam angles (typically 40 degrees or higher) to provide broad, ambient illumination across the main seating areas. Complement this general light by pointing narrow beam spotlights (15 to 25 degrees) at artwork, bookshelves, or architectural features to create visual interest and depth.

Placement is crucial to maintaining comfort in the living room. Position the track rails so that the adjustable heads can be angled away from direct lines of sight. If track heads are pointed directly at seating areas or television screens, they can cause distracting glare and eye strain. A good rule of thumb is to mount the track parallel to the walls and angle the fixtures at approximately 30 degrees toward the walls or decorative elements, keeping the light source out of the direct field of view of anyone sitting down.
To transition the room’s atmosphere from active daytime use to relaxed evening entertainment, prioritize dimming capabilities. Ensure that both your track heads and the wall dimmer switch are fully compatible, as mismatched components can cause buzzing or flickering. Modern LED track lights often feature adjustable color temperatures, allowing you to select warm white tones (around 2700K to 3000K) to complement cozy wood finishes and fabrics, or neutral white tones (around 4000K) if you prefer a brighter, more contemporary feel.
When arranging the fixtures, consider the overall layout of your furniture. If your living room features a central coffee table, a U-shaped or rectangular track configuration can frame the space beautifully. For open-concept living areas, straight parallel tracks can help define the boundary between the living room and adjacent dining or kitchen zones without the need for physical partitions.
Configuring Track Lights for the Kitchen
In the kitchen, track lighting serves primarily as task lighting, where high visibility and shadow reduction are essential for safe food preparation. Position the track rails directly over the front edges of your countertops, kitchen islands, and sinks. If the light source is placed behind where you stand, your body will cast a shadow over your workspace, making chopping, cooking, and cleaning difficult and potentially hazardous.
Select beam angles that concentrate light precisely where it is needed. Medium beam angles (around 30 to 40 degrees) work well for illuminating countertops and islands from standard ceiling heights. By focusing the light downward onto the work surfaces, you minimize light spill onto highly reflective materials like polished granite, quartz, or stainless steel, which can otherwise cause uncomfortable glare.
Kitchen environments present unique challenges due to the presence of cooking heat, airborne grease, and moisture. When selecting your ceiling light fixtures, check the manufacturer’s guidelines to ensure they are rated for kitchen use. Fixtures with smooth, sealed designs are much easier to wipe clean of grease buildup over time compared to intricate or deeply recessed track heads that can trap dust and residue.
Additionally, carefully plan the physical layout of the track to avoid interfering with other kitchen elements. Ensure that the track rails and low-hanging track heads do not block the swing path of upper cabinet doors or the operation of range hoods. If your kitchen features high cabinets that extend close to the ceiling, opt for low-profile track heads or position the track slightly further back to maintain complete clearance.
Configuring Track Lights for Hallways and Transitional Spaces
Hallways and transitional corridors require even, guiding illumination that prevents dark spots without overwhelming these narrow spaces. To achieve uniform light distribution, space your track fixtures evenly along the length of the corridor. Spacing that is too wide will create alternating patches of bright light and deep shadow, which can make walking through the space uncomfortable and visually disorienting.
One of the most effective ways to light a narrow hallway is through wall-washing. By angling adjustable track heads toward the walls rather than pointing them straight down at the floor, you bounce light off the vertical surfaces. This technique makes the walls appear brighter and visually expands the narrow corridor, making the entire space feel more open and welcoming.
Because hallways often have lower ceilings or limited clearance, selecting low-profile track heads is essential. Avoid large, dangling fixtures that could be accidentally bumped by tall occupants or when moving furniture. Shallow beam angles directed toward wall-mounted art or family photos can add decorative focal points while keeping the primary light source high and out of the direct line of sight.
For added convenience and energy efficiency in these transitional zones, consider integrating motion sensors or smart switches. Since hallways are typically used for short periods, automated controls ensure the lights turn on instantly when someone enters and turn off automatically when the space is empty. This is particularly useful during the night, providing safe passage through the home without the need to search for a wall switch in the dark.
Installation Safety and Electrical Checks
Installing or modifying a ceiling light track system involves working directly with your home’s electrical wiring, which requires strict adherence to safety protocols. Before beginning any installation work, always turn off the power at the main circuit breaker. Use a reliable, non-contact voltage tester at the ceiling junction box to verify that no electrical current is present before touching any wires. Never rely solely on a wall switch to isolate the power.
Carefully read and follow the specific installation instructions provided by the manufacturer of your track system. Each brand may have unique mounting brackets, wire-connection steps, and grounding requirements that must be executed precisely to prevent electrical shorts or physical failures. Ensure all wire connectors are secure and insulated, and that the track rail is firmly anchored to the ceiling structure to prevent sagging or falling.
It is important to recognize the limits of do-it-yourself installation. While swapping out an existing ceiling light fixture for a simple track system on a pre-existing junction box is manageable for many homeowners, more complex tasks require professional expertise. If your project involves routing new electrical circuits through the ceiling, installing heavy suspended track systems, or modifying concrete ceilings, these tasks carry significant safety risks.
When in doubt, or when dealing with complex wiring configurations, always consult a licensed electrician in the Philippines. A professional installer will ensure that your new track lighting system complies with the Philippine Electrical Code and local building regulations. This professional oversight guarantees that your installation is structurally secure, electrically safe, and capable of providing reliable performance for years to come.
Frequently Asked Questions (FAQ)
Can I install a track light on a sloped or vaulted ceiling?
Yes, you can install track lighting on sloped or vaulted ceilings, but it requires specific hardware to ensure safety and proper alignment. Standard track systems are designed for flat surfaces, so mounting them directly to a slope will cause the fixtures to hang at an angle, potentially leading to uneven weight distribution and loose connections. To prevent this, use specialized sloped-ceiling adapters or flexible track options designed to pivot and hang vertically. Always check the manufacturer’s maximum slope angle limits and weight distribution guidelines before installation, and consider a professional structural assessment for high, vaulted surfaces.
How many track light heads can I safely put on one track?
The number of track light heads you can safely install depends on both the electrical capacity of the circuit and the physical weight limit of the track rail and junction box. To determine the safe limit, locate the maximum wattage and weight ratings printed on the track label or in the manufacturer’s manual. Calculate the total electrical load by adding up the wattage of all the bulbs you plan to use, ensuring the sum does not exceed the track’s rated capacity or the limit of your home’s circuit breaker. Additionally, ensure the physical weight of all fixtures combined does not exceed the structural support limits of the ceiling junction box or mounting hardware.
Community discussion
Share your experience or ask a question. Comments are reviewed before publication.