
Cascading meteor shower lights outdoor setups—often called dripping icicle lights—create a captivating visual effect that mimics falling stars or flowing water. These dynamic lighting fixtures are highly popular for holiday displays, garden parties, and commercial storefronts. However, because these lights are installed outdoors, they must endure harsh environmental conditions. In tropical climates like the Philippines, where intense heat, high humidity, and torrential monsoon rains are common, choosing the right set of lights requires a careful evaluation of technical specifications. Selecting a low-quality product can lead to electrical hazards, short circuits, or rapid physical degradation.
To ensure your lighting display remains safe, brilliant, and durable, you must look beyond the initial visual appeal. Key factors such as Ingress Protection (IP) ratings, material composition, power sources, tube dimensions, and wiring safety play a critical role in how well your setup performs over time. By understanding these specifications, you can make an informed investment that enhances your outdoor space without causing unnecessary maintenance headaches or safety risks.
Decoding IP Ratings and Weather Resistance for Outdoor Durability
When shopping for meteor shower lights outdoor, the Ingress Protection (IP) rating is the most critical specification to check. This international standard defines how effectively an electrical enclosure seals against solids and liquids. The rating consists of two digits: the first represents protection against solid objects like dust and insects (scaled 0 to 6), while the second indicates protection against moisture and water (scaled 0 to 9). Understanding these numbers prevents you from accidentally installing indoor-rated or semi-protected lights in fully exposed outdoor areas.
Products mentioned in this guide
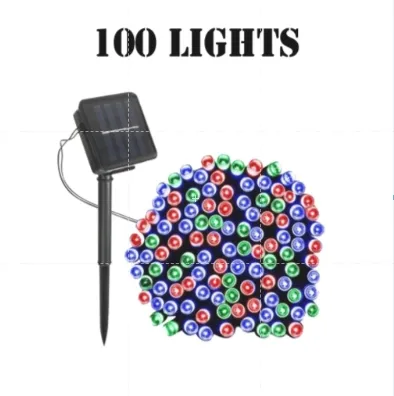
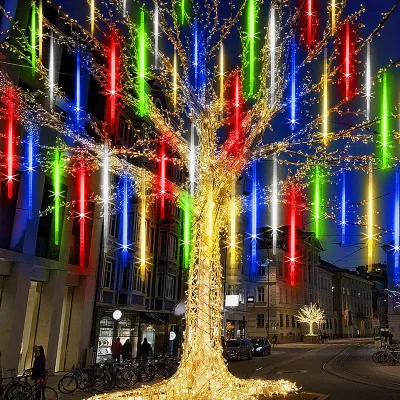
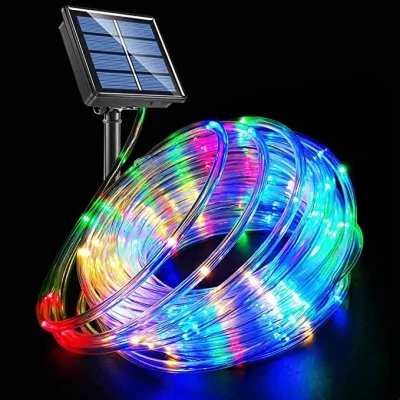
Prices are valid at publication and may change. Please refer to the product page for the latest price.
For basic outdoor use under covered patios, gazebos, or roof eaves, an IP44 rating is often considered the entry-level standard. An IP44 rating means the light strand is protected against solid objects larger than 1 millimeter and can withstand water splashes from any direction. However, IP44 lights are not designed to handle heavy, driving rain or temporary submersion. If you plan to hang your lights on fully exposed tree branches, open fences, or rooflines where they will bear the brunt of tropical downpours, look for a minimum rating of IP65. An IP65 rating guarantees that the enclosure is completely dust-tight and can resist low-pressure water jets from any angle, making it highly resilient during the rainy season. For extreme environments or low-lying garden areas prone to temporary water pooling, upgrading to IP67 provides protection against temporary immersion in water.
Beyond water resistance, the physical materials of the light tubes dictate how long the system will survive under the sun. Standard plastic tubes degrade rapidly under ultraviolet (UV) radiation, turning yellow and brittle. Look for tubes constructed from UV-resistant polycarbonate (PC) or high-grade acrylic. Polycarbonate is highly impact-resistant, withstanding wind-blown debris, and its UV-resistant properties prevent yellowing over years of sun exposure.
A common pitfall for many buyers is ignoring the “weakest link” rule of outdoor lighting. While the individual LED tubes might carry an IP65 rating, the accompanying power adapter, controller box, and connection joints often have lower ratings, such as IP44, or may even be rated for indoor use only. Water entering a single low-rated connector can short-circuit the entire installation. When purchasing, verify that the entire assembly—including the plugs, extension connectors, and control chips—is rated for outdoor use, or plan to house vulnerable components inside a dedicated waterproof junction box.
Evaluating Power Sources: Solar, Plug-In, and Battery Options
The power source determines where you can install your lights and how much maintenance the setup requires. Sprawling gardens and compact balconies demand different approaches. Evaluating the trade-offs of solar, plug-in, and battery-operated configurations ensures your display remains bright and reliable.

Solar-Powered Sets
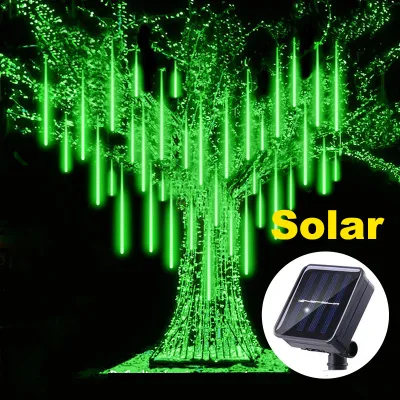
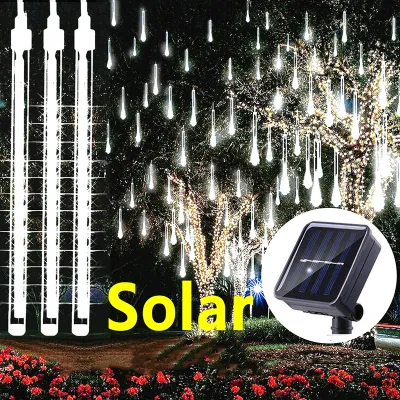
Solar-powered lights are practical for remote landscape features where running electrical cables is difficult. They are ideal for mature trees, perimeter fences, or detached pergolas. Because they require no external outlet, they offer unmatched placement flexibility and zero electricity costs.
Pay close attention to solar panel type and built-in battery capacity (measured in mAh). Monocrystalline panels are highly recommended as they offer better energy conversion efficiency than polycrystalline alternatives, especially in partial shade. A battery capacity of 1200mAh to 2000mAh is sufficient to power a standard strand for 6 to 8 hours. However, solar lights depend entirely on weather. During consecutive rainy days, they may run for only a few hours or fail to turn on. Look for premium units with a backup USB charging port to charge the battery pack indoors during extended wet spells.
Plug-In (Mains) Sets
For installations that require maximum, consistent brightness and uninterrupted operation, plug-in (mains-powered) sets are the industry standard. These are best suited for architectural highlighting along rooflines, main patios, and high-traffic outdoor areas. Unlike solar options, plug-in lights do not suffer from diminished performance during overcast weather or rainy seasons, ensuring your display looks uniform every night.
In the Philippines, the standard electrical grid operates at 220V. Verify that the plug-in light set includes a high-quality step-down transformer that safely converts this to a low-voltage DC output (typically 5V, 12V, or 24V). Low-voltage strands significantly reduce electrical shock risks if a wire is damaged. Additionally, ensure outdoor outlets have Ground Fault Circuit Interrupter (GFCI) protection. Never run indoor extension cords across wet grass or pinch them through windows, which can crush the insulation. Instead, use heavy-duty, outdoor-rated extension cords with integrated waterproof gaskets.
Battery-Operated and USB Sets
Battery-operated and USB-powered lights are designed for temporary installations or covered spaces. They are excellent for short-term events like outdoor dinner parties, weddings, or holiday gatherings in covered gazebos where permanent wiring is impractical.
The primary drawback is the cost and environmental impact of replacing disposable batteries. A standard set of alkaline AA batteries may only power a high-density strand for a few nights before fading. To make this more sustainable, opt for rechargeable batteries or USB-powered strands. USB-compatible lights can connect to portable power banks, which are easily recharged indoors. When using a power bank outdoors, remember it is rarely waterproof; place it inside a weather-resistant protective pouch or a sealed plastic enclosure.
Sizing Your Setup: Tube Length, LED Count, and Spacing
Achieving a realistic falling star effect depends on matching the physical dimensions of the light set to your environment. Buying lights without measuring often results in a display that looks either cluttered or visually lost.
Choosing the Right Tube Length
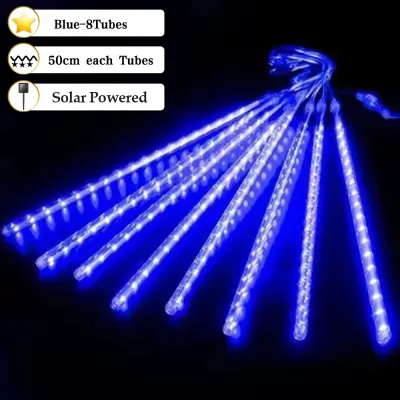
Meteor shower lights are sold in several standard tube lengths, with 30-centimeter (approx. 12 inches), 50-centimeter (approx. 20 inches), and 80-centimeter (approx. 32 inches) options being the most common. The right length depends on the scale of the object you are decorating and the height at which the lights will be suspended.
Shorter tubes (30cm) are effective for low-altitude or high-density applications, working beautifully on balcony railings, low eaves, or garden shrubs. Their compact size creates a fast, energetic cascading effect. Conversely, longer tubes (50cm and 80cm) are necessary for grand displays. If you are hanging lights from the branches of tall trees—such as mango or palm trees—or suspending them from high rooflines, short tubes will appear insignificant. Longer tubes provide a dramatic, sweeping vertical drop that mimics a realistic meteor trail, making them highly visible from a distance.
LED Density and Brightness
The visual quality of the cascading effect is directly tied to the number of LEDs packed inside each tube. The “meteor” motion is controlled by an integrated circuit (IC) chip that sequentially illuminates the LEDs from top to bottom. If a tube has too few LEDs, the light will appear to jump or flicker down the tube in blocky steps rather than flowing smoothly.
Standard-density tubes typically contain 24 to 48 LEDs, which is acceptable for budget-friendly holiday decorations. However, for a fluid cascading effect, look for high-density tubes containing 144, 288, or more LEDs. High-density configurations ensure the tail of the falling star is continuous and visually seamless. When comparing products on online marketplaces, check the specified lumen output if you intend for the lights to contribute to functional ambient lighting. If the lights are purely decorative, a lower wattage is preferable to conserve energy.
Calculating Spacing and Total Coverage
When planning your layout, you must account for the spacing between individual tubes on a single strand. Most pre-wired sets feature a fixed distance of 30 to 50 centimeters (12 to 18 inches) between each tube. If the tubes are spaced too far apart, the cascading effect will look disconnected; if they are too close, the display can look chaotic and lose its distinct “dripping” appearance.
To calculate coverage, measure the linear width of the area you wish to decorate. For example, if you have a 6-meter-wide roofline and purchase a strand with 8 tubes spaced 40cm apart, the illuminated length is roughly 2.8 meters (excluding the unlit lead wire). You will need to connect at least two strands to cover the entire roofline. For wrapping tree trunks, calculate the circumference and factor in a diagonal wrapping angle. Always buy multi-pack sets designed to be connectable, allowing you to run multiple strands from a single power source.
Selecting Colors, Color Temperatures, and Lighting Modes
The color and behavior of your meteor shower lights set the mood for your entire outdoor area. While some homeowners prefer a subtle, elegant architectural accent, others want a vibrant, festive celebration. Understanding how color temperature and control features work will help you select a set that complements your home’s exterior.
Color temperature is measured in Kelvin (K) and dictates the warmth or coolness of white light. Warm white (2700K to 3000K) emits a cozy, soft, yellowish glow. This is highly recommended if your home features traditional architecture, natural wood finishes, or warm-colored paint, blending seamlessly with natural landscaping. Conversely, cool white (6000K to 6500K) emits a crisp, bright, bluish-white light that mimics starlight. Cool white is ideal for modern architectural designs, minimalist landscapes, and high-contrast holiday displays, standing out sharply against the dark night sky. Note that color temperature is a subjective preference and does not affect the durability of the LEDs.
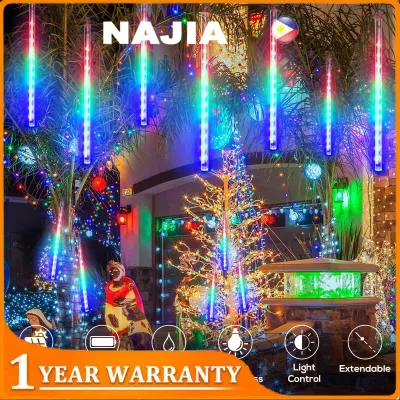
For a festive look, multicolor (RGB) sets offer a wide palette of colors. When buying multicolor sets, be cautious of extremely cheap, unbranded options. Low-quality manufacturers often use inconsistent LED color bins, resulting in noticeable color variations across different tubes on the same strand—for instance, one blue tube might look slightly violet while another looks teal. Opting for reputable brands ensures uniform color output across your entire display.
The falling motion of the lights is driven by the internal IC chip. Basic sets feature a fixed, pre-programmed speed that cannot be adjusted. Advanced sets, however, feature multi-mode controllers that allow you to choose from various cascading speeds, chasing patterns, or even a “steady on” mode where the tubes remain fully illuminated. If you select a multi-mode set, ensure the controller has a built-in memory function. Without a memory function, the lights will reset to their default, often chaotic demo mode every time you turn them off or experience a brief power interruption.
Safe Installation and Maintenance for Outdoor Wiring
Installing outdoor electrical fixtures requires strict adherence to safety protocols to prevent property damage, electrical shocks, or premature product failure. Because meteor shower lights are suspended overhead and exposed to wind and rain, proper mounting and wiring practices are essential.
First, always respect the manufacturer’s limits regarding daisy-chaining. Most plug-in strands feature end-to-end connectors. However, every power adapter has a maximum wattage limit. Exceeding the recommended number of connected strands (typically 3 to 5 sets) will overload the transformer. This leads to a drop in brightness on the outer strands, excessive heat generation, and can cause the system to burn out. If your display requires more strands, use an outdoor-rated multi-outlet splitter or run separate extension cords from different GFCI-protected outlets.
When mounting, use non-destructive, weather-resistant hardware. UV-stabilized plastic clips, heavy-duty nylon zip ties, or padded hooks are excellent choices for securing wires to gutters and branches. Never use metal staples, nails, or screws directly over wires. Over time, wind movement can cause wires to rub against metal fasteners, wearing away the protective plastic insulation and exposing bare copper. This creates an immediate short-circuit hazard, increases shock risks, and can ruin your light set.
If your installation involves working at heights—such as climbing ladders to reach roof eaves or tree branches—or if you plan to install permanent, fixed outdoor wiring, prioritize safety. Ensure your ladder is on stable, level ground, and always have a spotter assist you. Before making any connections or handling exposed wires, isolate the power supply by turning off the corresponding circuit breaker at your main panel. If you are unsure about safe wiring practices, hire a qualified professional electrician to handle the installation in compliance with local safety codes.
Finally, establish a routine maintenance schedule to protect your investment, especially after severe weather events. Tropical regions frequently experience heavy storms, high winds, and typhoons that can shift or damage outdoor installations. After any major weather event, unplug the system and perform a thorough visual inspection:
- Inspect the wiring: Look for any frayed, cracked, or chewed insulation, which can be caused by wind friction or pests.
- Check for moisture: Examine the inside of the light tubes and the controller box. If you spot significant water accumulation, disconnect the lights, drain the water, and allow them to dry completely before resealing.
- Verify connection joints: Ensure the waterproof screw caps on all end-to-end connectors are tight and have not vibrated loose.
- Examine mounting hardware: Replace any zip ties or plastic clips that have become brittle or broken due to UV exposure.
Frequently Asked Questions (FAQ)
Outdoor lighting setups often present unique challenges. Below are answers to some of the most common questions buyers face when planning and maintaining their meteor shower light displays.
Can I leave meteor shower lights outside all year round?
While high-quality meteor shower lights with an IP65 or IP67 rating are designed to withstand rain, wind, and dust, leaving them installed year-round is generally not recommended unless the manufacturer explicitly states they are rated for permanent outdoor installation. Continuous exposure to intense tropical sunlight (UV rays), extreme midday heat, and constant humidity will gradually degrade the plastic tubes, dry out the rubber seals, and make the wire insulation brittle. To maximize the lifespan of your lights, it is best to take them down, clean them, and store them in a cool, dry indoor space during the off-season.
Do solar meteor shower lights work on cloudy days?
Solar-powered meteor shower lights rely on direct sunlight to charge their internal batteries. On cloudy, overcast, or rainy days, the solar panel receives significantly less solar energy, which directly impacts the battery’s charge level. Consequently, the lights will have a much shorter run time at night, or they may appear noticeably dimmer. During extended periods of wet and cloudy weather, the battery may deplete entirely, causing the lights to remain off until the solar panel receives sufficient sunlight to initiate a recharge.
How do I connect multiple strands of meteor shower lights?
To connect multiple strands, first verify that your light sets are designed with compatible male and female end-to-end waterproof connectors. Before connecting, ensure the power is completely disconnected. Align the internal pins of the male and female connectors carefully, push them together firmly, and screw the protective plastic cap tightly over the joint to create a watertight seal. Always consult the manufacturer’s instruction manual to verify the maximum number of strands that can be safely linked to a single power adapter. If your layout requires more strands than this limit, you must use a separate power source or an outdoor-rated splitter.
Community discussion
Share your experience or ask a question. Comments are reviewed before publication.