
For high-rise dwellers in the Philippines, maximizing vertical space is a daily design priority. Standard condominium units in metropolitan areas like Metro Manila, Cebu, and Davao typically feature ceiling heights ranging from 2.4 to 2.7 meters. Hanging a dramatic, low-draping cloud chandelier in these compact spaces often leads to cramped quarters and safety hazards. Fortunately, you can still capture the whimsical, airy aesthetic of a cloud chandelier by opting for specialized low-profile designs. Flush mount cloud fixtures, horizontally oriented semi-flush mount cloud chandeliers, and ultra-thin integrated LED cloud panels allow you to enjoy this dreamy design trend without compromising your headroom.
The Challenge of Hanging Cloud Lights in Compact Condos
Traditional cloud chandeliers are designed with long adjustable chains, cascading glass or resin tiers, and voluminous organic shapes that extend deep into a room. In a spacious home with high ceilings, these fixtures serve as stunning focal points. However, when installed in a typical Philippine condo, a long-chain fixture disrupts the spatial balance. The heavy, low-hanging mass creates immediate visual crowding, blocking clear sightlines across open-concept living and dining zones. Instead of feeling airy and expansive, the room can feel claustrophobic as the light fixture dominates the upper third of your living space.
Beyond aesthetics, low-hanging fixtures present real physical hazards. In high-traffic areas like entryways, hallways, or the center of a living room, a low-hanging cloud light increases the risk of accidental head bumps, especially for taller family members or visitors. Furthermore, many Filipino households rely on ceiling fans to maintain air circulation and combat tropical humidity. Hanging a dangling fixture too close to a ceiling fan creates a dangerous physical hazard and can produce an incredibly distracting strobe effect when the fan blades slice through the light path.
Products mentioned in this guide
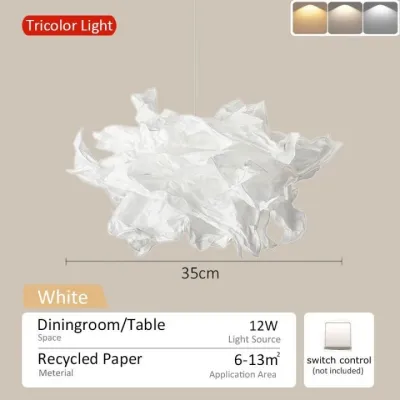
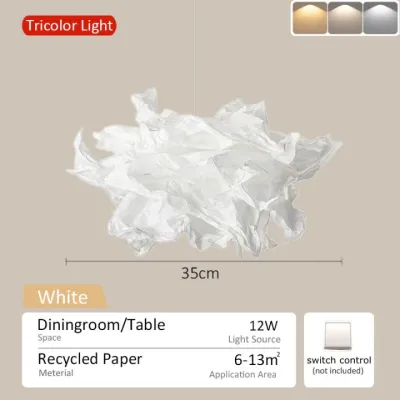
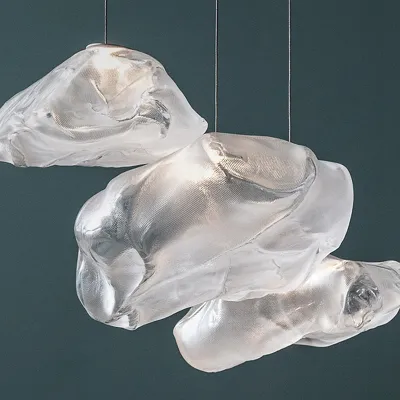
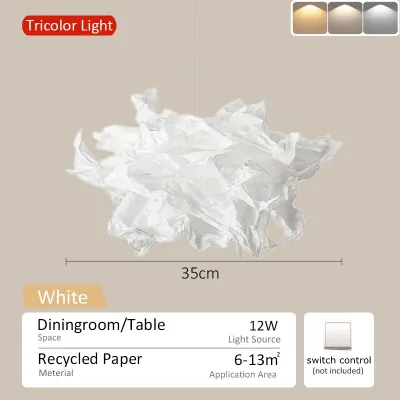
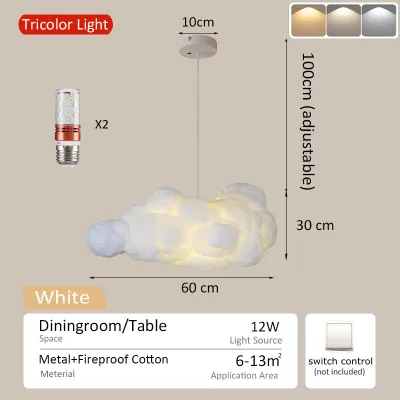
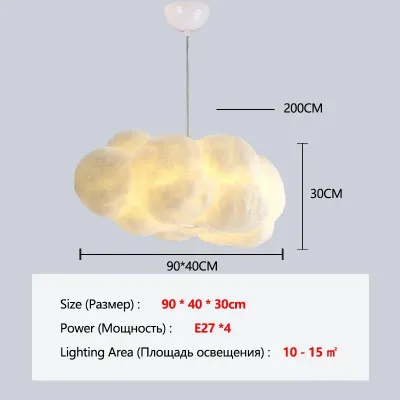
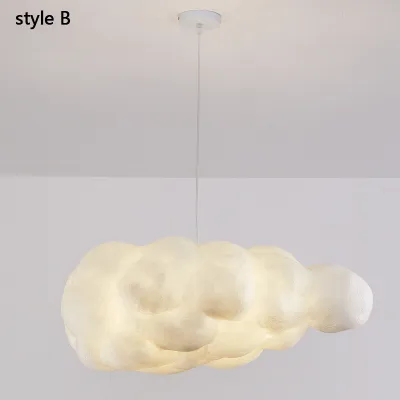
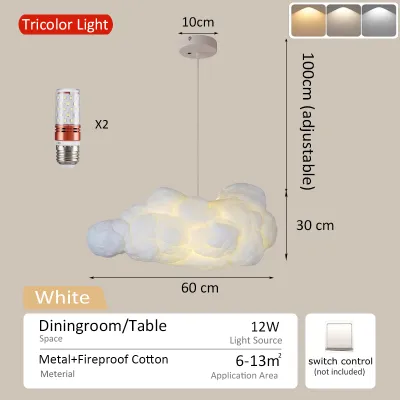
Prices are valid at publication and may change. Please refer to the product page for the latest price.
Doors and cabinet panels present another clearance obstacle. Wardrobe doors, utility closets, and main entry doors require a clear swing path. A cloud fixture that hangs too low can obstruct these doors, leading to scratches, cracked fixtures, or trapped doors.
There is also a psychological impact to consider. When a bulky light fixture sits close to eye level, it draws the eyes downward, emphasizing the physical limits of the ceiling. This visual weight makes small rooms feel significantly smaller and darker. Transitioning to flush mount or semi-flush mount designs preserves the whimsical cloud aesthetic while keeping the physical footprint close to the ceiling canopy.
What to Check Before Buying a Low-Profile Cloud Fixture
Shopping for a cloud chandelier for a low-ceiling condo requires careful attention to technical specifications and physical dimensions. You cannot rely solely on product photos, which are often staged in high-ceiling lofts.

First, understand the structural distinction between mounting types. A true flush mount fixture sits directly against the ceiling canopy, leaving no space between the light body and the ceiling surface. This style offers the maximum possible headroom. A semi-flush mount fixture hangs from a very short, rigid stem or mounting bracket, creating a small gap of a few centimeters between the ceiling and the light. This gap allows light to bounce off the ceiling, creating a soft, ambient glow that can make the ceiling appear higher than it is.
To determine the ideal fixture height, measure your floor-to-ceiling distance precisely. As a general rule of thumb, you should maintain a minimum clearance of 2.1 meters (approximately 7 feet) from the bottom of the light fixture to the floor. If your ceiling is 2.4 meters high, your maximum allowable fixture drop—including the canopy, rod, and cloud body—is 30 centimeters (about 12 inches). For dining tables or kitchen islands, you can sometimes allow a slightly lower drop, but keep the fixture at least 75 to 90 centimeters above the tabletop to prevent visual obstruction.
Material selection is critical for both durability and comfort. Because low-profile fixtures sit closer to eye level, glare control is paramount. Look for cloud chandeliers made from diffused acrylic, high-quality resin, or frosted glass. These materials scatter light evenly, hiding hot spots from individual bulbs or LED diodes. Avoid cheap paper or fabric cloud covers; the high relative humidity in the Philippines can cause paper to warp, yellow, or harbor mold over time, while fabric tends to trap dust and allergens.
Before making a purchase, verify the electrical specifications. Standard household voltage in the Philippines is 220V at 60Hz. Ensure the fixture you choose is compatible with this standard. Check the bulb base or interface—E27 is the most common and easily replaceable socket type in local hardware stores. If the fixture uses integrated LEDs, check the rated lifespan, color temperature (CCT), and whether it supports dimming. Dimming is highly beneficial for low ceilings, as it allows you to soften the light output when the source is close to your line of sight. Finally, look for reputable safety certifications, such as the Philippine Standard (PS) mark, Import Commodity Clearance (ICC), or international equivalents like CE and RoHS, to ensure the internal wiring meets basic safety standards.
Lastly, consider the weight of the fixture and your ceiling’s load-bearing capacity. Many modern condos feature suspended gypsum or plasterboard ceilings to hide utility pipes and electrical conduits. These hollow ceilings cannot support heavy fixtures without proper reinforcement. Always check the weight of the cloud chandelier and ensure your ceiling structure can support it safely.
Best Cloud Chandelier Styles for Low Ceilings
Selecting the right style of cloud lighting involves finding a balance between the organic, sculptural look of a cloud and the physical constraints of a low ceiling. Several design variations achieve this balance beautifully.
Flush Mount Cloud Fixtures
Flush mount cloud fixtures are the ultimate space-savers for rooms with the absolute lowest clearance, such as compact condo hallways, entryways, or cozy bedrooms. These fixtures sit flat against the ceiling, eliminating any dangling parts that could interfere with daily movement.
Modern flush mount designs often feature edge-lit LED panels shaped into soft, organic cloud silhouettes. Alternatively, some styles use tightly clustered acrylic or resin puffs mounted directly to a wide, low-profile ceiling canopy. These designs provide a clean, modern look while still delivering the playful, dreamy feel of a cloud.
While flush mount fixtures are highly efficient, they do have a design trade-off. Because they lie flat against the ceiling, they offer less three-dimensional depth and sculptural drama than a traditional hanging chandelier. However, for tight spaces where every centimeter of headroom counts, they represent the safest and most visually clean option.
Semi-Flush Mount Cloud Chandeliers
If you want the classic, layered look of a three-dimensional chandelier but have limited vertical space, a semi-flush mount cloud chandelier is an excellent compromise. These fixtures are ideal for condo living rooms, bedrooms, and dining areas where a slight visual drop is acceptable.
When shopping for this style, look for fixtures with short, rigid stems and horizontally spread cloud clusters rather than vertically cascading tiers. A wide, shallow design distributes the visual weight horizontally, providing the sculptural impact of a cloud without extending too far down into your living space.
The primary advantage of a semi-flush mount is the small gap between the ceiling and the fixture body. This gap allows a portion of the light to cast upward and bounce off the ceiling surface. This indirect illumination softens shadows, reduces harsh glare, and creates a subtle halo effect that visually lifts the ceiling, making the entire room feel more open and airy.
Integrated LED Cloud Panels
For a sleek, minimalist aesthetic, integrated LED cloud panels offer a highly functional and modern alternative. These fixtures utilize built-in LED diodes rather than traditional screw-in bulbs, allowing manufacturers to create ultra-thin, low-profile shapes that would be impossible with bulky bulb sockets.
Integrated LED panels often come with smart lighting capabilities, which are highly advantageous for multi-functional condo spaces. Many models allow you to adjust the color temperature (CCT) from a warm, cozy yellow (around 2700K) to a bright, daylight white (6500K) via a remote control or smart home app. This flexibility allows you to transition your space from a bright, productive home office during the day to a relaxing, atmospheric sanctuary at night.
However, integrated LED fixtures come with a specific maintenance consideration. Because the light source is built directly into the fixture, you cannot simply swap out a burnt-out bulb. Check the manufacturer’s specifications for the rated lifespan of the LEDs—high-quality units are typically rated for 25,000 to 50,000 hours of use. You should also verify the manufacturer’s warranty and replacement policies, as a complete diode failure may require replacing the entire fixture or the internal LED driver.
Condo Installation and Electrical Safety Boundaries
Installing a new light fixture in a condominium requires a clear understanding of both electrical safety and structural limitations. Condo buildings often have strict property management guidelines regarding unit modifications, making it essential to plan your installation carefully.
Before purchasing or installing any fixture, verify that your unit’s existing junction box can handle the electrical load. While modern LED cloud fixtures consume very little wattage, older incandescent or halogen models can draw significant current. Ensure the total wattage of your new fixture does not exceed the rating of your junction box or circuit breaker.
Next, identify your ceiling construction material. Many high-rise condos in the Philippines feature solid concrete slab ceilings, while others use suspended gypsum board or drywall ceilings. If you are mounting a fixture directly into a concrete slab, you must use a hammer drill and appropriate concrete expansion anchors or masonry screws (often locally referred to as tox) to secure the mounting bracket. Attempting to use standard drywall screws in solid concrete will result in an unstable mount and poses a severe falling hazard. Conversely, if you are mounting to a suspended gypsum ceiling, you must locate the metal studs or use heavy-duty toggle bolts to distribute the weight safely. Never hang a heavy fixture directly from unsupported plasterboard.
It is crucial to recognize your professional limits when dealing with electrical installations. While replacing a simple, lightweight flush mount on an existing junction box is a manageable task for an experienced DIYer, certain scenarios require a licensed professional. You should hire a qualified electrician if you need to move the junction box to a new location, if you discover exposed or deteriorating wiring behind your old fixture, or if your chosen cloud chandelier is exceptionally heavy and requires structural reinforcement.
Above all, safety must be your top priority. Before inspecting, removing, or installing any light fixture, always turn off the main power supply at your condo’s central circuit breaker panel (distribution board). Do not rely solely on the wall switch, as some wiring configurations may leave the junction box live even when the switch is turned off. Use a non-contact voltage tester to verify that the wires are completely dead before touching them.
Frequently Asked Questions (FAQ)
Can I convert a hanging cloud chandelier into a flush mount?
Modifying a hanging cloud chandelier to fit flush against the ceiling is generally not recommended. Hanging fixtures are engineered with specific weight distribution, wire strain relief, and canopy designs meant to support a suspended load. Attempting to cut the hanging chains, shorten rigid metal stems, or splice electrical cords without professional guidance can compromise the structural integrity of the fixture, damage the internal wiring, and create serious fire or shock hazards. Additionally, making unauthorized alterations to a fixture will void the manufacturer’s warranty. If you have low ceilings, it is always safer and more reliable to purchase a purpose-built flush or semi-flush mount model designed specifically for low-clearance spaces.
How do I clean a flush mount cloud chandelier without taking it down?
Keeping your cloud chandelier clean is essential for maintaining its light output and aesthetic appeal, especially in dusty urban environments. To clean a flush mount fixture safely without removing it from the ceiling, first turn off the power at the wall switch and allow the bulbs or LEDs to cool completely to avoid thermal shock or burns. Use a high-quality extendable microfiber duster or a soft-bristled brush to gently sweep away loose dust, cobwebs, and debris from the cloud’s textured crevices. For stubborn dust in hard-to-reach areas, a can of compressed air can blow away particles safely. Avoid spraying water, liquid glass cleaners, or harsh chemical solvents directly onto the fixture, as moisture can seep into the electrical housing, damage the LED driver, or degrade the acrylic or resin material over time. If a deeper clean is necessary, slightly dampen a microfiber cloth with water, wring it out until it is barely damp, and gently wipe the exterior surfaces, ensuring no moisture enters any electrical openings.

Community discussion
Share your experience or ask a question. Comments are reviewed before publication.