
Choosing the right USB LED lights for a condo gaming room requires balancing visual impact, power availability, and space constraints. In a typical condominium unit, space is at a premium, and rental agreements often restrict permanent modifications like drilling or hardwiring. USB-powered lighting offers a highly flexible, low-voltage solution that plugs directly into your existing devices, transforming your gaming setup without risking your security deposit.
In tropical environments like the Philippines, high humidity and ambient temperatures can affect both adhesive performance and equipment heat dissipation. Selecting the correct light types and installing them safely ensures your gaming sanctuary remains vibrant, comfortable, and structurally sound.
Assessing Condo Space and USB Power Constraints
Before purchasing any lighting equipment, measure your desk, monitor, and nearby wall space. Knowing the exact dimensions of your setup prevents you from buying LED strips that are too long or light bars that do not fit your monitor’s bezel. If a strip is too long, it must only be trimmed at the manufacturer’s designated cut points to avoid damaging the circuitry.
Products mentioned in this guide
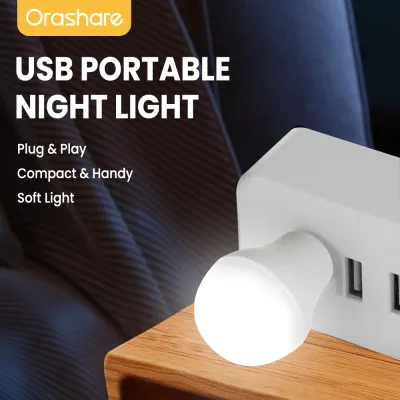
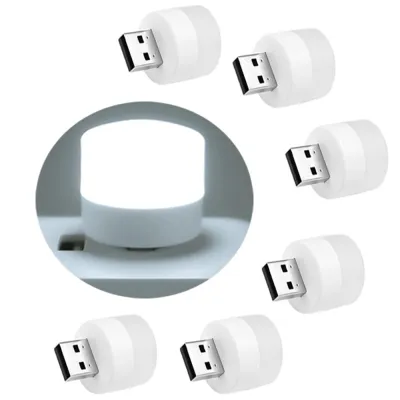
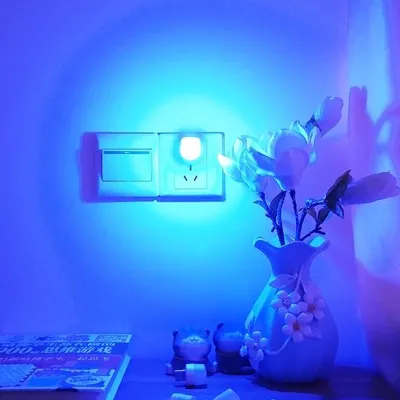
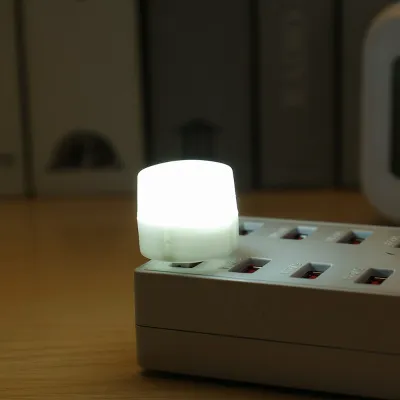
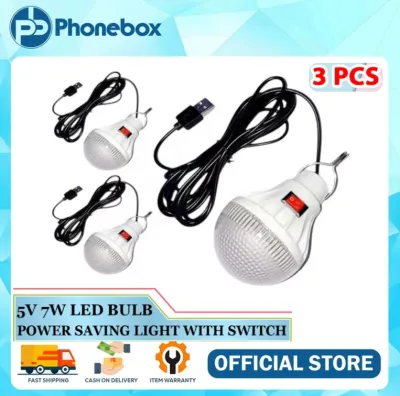
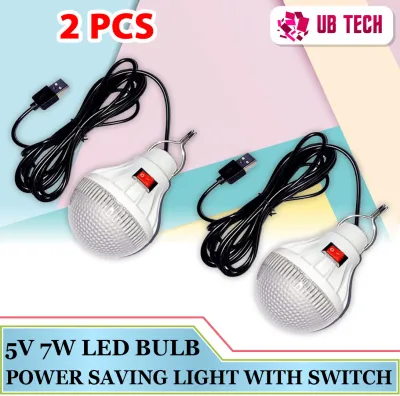
Prices are valid at publication and may change. Please refer to the product page for the latest price.
Condo living often comes with strict rental guidelines. Avoid any lighting setups that require drilling brackets into concrete walls or running permanent electrical conduits. Instead, focus on lightweight fixtures that can be mounted using removable, non-damaging adhesives or freestanding units that sit directly on your desk or shelves.
You must also audit your available USB ports and their power delivery capabilities. Gaming PCs, consoles, and wall adapters all have specific power output limits. Standard USB 2.0 ports typically output 5V at 0.5A, while USB 3.0 ports offer up to 0.9A. Modern USB-C ports or dedicated charging ports can deliver 1.5A to 3A. Matching your lights’ power requirements to these limits prevents flickering, dimming, or unexpected system restarts.
Matching USB LED Light Types to Your Gaming Zones
To build an immersive atmosphere, you should layer different types of USB LED lights across your gaming zone rather than relying on a single light source.

Monitor light bars are designed to sit on top of your screen, directing light downward onto your keyboard and desk surface. This targeted task lighting improves visibility and significantly reduces eye strain by eliminating screen glare. It is an excellent choice for late-night gaming sessions when you want to keep the rest of the room dark.
USB LED strip lights are the standard choice for bias lighting. Mounting these flexible strips to the back of your monitor or along the rear edge of your desk projects a soft glow onto the wall behind your setup. This background illumination reduces the harsh contrast between a bright screen and a dark room, making long gaming sessions much more comfortable.
Flexible neon rope lights utilize silicone-diffused sleeves to create a continuous, smooth line of light without visible hot spots. These can be bent into custom geometric patterns, gaming icons, or abstract shapes on your wall. They serve as excellent accent pieces that add a modern, personalized touch to your condo’s vertical space.
Corner light bars and puck lights are ideal for filling dark corners or illuminating floating shelves. Because they have a small footprint, they can be tucked away easily, adding depth and dimension to a compact room without taking up valuable desk real estate.
Selecting Visual and Control Features for Immersion
Choosing the right visual features depends heavily on your personal preferences and the types of games you play.
Evaluate whether you need full RGB color customization or if adjustable warm-to-cool white light is sufficient. Dynamic RGB lighting is perfect for creating high-energy atmospheres that match action-packed games, while adjustable white light is highly beneficial for productivity, reading, or cozy, relaxed gaming sessions.
Control methods vary widely and affect your daily convenience. Inline physical switches are reliable but require you to reach behind screens or under desks. Infrared remote controls offer quick adjustments but require a direct line of sight to the receiver. Smart app integration via Bluetooth or Wi-Fi provides the highest level of customization, allowing you to adjust brightness, set schedules, and create custom color scenes directly from your smartphone.
If you want deeper immersion, look for lights with screen-syncing capabilities or audio-reactive modes. Screen-sync systems use software or external cameras to match the LED colors to the dominant colors on your monitor, extending the game world onto your walls. Audio-reactive lights feature built-in microphones that pulse and change color in time with your game’s audio or background music.
Pay close attention to diffuser quality. Cheap, bare LED strips can produce harsh, distracting light points that reflect off glossy surfaces. Opting for high-density LED strips or using external silicone diffusion channels ensures a soft, even glow that enhances rather than distracts from your screen.
Managing USB Power Loads and Safety Limits
Operating multiple USB lights requires careful management of electrical loads to ensure safety and stable performance.
Calculate the total wattage of your lighting setup against your USB port outputs. A standard 5V USB port delivering 1A provides 5 watts of power, while a 2A port provides 10 watts. Always check the manufacturer’s specifications on your LED lights to ensure their total power draw does not exceed the rated output of the host port.
When your PC or console runs out of available ports, avoid using passive, unpowered USB splitters. These splitters force multiple devices to share a single port’s limited current, which can lead to unstable lighting or port damage. Instead, use an externally powered USB hub that plugs directly into a wall outlet, ensuring each connected light receives a stable, dedicated power supply.
Do not attempt to daisy-chain multiple USB LED strips together unless the manufacturer explicitly states it is safe and provides clear instructions. Connecting too many strips in a single line causes a voltage drop, resulting in dim lights, incorrect color rendering, or excessive heat buildup near the connector.
In warm, humid tropical climates, heat dissipation is a critical safety consideration. Avoid installing LED strips in tightly enclosed, unventilated spaces or directly onto heat-generating components like the back of your PC tower. Ensure there is adequate airflow around all lighting fixtures to prolong their lifespan and prevent safety hazards.
Damage-Free Installation and Cable Routing
A clean, organized installation protects your equipment and ensures you do not lose your condo’s security deposit when moving out.
Select high-quality, removable double-sided mounting tapes designed specifically for delicate surfaces. Before applying any adhesive, clean the mounting surface thoroughly with rubbing alcohol and let it dry completely to remove dust and oils. Always test a small piece of tape in an inconspicuous area first to verify that it can be removed cleanly without peeling the paint.
Keep your setup looking professional by routing cables neatly. Use adhesive cable clips, sleeve organizers, and hook-and-loop wraps to secure USB cables along the underside of your desk or down the back of desk legs. This prevents cables from dangling, tangling, or getting caught on your feet and chair wheels.
Layer your lighting carefully to avoid overwhelming a small room. A balanced setup combines a low-intensity bias light behind the screen, a downward-facing monitor light bar, and a soft accent light in a far corner. This distribution of light creates a sense of spaciousness and prevents harsh shadows without creating distracting glare.
Finally, plan a convenient shutdown routine. Many motherboard USB ports continue to supply power even when the PC is turned off. If your lights do not shut down automatically, connect them to a smart plug, a power strip with individual switches, or a USB hub with physical power buttons so you can easily turn off your entire lighting setup with a single switch.
Frequently Asked Questions (FAQ)
Can I plug USB LED lights directly into my gaming monitor?
Yes, but you must verify your monitor’s USB downstream port specifications first. Many monitor USB ports are designed only for low-power peripherals like keyboards or mice and may output only 0.5A (2.5W), which is insufficient for bright light bars or long LED strips. Check your monitor’s user manual to see if it features a high-output port, often rated for 1.5A or higher. Additionally, check if the monitor cuts power to its USB ports when it enters standby mode; if it does not, you will need to turn off the lights manually or use an inline switch.
Will USB LED strips damage my condo's painted walls?
Directly applying strong adhesive backings to painted drywall or textured concrete walls can cause damage when removed. To protect your walls, avoid sticking LED strips directly to painted surfaces. Instead, mount them to the back of your desk, the rear of your monitor, or use lightweight plastic mounting channels secured with damage-free poster strips. When removing any adhesive, use a hair dryer on a low, warm setting to gently heat and soften the glue before slowly peeling it off at a shallow angle.

Community discussion
Share your experience or ask a question. Comments are reviewed before publication.