
Selecting the right ceiling pin light requires looking past the outer trim to evaluate the technical specifications that dictate performance. In the Philippines, where homes often feature concrete slabs, drop ceilings, or moisture-heavy environments due to tropical humidity, matching the fixture to the room’s physical and functional needs is essential. The most critical specifications to consider are the cut-out size, beam angle, color temperature, and lumen output. By aligning these parameters with the specific demands of each space, you can achieve optimal illumination, avoid installation errors, and ensure long-term electrical safety.
Cut-Out Size and Physical Compatibility
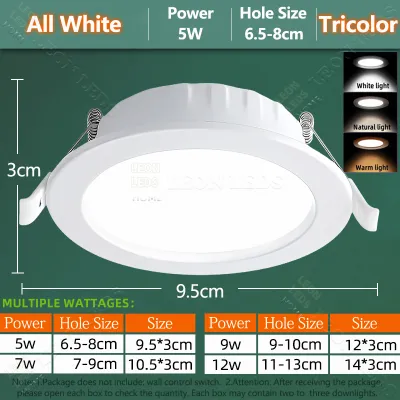
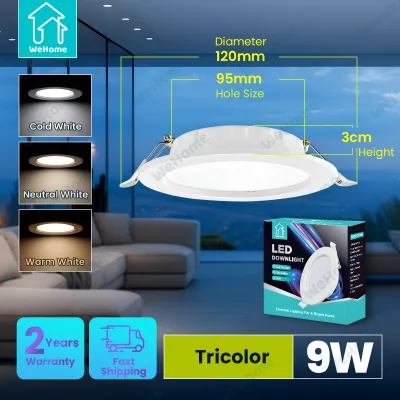
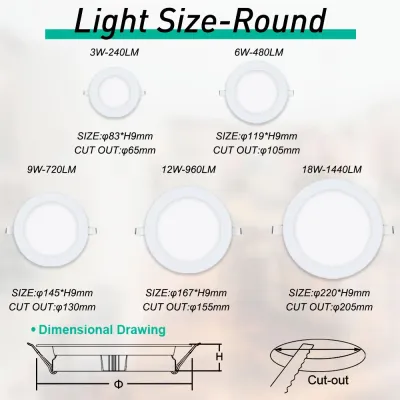
Before purchasing any ceiling pin light, you must verify its physical compatibility with your ceiling structure. The cut-out size refers specifically to the diameter of the hole required in the ceiling board, which is always smaller than the overall outer dimension of the fixture’s trim. Relying on the outer diameter instead of the specified cut-out size can lead to purchasing fixtures that do not fit the existing holes or require extensive ceiling repairs.
Ceiling depth is another critical factor that is frequently overlooked. You must measure the vertical clearance inside the ceiling cavity to ensure the housing of the pin light, along with its external driver if it has one, can sit comfortably without touching structural elements. Always check for hidden obstructions such as wooden joists, metal framing, plumbing pipes, or electrical conduits before cutting new holes.
Products mentioned in this guide
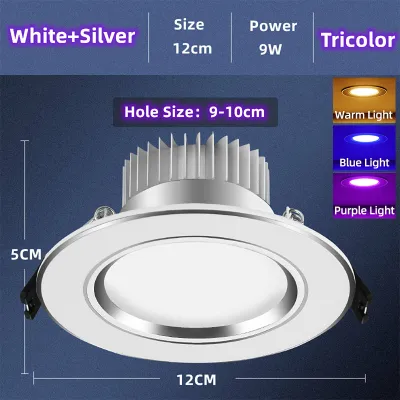
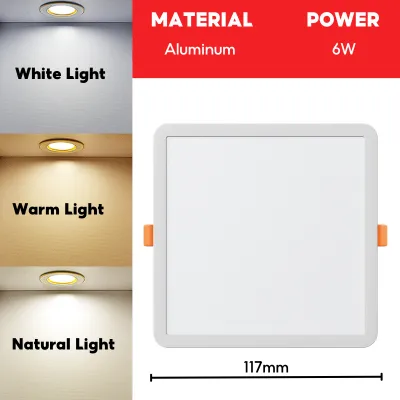
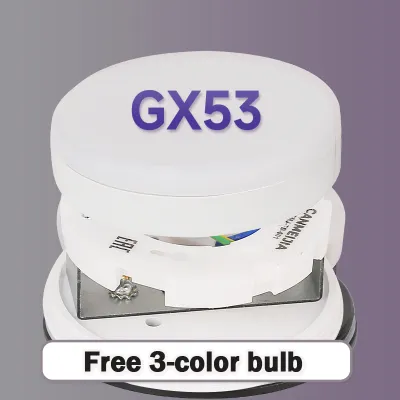
Prices are valid at publication and may change. Please refer to the product page for the latest price.
If you are replacing older fixtures, pull out one existing unit to measure the actual hole diameter and the available depth. Always cross-reference these measurements with the manufacturer’s official specification sheet before finalizing your purchase. This simple check prevents the common frustration of buying fixtures that are either too loose to stay secure or too deep to sit flush.
Beam Angle and Light Distribution
The beam angle determines how light spreads from the fixture, directly influencing whether a room feels evenly lit or dramatically accented. A narrow beam angle, typically ranging from 15 to 36 degrees, concentrates the light into a focused cone. This is ideal for spotlighting specific features such as artwork, architectural details, or providing direct task lighting over kitchen countertops and work desks.

Conversely, a wide beam angle of 60 to 120 degrees distributes light across a broader area, creating a soft, general wash. Wide beams are highly effective for general illumination in living rooms, hallways, and open-plan spaces where you want to minimize harsh shadows. Choosing the right angle prevents the “flashlight effect,” where a room has bright spots on the floor but dark, uninviting corners.
Ceiling height also plays a major role in how a beam angle behaves in practice. As the ceiling height increases, the light cone expands and loses intensity by the time it reaches the floor or work surfaces. For high-ceilinged spaces, you may need narrower beam angles or higher-output fixtures to project sufficient light downward, whereas standard-height ceilings benefit from wider spreads to ensure seamless coverage.
Color Temperature and Room Atmosphere
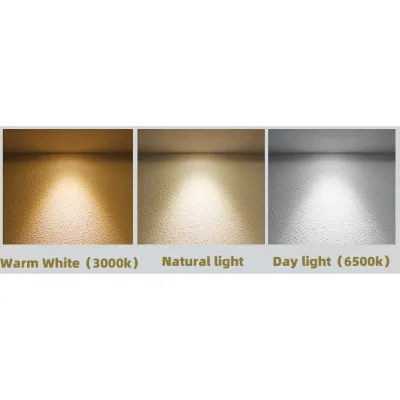
Color temperature, measured in Kelvin (K), dictates the color appearance of the light and heavily influences the mood and functionality of a room. Warm white light, typically ranging from 2700K to 3000K, produces a cozy, yellowish glow. This temperature is highly suited for spaces dedicated to relaxation, such as bedrooms and living areas, where a soft and inviting atmosphere is desired.
For spaces where clarity and focus are paramount, cool white (around 4000K) or daylight tones (5000K to 6500K) are more appropriate. These cooler tones mimic natural daylight, which helps reduce eye strain during detailed tasks. They are highly recommended for kitchens, bathrooms, home offices, and utility areas where visibility and precision are essential.
If a room serves multiple purposes throughout the day, consider fixtures with tunable or switchable color temperatures. These models feature a physical switch on the back of the fixture or integrate with smart systems, allowing you to transition from an energizing daylight tone during the afternoon to a relaxing warm white in the evening.
Wattage, Lumens, and Brightness Needs
When evaluating the brightness of a ceiling pin light, focus on lumens rather than wattage. Wattage indicates how much electrical power the fixture consumes, whereas lumens measure the actual amount of visible light emitted. With modern LED technology, a low-wattage fixture can produce high lumen output, making wattage an unreliable indicator of brightness.
To estimate your brightness needs, consider the room’s square footage, ceiling height, and primary activities. Task-heavy areas require higher overall lumens per square meter than transitional spaces like hallways. Calculating the total required lumens helps you determine how many pin lights you need and how far apart they should be spaced to avoid dark spots or excessive glare.
Additionally, always verify the maximum wattage limits of your ceiling’s wiring and the fixture’s compatibility with dimmer switches. If you plan to install dimmable pin lights, ensure that both the LED driver and the wall dimmer switch are compatible to prevent flickering, buzzing, or premature driver failure.
Room-by-Room Specification Guide
To streamline your decision, you can apply a practical framework that matches specific technical ranges to typical household spaces. For living rooms, prioritize a warm white color temperature (2700K to 3000K) combined with wide beam angles (60 degrees or more) to create a welcoming, glare-free environment. Dimmable fixtures are highly recommended here to allow easy transitions between hosting guests and watching movies.
In kitchens and bathrooms, the focus shifts to high visibility and safety. Opt for cool white or daylight tones (4000K to 6000K) to ensure clear visibility for cooking or grooming. Use targeted, narrower beam angles over countertops and sinks, and ensure any fixture installed in a bathroom features a certified moisture-resistance rating to withstand high humidity.
For bedrooms and hallways, a softer approach works best. Choose warm light tones and lower lumen outputs to keep the environment restful. In hallways, space the fixtures evenly to provide a safe path without creating a harsh, institutional feel. Remember that these recommendations serve as baseline guidelines; your specific room layout, wall colors, and personal preferences may require minor adjustments to achieve the perfect balance.
Frequently Asked Questions (FAQ)
Can I replace an existing ceiling pin light with a different brand or model?
Yes, but you must carefully verify physical and electrical compatibility before purchasing. Measure the existing cut-out hole and the depth of the ceiling cavity to ensure the new fixture fits securely. You must also check the voltage requirements (typically 220V in the Philippines) and ensure the new LED driver matches the existing wiring setup. If the replacement requires modifying the ceiling board, changing the circuit load, or handling complex fixed wiring, always isolate the power at the main breaker and consult a qualified electrician to perform the installation safely.
Do I need special ceiling pin lights for bathrooms or outdoor eaves?
Yes, standard indoor ceiling pin lights are not designed to handle moisture and can fail or present electrical hazards if exposed to steam or water. For bathrooms, laundry areas, or covered outdoor eaves, you must select fixtures with an appropriate Ingress Protection (IP) rating. An IP44 rating is generally suitable for damp areas like bathrooms, while areas exposed to direct splashing or outdoor elements may require higher protection. Always check local electrical codes and consult a licensed professional to ensure compliance and safety in wet zones.

Community discussion
Share your experience or ask a question. Comments are reviewed before publication.