
Choosing the correct lights for ceiling in a compact condominium requires a careful balance of spatial design and practical calculations. In urban areas where high-rise living is the norm, condo units often feature limited floor areas and lower ceiling clearances. Standard hanging fixtures can make these tight spaces feel cramped, dark, or visually cluttered. Selecting a flush mount light allows you to maximize precious headroom while ensuring your living space is evenly and beautifully illuminated.
To find the ideal fixture, you must determine the appropriate diameter using your room’s physical dimensions and calculate the necessary brightness in lumens based on the room’s primary activities. This guide provides step-by-step instructions on measuring your space, calculating sizes, managing electrical requirements, and avoiding common installation pitfalls to help you achieve a perfectly lit home. By mastering these basic principles, you can transform a small, shadowy room into a bright, airy, and functional sanctuary.
Measuring Your Room Dimensions and Ceiling Clearance
Before browsing online marketplaces or local lighting showrooms, you must obtain precise measurements of your room. Many modern condominiums are marketed in square meters, but standard lighting sizing formulas typically rely on feet. To convert your room’s dimensions, measure the length and width in meters using a reliable tape measure or laser tool, then multiply those figures by 3.28 to get the equivalent in feet. Multiplying the length by the width will give you the total floor area, which serves as the foundation for all your subsequent lighting calculations.
Products mentioned in this guide
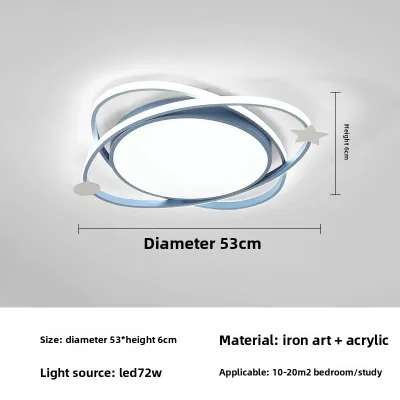
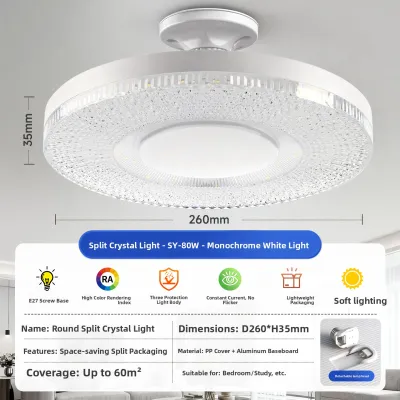
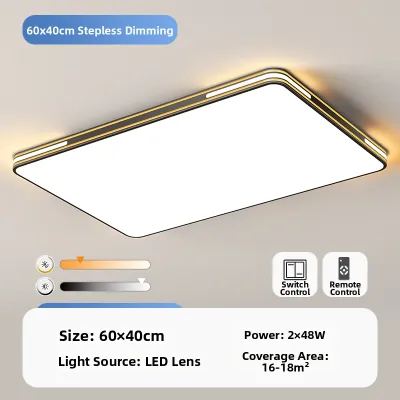
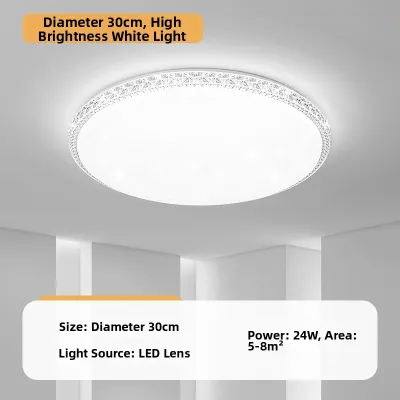
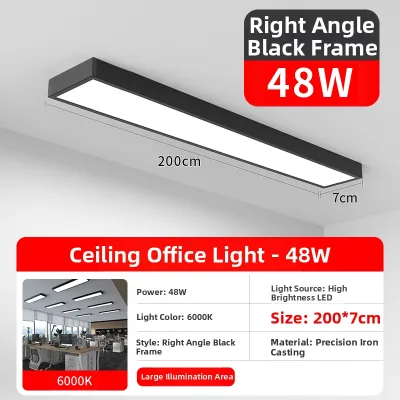
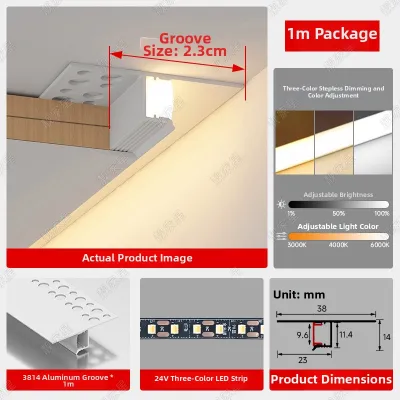
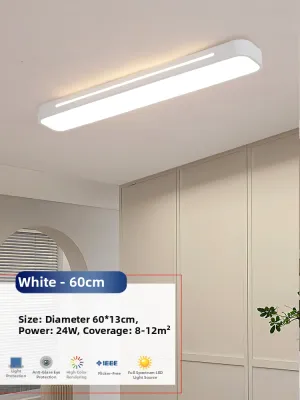
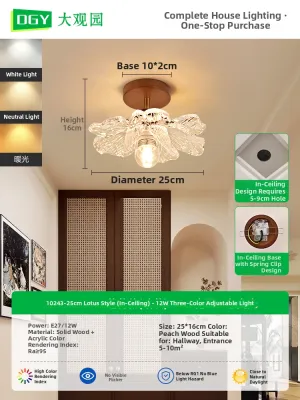
Prices are valid at publication and may change. Please refer to the product page for the latest price.
Ceiling height is the most critical factor when deciding between different styles of ceiling fixtures. Flush mount lights are the default, highly recommended choice for any room with a ceiling height under 8 feet (approximately 2.4 meters). In low-ceiling environments, hanging fixtures like chandeliers or semi-flush mounts reduce vertical clearance, making the room feel smaller and presenting a physical hazard to taller occupants or when moving furniture. Measuring your exact vertical clearance ensures you choose a fixture that preserves an open, spacious atmosphere.
When assessing your ceiling, look closely for physical obstructions that might interfere with the light distribution or the installation process. High-rise condos often feature structural concrete beams, split-type air conditioning units mounted high on the walls, fire sprinkler heads, and smoke detectors. These elements can block the path of light or limit where a fixture can physically sit. Mapping out these obstructions beforehand prevents you from purchasing a light that cannot be centered or that casts awkward shadows across your living space.
To maintain a safe and comfortable living environment, always apply the “rule of 7 feet” (approximately 2.13 meters). This rule dictates that the bottom of any ceiling-mounted fixture must remain at least 7 feet above the floor. Adhering to this clearance standard ensures ample headroom for walkways, entryways, and high-traffic areas. In exceptionally low-profile spaces, choosing an ultra-thin flush mount is the most effective way to respect this safety boundary while still achieving excellent ambient light.
Calculating the Right Fixture Diameter and Profile
To ensure your ceiling light looks balanced and intentional, you can use a straightforward design industry formula to determine the ideal fixture diameter. Add the room’s length and width in feet together, and then convert that sum directly into inches. For example, if you are lighting a small condo bedroom that measures 10 feet wide by 12 feet long, add 10 and 12 to get 22. This sum indicates that a fixture with a 22-inch diameter will look proportional and visually balanced in that specific room.

Because calculating these dimensions on the spot can be challenging, referring to a standardized sizing guide can streamline your decision-making process. The table below maps common small condo room dimensions to their ideal flush mount diameters, helping you visualize how different sizes fit into typical residential layouts:
| Room Dimensions (Feet) | Room Dimensions (Meters) | Recommended Fixture Diameter (Inches) | Recommended Fixture Diameter (Centimeters) |
|---|---|---|---|
| 8 x 10 ft | ~2.4 x 3.0 m | 18 inches | ~45 cm |
| 10 x 10 ft | ~3.0 x 3.0 m | 20 inches | ~50 cm |
| 10 x 12 ft | ~3.0 x 3.7 m | 22 inches | ~55 cm |
| 12 x 12 ft | ~3.7 x 3.7 m | 24 inches | ~60 cm |
Beyond the physical width of the fixture, you must consider its profile height, which refers to how far the light drops down from the ceiling. For compact condo spaces, prioritizing ultra-thin, low-profile, or “hugger” designs is highly advantageous. These fixtures typically feature a depth of only 1 to 3 inches, allowing them to sit nearly flush against the ceiling surface. This tight profile minimizes visual intrusion, making the ceiling appear higher and preventing the fixture from feeling oppressive in a small room.
Visual weight also plays a significant role in how a light fixture affects the perception of space. A heavy, ornate metal frame or a dark, solid fixture can dominate a small ceiling, drawing the eye downward and making the room feel enclosed. To counteract this, opt for rimless designs, acrylic diffusers, or light-colored, translucent shades. These materials allow light to disperse softly and evenly, making the fixture feel lighter and less intrusive while maximizing the brightness of your lights for ceiling.
Determining Lumens, Wattage, and Color Temperature
To achieve the perfect brightness level, you must calculate the total lumens required for your space rather than relying solely on wattage. Lumens measure the actual amount of light emitted by a bulb, whereas wattage merely measures energy consumption. To calculate the required lumens, multiply your room’s square footage by the recommended foot-candles (lumens per square foot) based on the room’s primary function:
- Bedrooms and Living Areas: 10 to 20 lumens per square foot are generally sufficient to create a relaxing, cozy atmosphere.
- Kitchenettes, Bathrooms, and Workspaces: 30 to 40 lumens per square foot are necessary to provide clear, focused visibility for tasks.
For instance, a 100-square-foot condo bedroom requires approximately 1,000 to 2,000 lumens of total light output. Conversely, a small 80-square-foot kitchenette requires a higher concentration of 2,400 to 3,200 lumens to ensure safe food preparation and cooking conditions.
Managing wattage limits and heat dissipation is critical when dealing with enclosed flush mount fixtures. Because the glass or acrylic globe of a flush mount is pressed close to the ceiling, it can trap heat generated by the light source. Traditional incandescent or halogen bulbs produce significant heat, which can degrade the fixture’s internal wiring over time and dramatically shorten the lifespan of the bulb. To mitigate this risk, prioritize integrated LED fixtures or low-heat LED bulbs, and always check the manufacturer’s maximum wattage rating printed on the socket.
Color temperature, measured in Kelvin (K), is a subjective preference that heavily influences the mood and perceived size of a room. Warm white light (2700K to 3000K) is highly suited for relaxing zones like bedrooms, as it casts a soft, amber glow that promotes comfort. Cool white or daylight (4000K to 5000K) is ideal for functional areas like kitchens and study nooks. Cooler light mimics natural daylight, which can make a compact condo room feel visually larger, cleaner, and more energetic, though it may feel too clinical if used excessively in sleeping areas.
When selecting your lighting, pay close attention to the Color Rendering Index (CRI), which measures how accurately a light source reveals the true colors of objects. For multi-purpose condo spaces where you cook, work, apply makeup, or relax, choose fixtures with a CRI of 80 or higher. A high CRI ensures that food looks appetizing, clothing colors are represented accurately, and the overall interior design of your condo appears vibrant and true to life under artificial light.
Condo Installation Constraints and Electrical Safety
Before purchasing any new light fixture, you must verify the structural integrity and load capacity of your existing ceiling junction box. In high-rise condominiums, ceilings are typically constructed from solid concrete slabs or metal-framed gypsum false ceilings. A standard plastic junction box designed for lightweight fixtures may not support a heavier glass or metal flush mount. Ensure the junction box is securely anchored directly to a structural concrete slab or a metal joist to prevent the fixture from sagging or falling over time.
Electrical compatibility is another vital consideration when installing lights for ceiling in the Philippines. Ensure that any fixture you purchase is rated for the local electrical standard of 220V at 60Hz. Using a fixture designed solely for 110V systems without a proper transformer can cause immediate electrical failure, fire hazards, or permanent damage to the LED driver. Before mounting the new light, inspect the existing copper wires for signs of wear, brittle insulation, or improper splicing from previous installations.
Condominium living introduces unique administrative rules that you must respect before undertaking any home improvement project. Most building administrations require residents to submit a work permit prior to drilling into concrete ceilings, modifying permanent electrical wiring, or bringing external contractors onto the property. Furthermore, construction work is typically restricted to specific daytime hours to avoid disturbing neighbors. Consulting your condo administration beforehand prevents costly fines and project delays.
Electrical work carries inherent risks of shock, fire, and severe injury if safety protocols are ignored. Always isolate the electrical circuit by turning off the main power at your condo’s circuit breaker panel before inspecting, cleaning, or installing a light fixture. Never rely solely on a wall switch to cut the power. If your installation requires drilling into structural concrete ceilings, running new wires, upgrading an old junction box, or if you encounter ungrounded or unfamiliar wiring, stop immediately and hire a licensed professional electrician to complete the work safely.
Common Sizing and Lighting Mistakes in Small Rooms
One of the most frequent errors in small-space design is choosing a flush mount light that is either disproportionately small or excessively large. A tiny fixture can look lost on a ceiling, failing to distribute light evenly and leaving the corners of the room cast in shadow. Conversely, an oversized fixture can visually overpower a small room, making the ceiling feel lower than it actually is and creating harsh, unflattering glare. Sticking to the standard diameter formula helps you strike the perfect visual balance.
Another common mistake is relying on a single, central flush mount light to illuminate an entire multi-functional condo room. While a central fixture provides necessary ambient light, it often fails to reach corners, under-cabinet areas, or reading nooks, which can make a small room feel restricted and dim. To solve this, introduce layered lighting by pairing your ceiling light with plug-in wall sconces, flexible LED strip lights under kitchen cabinets, or slim floor lamps to eliminate dark corners and add visual depth.
Many condo owners also make the mistake of purchasing semi-flush mount fixtures without verifying their ceiling clearance. Semi-flush mounts feature a small stem or collar that suspends the light source several inches below the ceiling. While attractive, this design reduces valuable headroom in rooms with ceilings under 8 feet. If your clearance is limited, always double-check the product specifications to ensure you are buying a true flush mount that sits directly against the ceiling plane.
Finally, ignoring dimmer compatibility can lead to frustrating performance issues with modern LED flush mounts. Not all LED fixtures or LED bulbs are designed to be dimmable. Installing a non-dimmable LED light on a circuit controlled by a traditional dimmer switch can result in persistent flickering, annoying buzzing sounds, or premature failure of the LED driver. Always verify that both the light fixture and the wall switch are explicitly rated as compatible with LED dimming technology before completing your purchase.
Frequently Asked Questions (FAQ)
Can I install a flush mount light directly on a concrete condo ceiling?
Yes, but concrete ceilings present unique structural challenges because they lack the hollow cavities found in drywall ceilings. Installation typically requires a surface-mounted junction box or a shallow canopy designed to house the wiring connections safely. You must use specific concrete anchors, such as masonry wall plugs or sleeve anchors, and a hammer drill to secure the mounting bracket. Always consult your condo’s building administration before drilling into concrete to ensure you do not strike structural rebar or embedded electrical conduits, and hire a licensed professional for this specialized task.
Do flush mount lights provide enough light for a windowless condo bathroom?
Yes, a flush mount light can provide excellent ambient light for a windowless bathroom, provided you calculate the required lumens correctly for the square footage. However, you must verify that the fixture is specifically rated for damp or wet locations to withstand the high humidity levels common in bathrooms. To prevent harsh shadows on your face while grooming, supplement the ceiling light with vertical wall sconces or an LED-backlit mirror.

Community discussion
Share your experience or ask a question. Comments are reviewed before publication.